Make patterns, blends and repeats
This guide shows how to make a pattern swatch and edit its tile, repeat artwork radially, in a grid or as a mirror, weave objects with Intertwine, attach objects to a path, and blend one shape into another with the Blend tool. Patterns, repeats, Intertwine groups, objects on a path and blends all stay live: you can change their art and options after you make them.
| Tool or command | Windows and Linux | macOS |
|---|---|---|
| Blend tool | W | W |
| Object → Blend → Make | Ctrl+Alt+B | Cmd+Option+B |
| Object → Blend → Release | Ctrl+Alt+Shift+B | Cmd+Option+Shift+B |
| Object → Pattern → Edit Pattern | Ctrl+Shift+F8 | Cmd+Shift+F8 |
The other commands on this page and the Objects on Path tool have no key of their own. You can give them one in Edit → Keyboard Shortcuts….
Make a pattern swatch
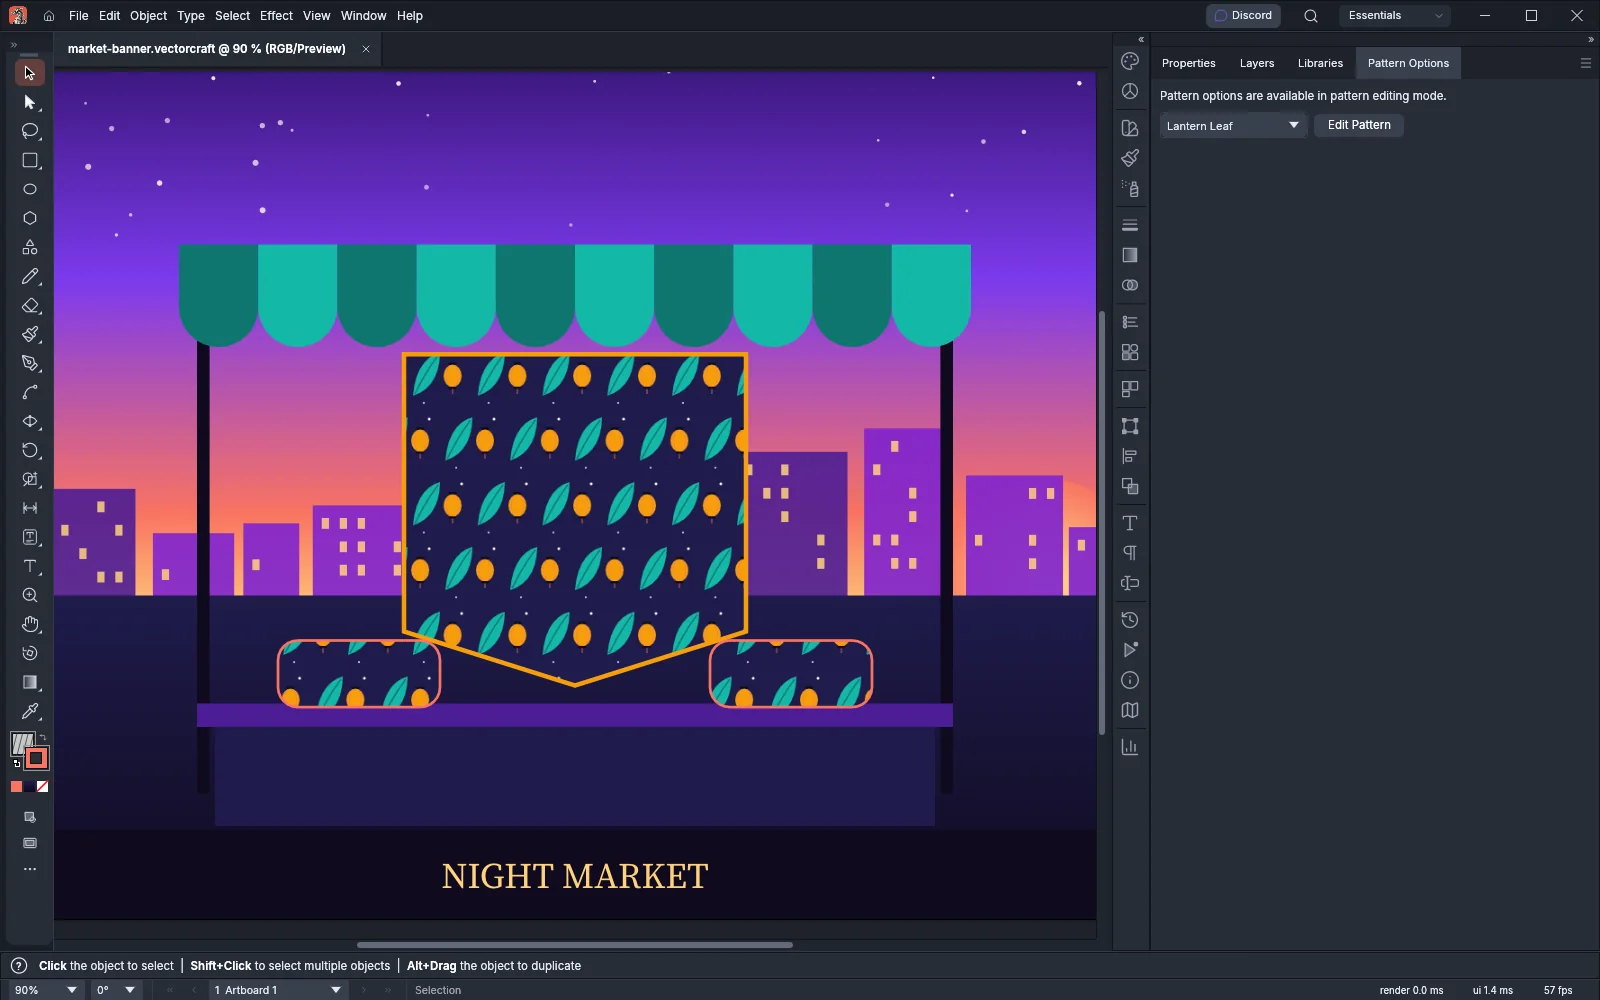
Section titled “Make a pattern swatch”A pattern swatch repeats a tile of artwork to fill or stroke an object.
- Draw the art for one tile. To give the pattern a background color, include a filled rectangle the size of the tile behind the art.
- Select the art.
- Choose Object → Pattern → Make. VectorCraft adds the pattern to the Swatches panel, opens pattern editing mode and opens the Pattern Options panel.
- Set the tile in the Pattern Options panel, as the next section describes. You can also change the art of the tile on the canvas while you are in pattern editing mode.
- Click Done in the bar above the canvas, or press Esc.
To paint an object with the pattern, select the object and click the pattern swatch in the Swatches panel.
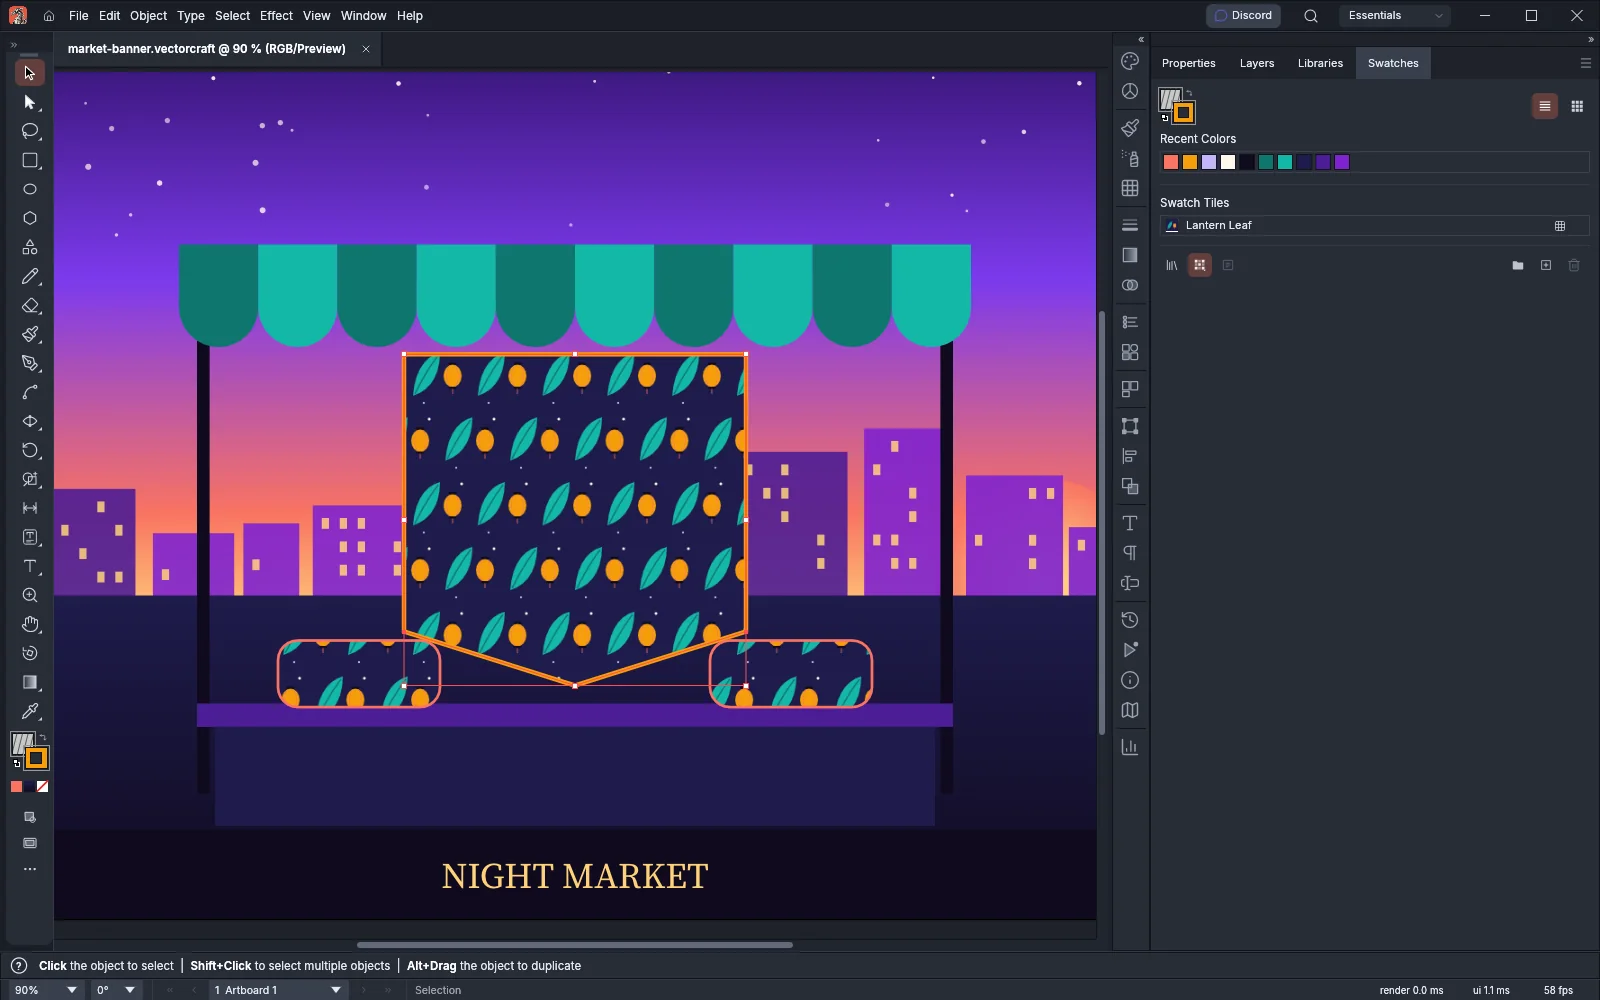
To make a pattern swatch without opening pattern editing mode, drag the selected art into the Swatches panel.
Set up the tile in the Pattern Options panel
Section titled “Set up the tile in the Pattern Options panel”In pattern editing mode, VectorCraft shows the tile at full strength, surrounded by dimmed copies, so you can see how the pattern repeats. The bar above the canvas shows Pattern Editing Mode and the name of the pattern, with Save a Copy, Done and Cancel at the right. To open the panel at any time, choose Window → Pattern Options.
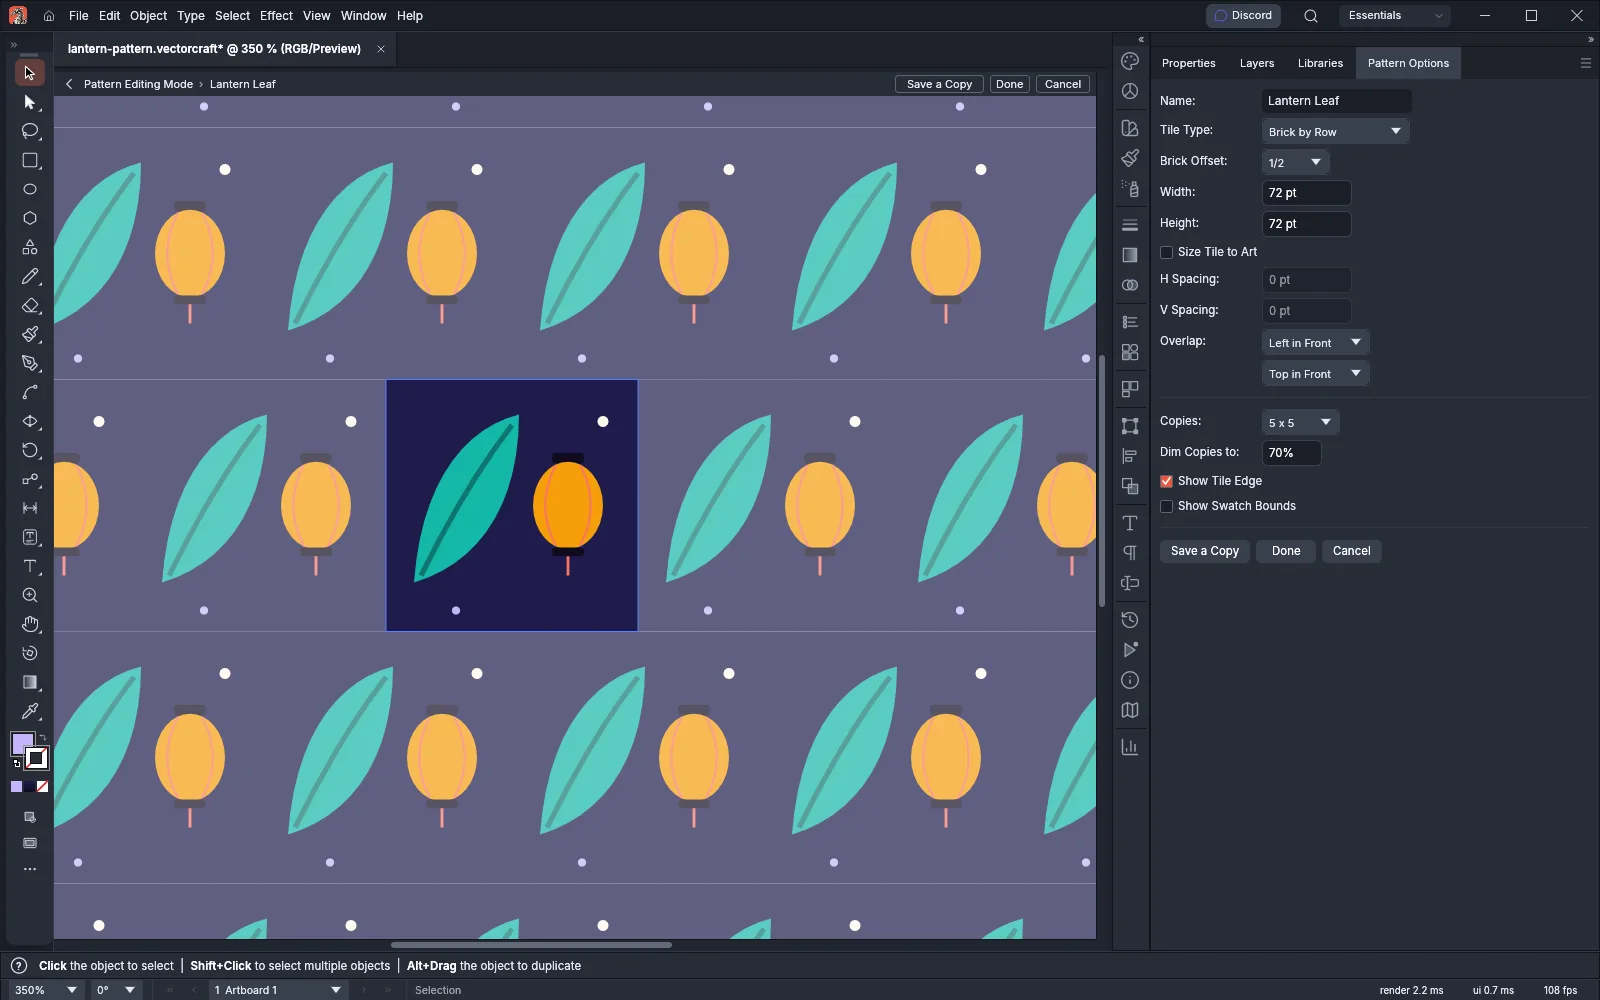
| Option | Default | What it does |
|---|---|---|
| Name | New Pattern 1 | The name of the swatch. Press Enter to apply it |
| Tile Type | Grid | How the tiles line up: Grid, Brick by Row, Brick by Column, Hex by Column or Hex by Row |
| Brick Offset | 1/2 | How far each row or column of bricks is shifted: 1/2, 1/3, 1/4 or 1/5 of a tile. Brick tile types only |
| Width and Height | The size of the art | The size of the tile. Not available while Size Tile to Art is on |
| Size Tile to Art | Off | Makes the tile the size of the art, plus the spacing below |
| H Spacing and V Spacing | 0 | The gap between the tiles across and down. Available only with Size Tile to Art |
| Overlap | Left in Front, Top in Front | Left in Front or Right in Front, and Top in Front or Bottom in Front: which tile is drawn on top where art reaches into the next tile |
| Copies | 5 x 5 | How many copies the canvas shows while you edit: 3 x 3, 5 x 5, 7 x 7 or 9 x 9 |
| Dim Copies to | 70% | The opacity of the copies around the tile, from 0% to 100% |
| Show Tile Edge | On | Outlines the tile |
| Show Swatch Bounds | Off | Outlines, with a dashed line, the part of the tiling that the swatch repeats |
The panel’s buttons and its menu have the same three commands as the bar above the canvas:
- Save a Copy saves the tile as a new pattern swatch named after the pattern with “copy” added, and you keep editing the original.
- Done saves your changes to the pattern and ends pattern editing mode. The back arrow at the left of the bar does the same.
- Cancel ends pattern editing mode without saving your changes. If you started with Make, Cancel also removes the new pattern.
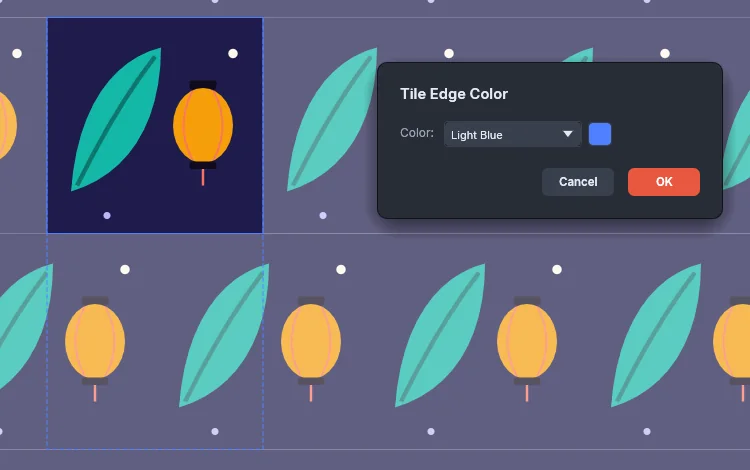
To change the color of the tile edge and the swatch bounds, choose Object → Pattern → Tile Edge Color…, and choose a color from the Color list or click the color box to pick any color. The default is Light Blue. The same setting is Tile Edge Color in Edit → Preferences… → Guides & Grid on Windows and Linux, and in VectorCraft → Settings → Guides & Grid… on macOS, under Pattern Editing.
Edit a pattern later
Section titled “Edit a pattern later”- Select an object that is painted with the pattern.
- Choose Object → Pattern → Edit Pattern (Ctrl+Shift+F8, or Cmd+Shift+F8 on macOS).
- Change the art of the tile on the canvas or the options in the Pattern Options panel.
- Click Done, or press Esc.
VectorCraft redraws every object painted with the pattern with the new tile. You can also open a pattern from the Pattern Options panel when nothing is being edited: choose the pattern from the list and click Edit Pattern.
Repeat art radially, in a grid or as a mirror
Section titled “Repeat art radially, in a grid or as a mirror”A repeat shows copies of one piece of art in an arrangement. When you change the art, every copy changes with it.
- Select the art.
- Choose Object → Repeat, then Radial, Grid or Mirror.
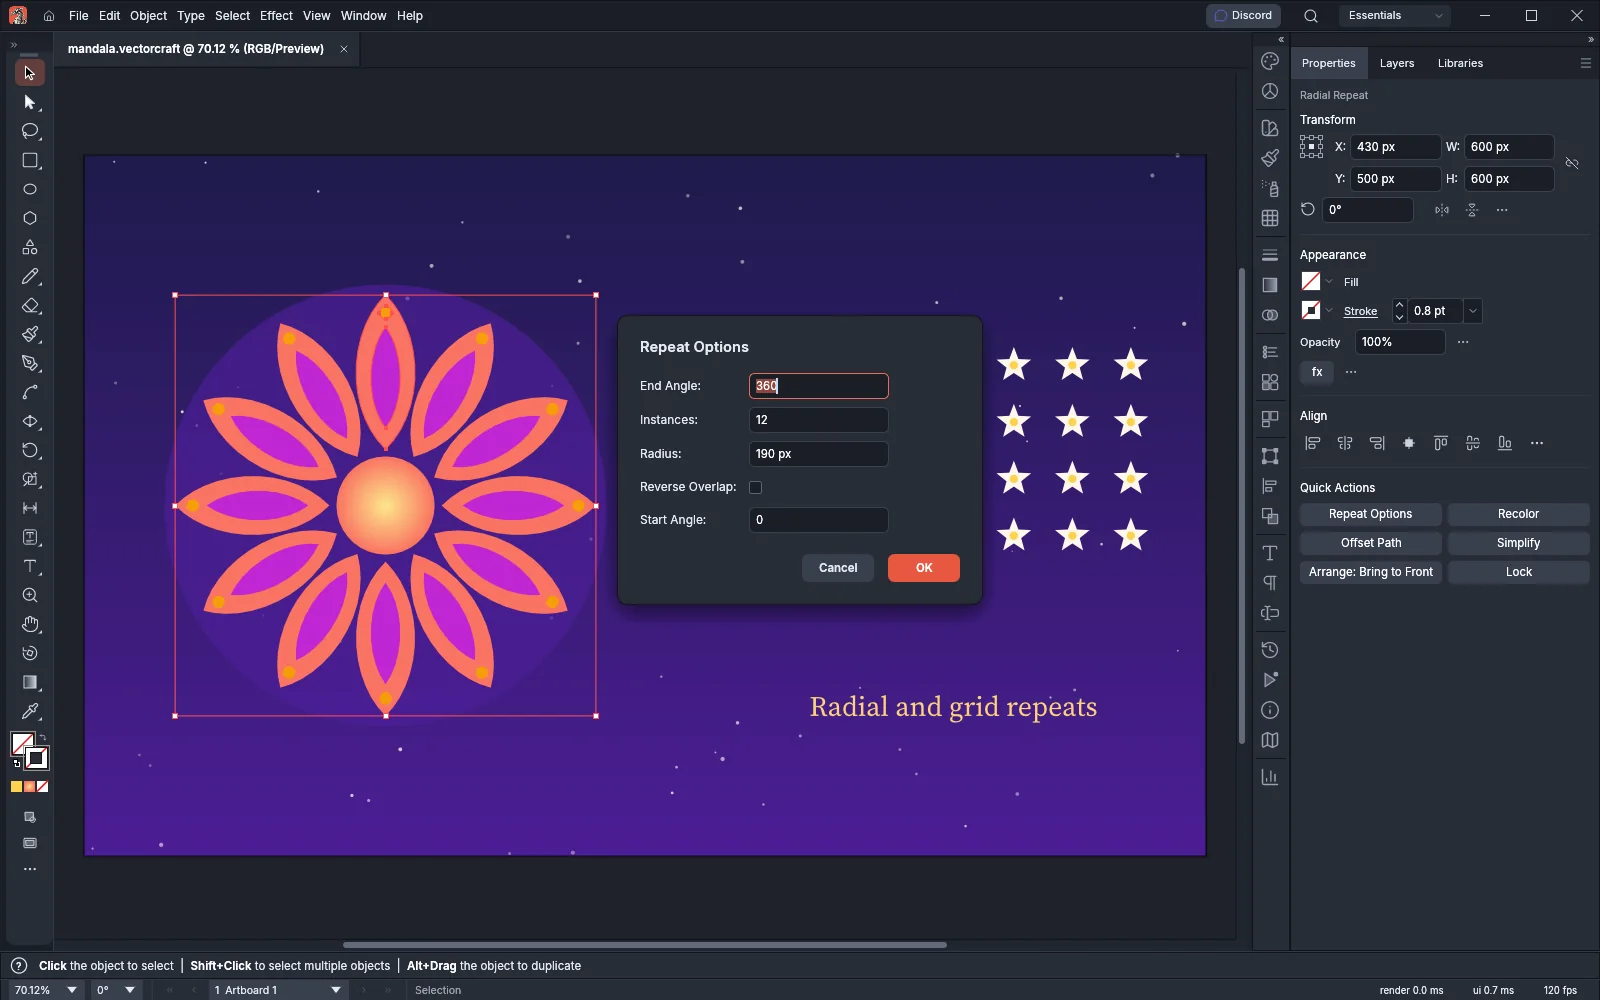
- To change the arrangement, choose Object → Repeat → Options…, set the values and click OK.
| Repeat | Starts with | Options in Repeat Options |
|---|---|---|
| Radial | 8 copies around a center below the art | Instances (1 to 1000), Radius, Start Angle and End Angle, and Reverse Overlap, which draws the copies in the opposite order where they overlap |
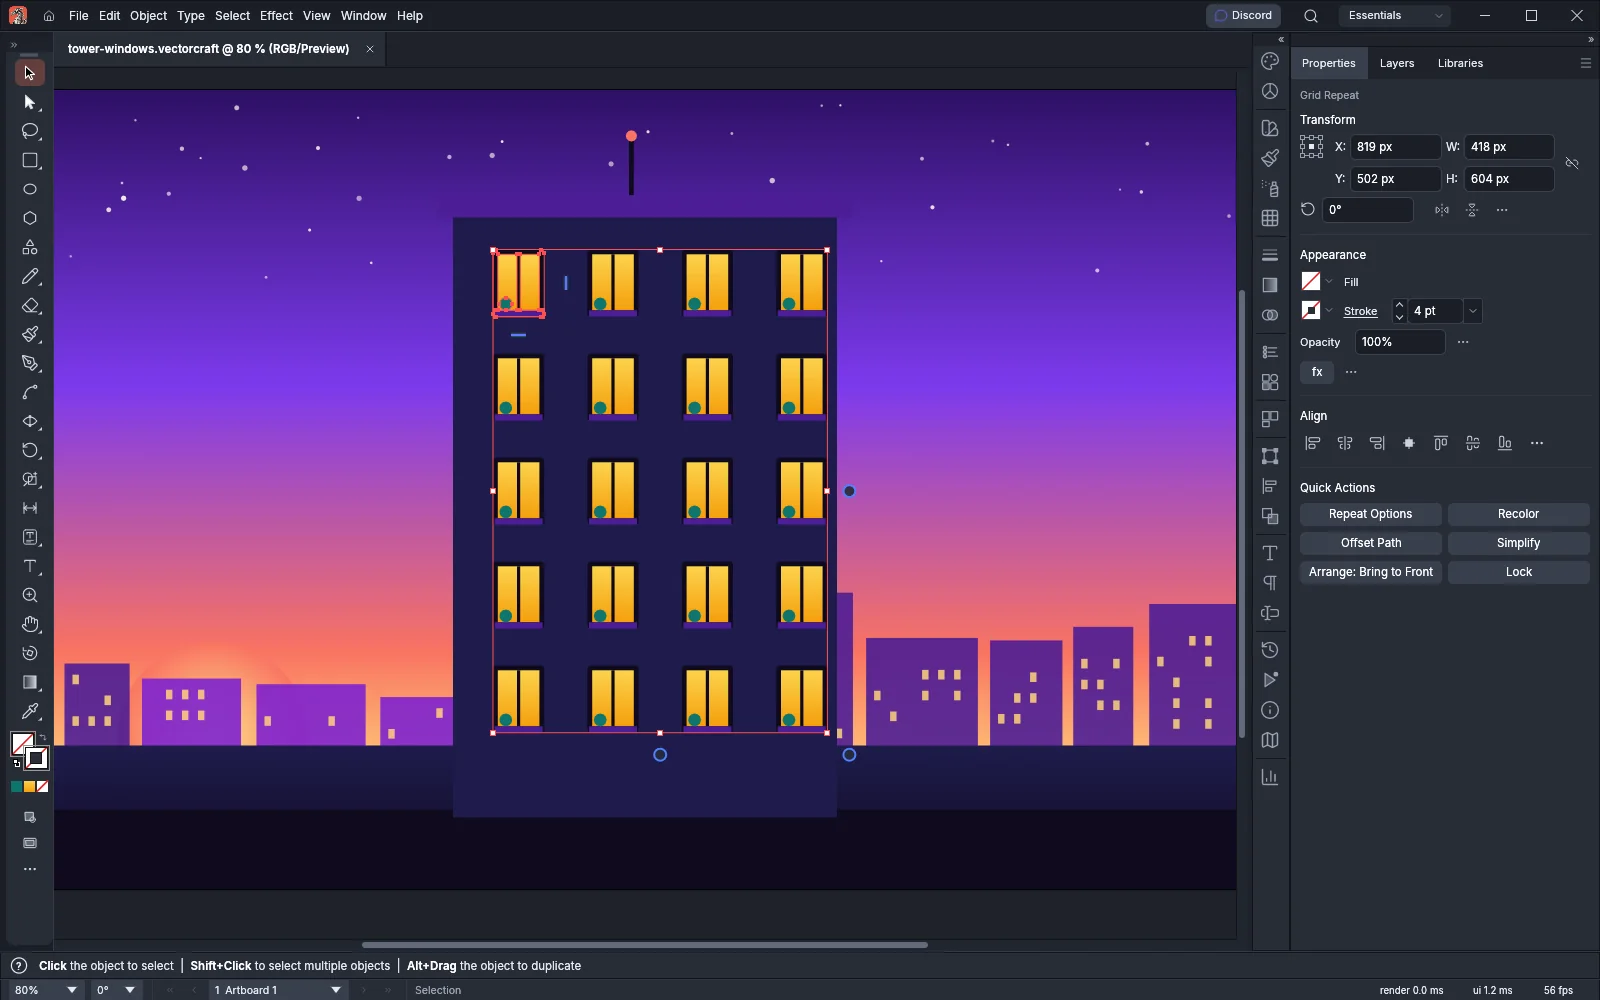
| Grid | 3 rows and 3 columns, with gaps of a quarter of the art’s size | Rows and Cols (1 to 500 each), H Spacing and V Spacing, Grid Type, a text field where you type grid, brickByRow, brickByColumn, hexByColumn or hexByRow, Flip Rows and Flip Cols, and Preview |
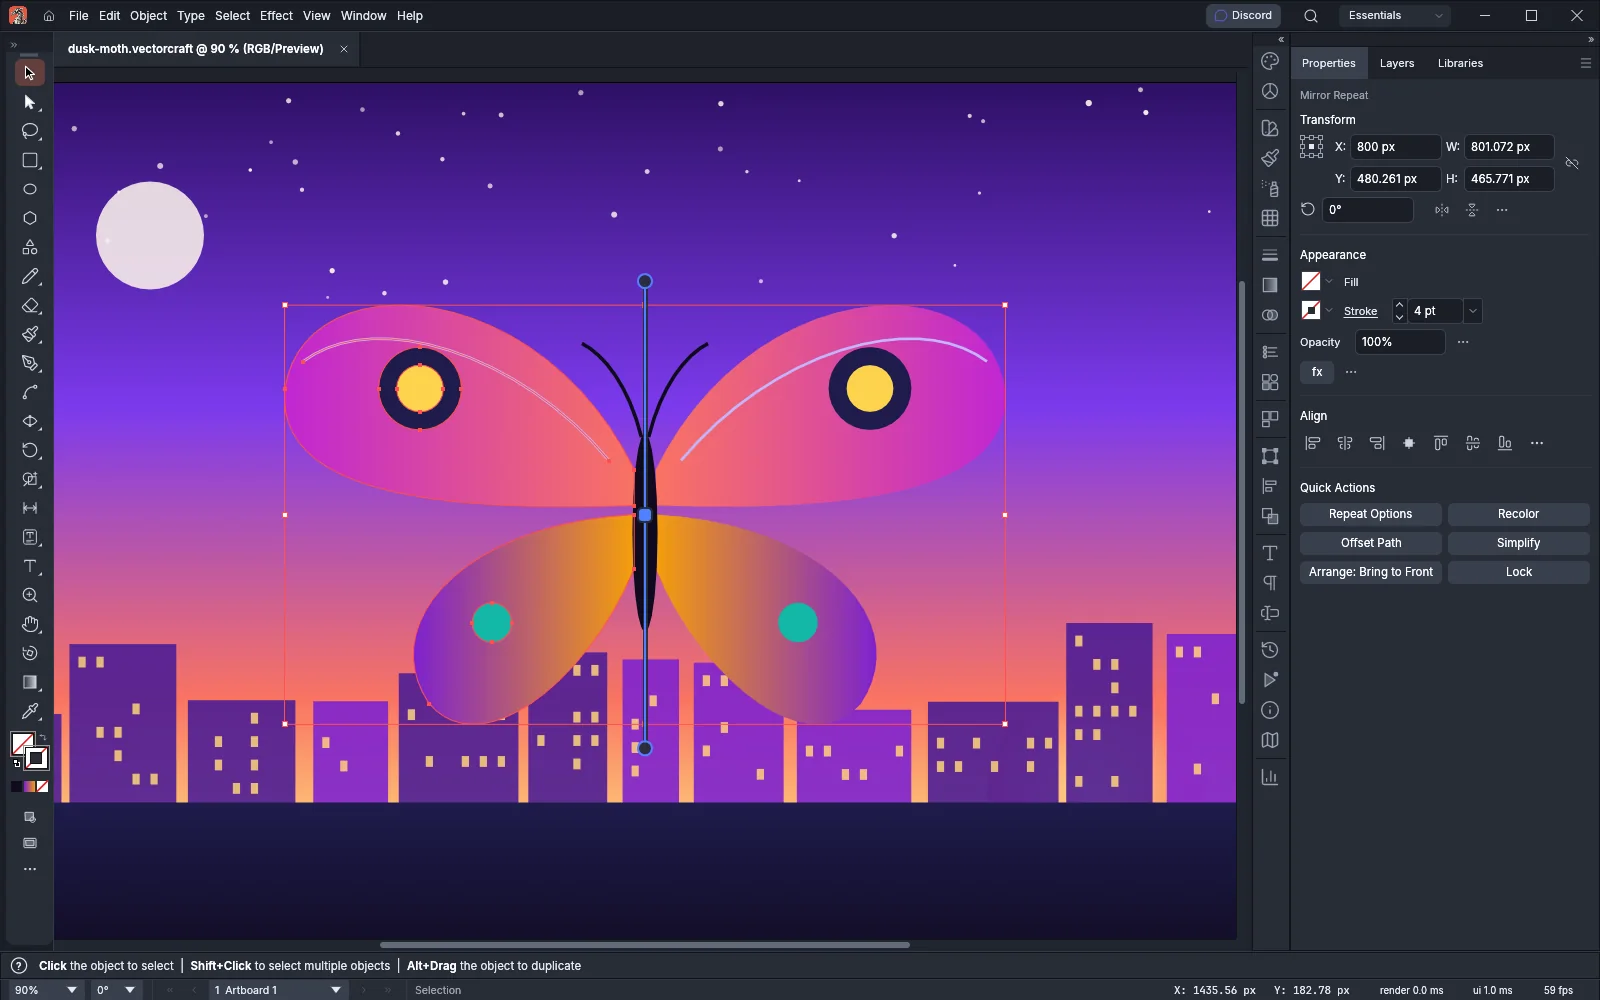
| Mirror | A vertical axis 10 pt to the right of the art | Angle of the axis |
A selected grid or mirror repeat also has controls on the canvas. Each drag of a control is one undo step.
- Grid: drag the handle below the grid to add or remove rows, the handle to the right to add or remove columns, and the handle past the corner to change both. Drag the short bars between the first columns or rows to change the spacing.
- Mirror: drag the middle of the axis to move it, and drag an end of the axis to turn it.
To change the art that a repeat copies, double-click the repeat with the Selection tool. The repeat opens in isolation mode, and you edit its source art. With one repeat selected, choosing another kind from Object → Repeat changes it to that kind.
To take the art out of the repeat, select it and choose Object → Repeat → Release. You get the source art back without the copies. To keep the copies as ordinary objects instead, choose Object → Expand. Each repeat becomes a group of its copies.
Weave objects with Intertwine
Section titled “Weave objects with Intertwine”Intertwine sets which object is drawn on top in each area where objects overlap, so that they pass over and under each other.
- Select two or more overlapping objects.
- Choose Object → Intertwine → Make. VectorCraft puts the objects in an Intertwine group and switches to the Intertwine tool.
- Point to a place where the objects overlap. The tool outlines that overlap area in red.
- Click the area. The object drawn just below the top one comes to the front there. Click again to swap them back.
- To change several areas at once, drag a path around them. Hold Shift as you start the drag to draw a rectangle instead.
- Press Esc or Enter to go back to the tool you used before.
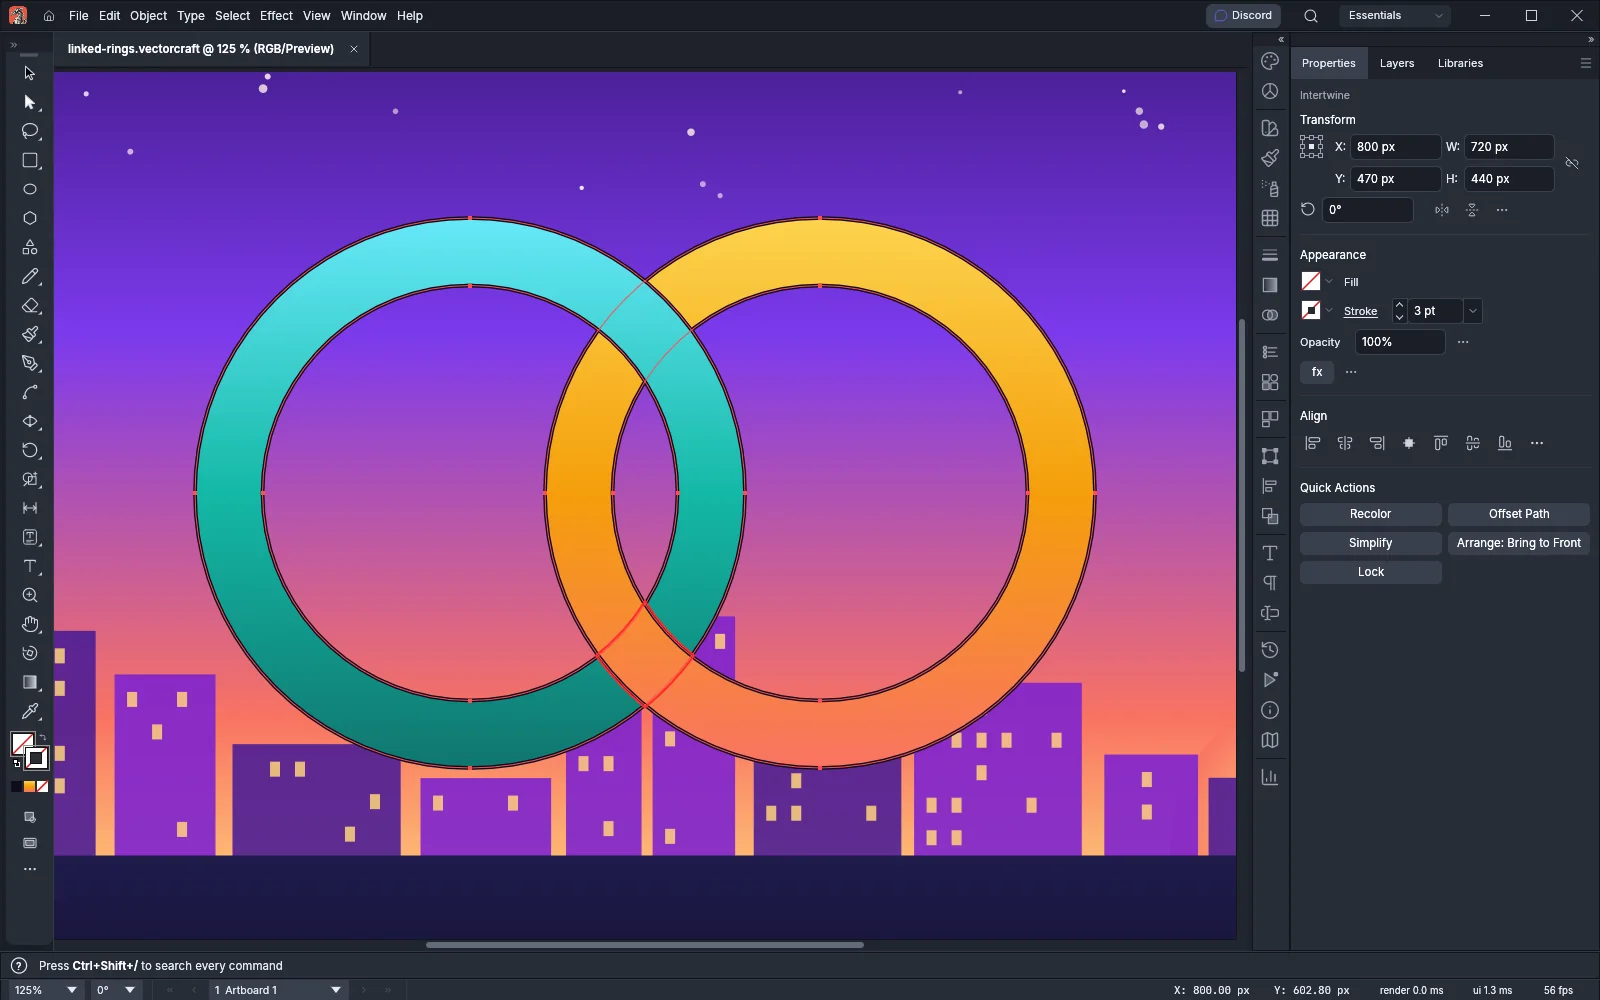
Where three or more objects overlap, right-click the area and choose Bring to Front, Bring Forward, Send Backward or Send to Back. The command moves the object nearest to the pointer, in that area only.
To change the group later, select it and choose Object → Intertwine → Edit. To give the objects back as they were before you made the group, choose Object → Intertwine → Release. To keep the woven look as ordinary objects, choose Object → Expand.
Place objects along a path
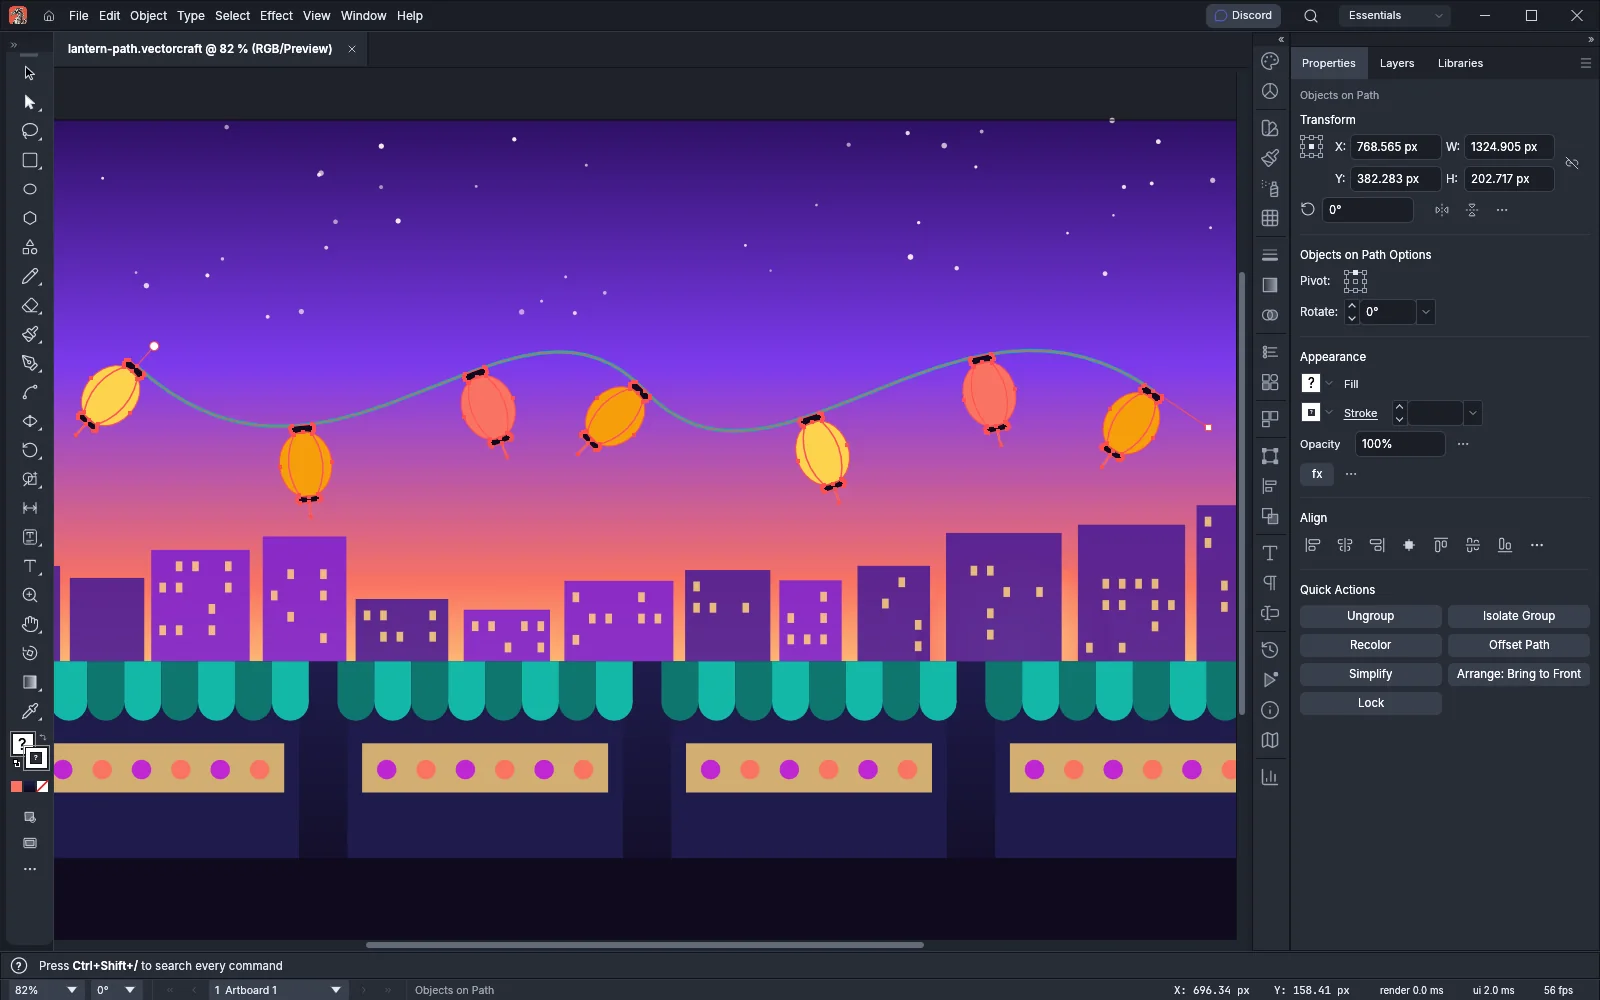
Section titled “Place objects along a path”The Objects on Path tool spreads objects evenly along a path and turns each one to follow it. When you reshape the path, the objects move with it.
- Draw the path, and the objects to place on it.
- Select the objects.
- Choose the Objects on Path tool. It shares a slot with the Blend tool in the Tools panel. You can also choose Object → Objects on Path → Attach, which chooses the tool for you.
- Point to the path. VectorCraft highlights it.
- Click the path. The objects attach to it in an Objects on Path group, from the first anchor point of the path.
The objects go onto the path in their order on the canvas, column by column from left to right. With one Objects on Path group selected, the Selection tool and the Objects on Path tool show handles on the canvas:
- The round handle beside the first object turns every object of the group. Hold Shift to turn in 15° steps.
- The square handle past the last object sets the distance between the objects. It shows when the group has two or more objects. Hold Alt (Option on macOS) to spread them from both ends of the path toward its center.
Press Esc during either drag to cancel it.
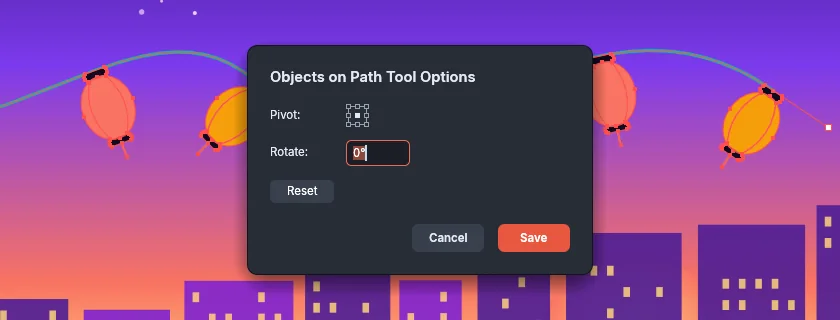
To set how the next objects attach, double-click the Objects on Path tool. In Objects on Path Tool Options, choose the Pivot, the point of each object that sits on the path (the center by default), and the Rotate angle, from −360° to 360° (0° by default). Click Save. Reset puts the center and 0° back. Groups you made earlier keep their settings.
To keep the objects where they are and stop them following the path, choose Object → Objects on Path → Expand. The group becomes an ordinary group of the path and the objects.
Blend between objects with the Blend tool
Section titled “Blend between objects with the Blend tool”A blend fills the space between two or more objects with steps that change in shape and color from one to the next.
- Press W to choose the Blend tool.
- Click the first object. To start the blend from a particular anchor point, click that point.
- Click the second object, or an anchor point of it. VectorCraft makes the blend.
- To add more objects to the blend, click them in turn.
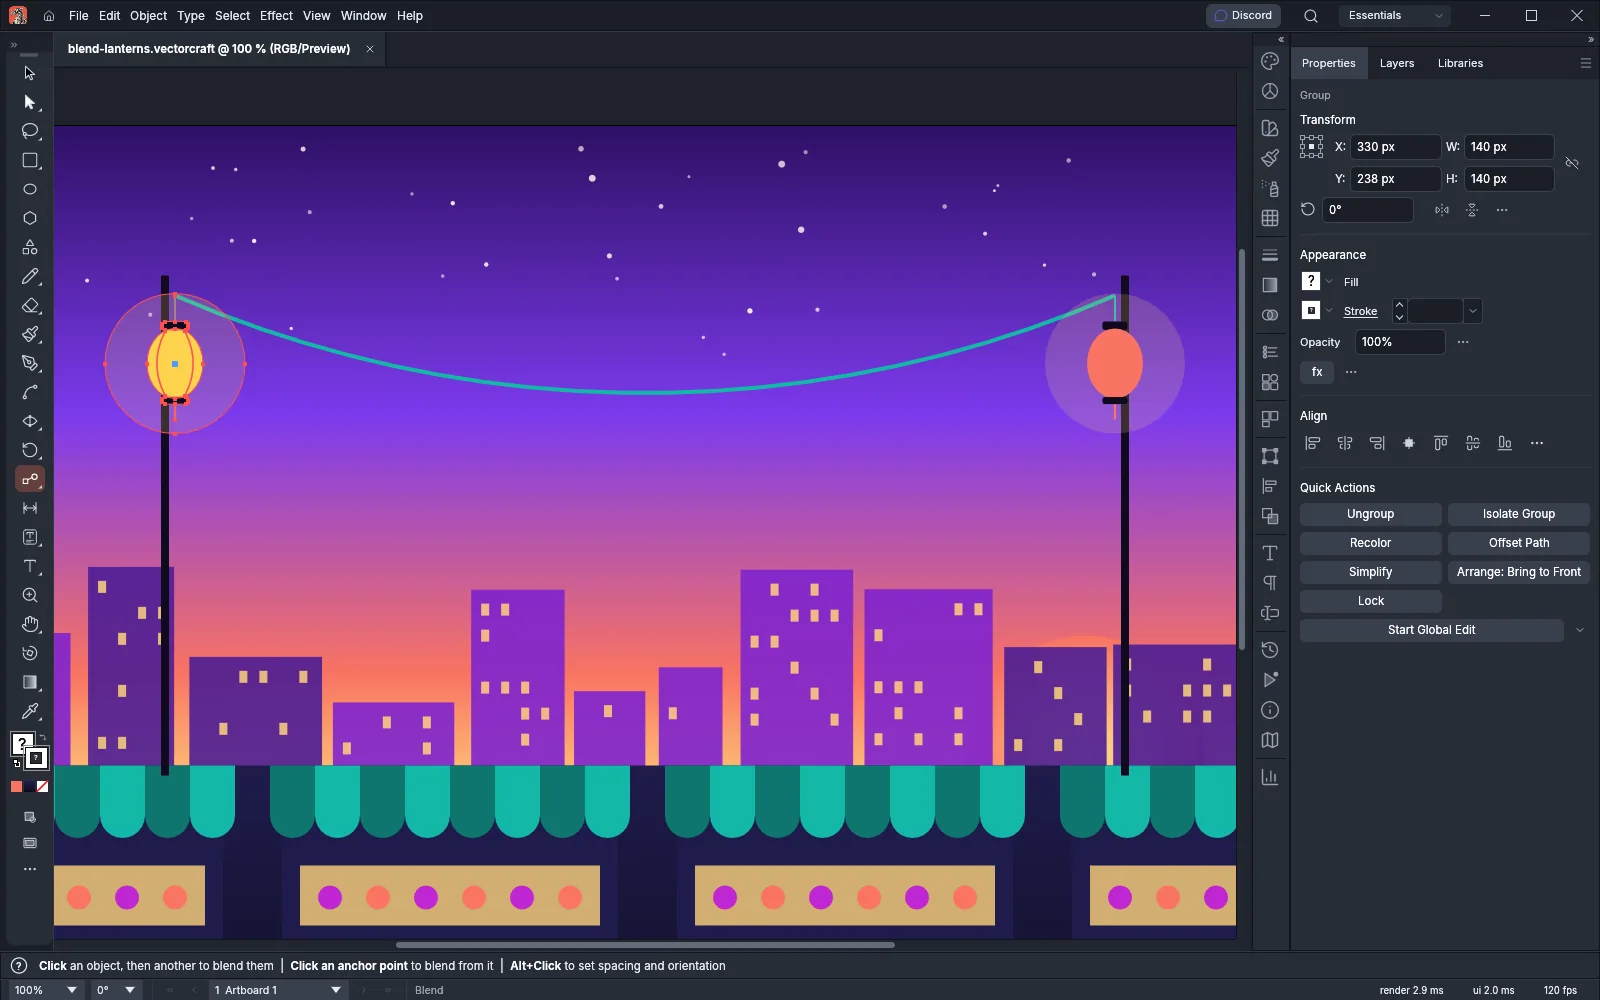
To start over, click an empty part of the canvas or press Esc. You can also select the objects and choose Object → Blend → Make (Ctrl+Alt+B, or Cmd+Option+B on macOS). The blend runs from the back object to the front one.
Set blend options and change the spine
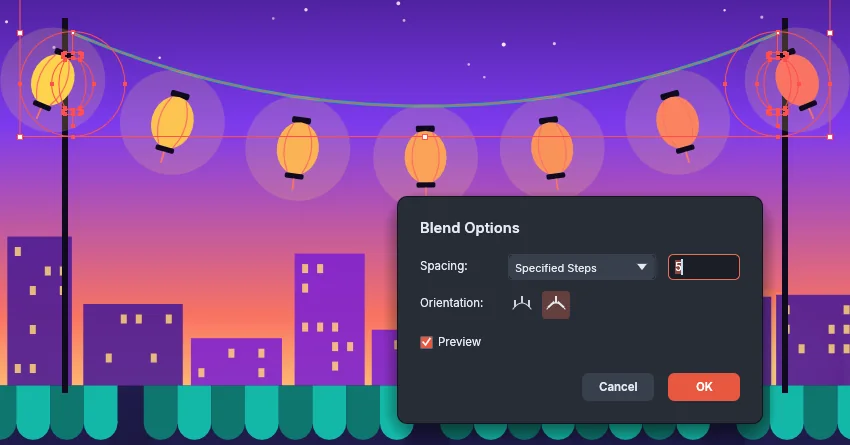
Section titled “Set blend options and change the spine”To open Blend Options, select the blend and choose Object → Blend → Blend Options…, or double-click the Blend tool. Alt-click (Option-click on macOS) with the Blend tool opens it too. With Preview on, the blend on the canvas shows each change. With no blend selected, the dialog sets the options of the blends you make next.
| Option | Default | What it does |
|---|---|---|
| Spacing | Smooth Color | Smooth Color chooses the number of steps from the difference between the colors. Specified Steps sets the number of steps between each pair of objects, from 1 to 1000. Specified Distance sets the distance between the steps |
| Orientation | Align to Page | Align to Page keeps every step upright. Align to Path turns each step to follow the spine of the blend |
The spine is the path that the steps follow. A new blend’s spine is a straight line between the objects. The commands in Object → Blend change it:
| Command | What it does |
|---|---|
| Replace Spine | Uses a path as the spine. Select the blend and the path, then choose the command. The path becomes the spine and is no longer a separate object |
| Reverse Spine | Reverses the order of the objects along the spine |
| Reverse Front to Back | Reverses the stacking order of the steps |
| Expand | Replaces the blend with a group of its objects and steps as ordinary objects |
| Release | Removes the steps. The original objects come back, and the spine stays as a path with no fill or stroke |
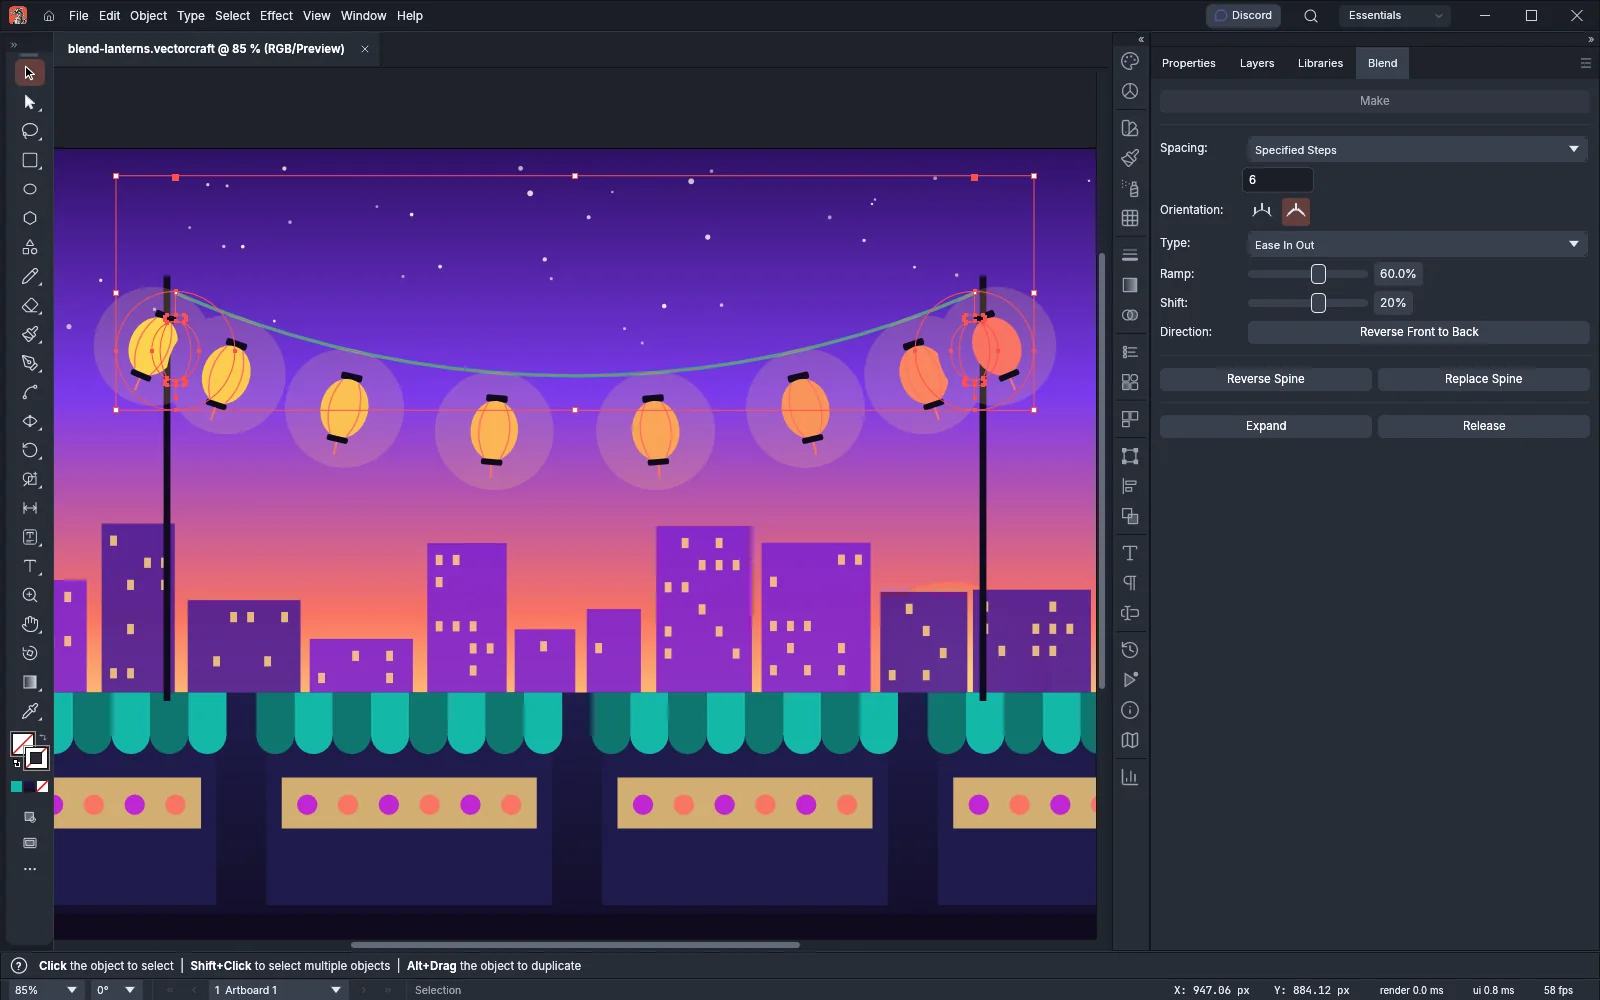
The Blend panel (Window → Blend) has buttons for all of these commands and the Spacing and Orientation settings. It also has settings that the dialog does not have:
| Setting | What it does |
|---|---|
| Type | How the steps are spread along the spine: Ease In, Ease Out, Ease In Out or Ease Out In |
| Ramp | How strongly the easing applies, from 0% to 100%. At 0% the steps are even |
| Shift | Moves the color change toward one end of the blend, from −100% to 100%, without moving the steps |
Type and Ramp are available only when a blend is selected and that blend has a replaced spine or uses Align to Path. Shift is available only when a blend is selected.