
Paint with brushes and variable widths
This guide covers the Brushes panel and its five kinds of brushes, the Paintbrush and Blob Brush tools, brush libraries, and the Width tool, which makes a stroke wider or narrower at the points you choose.
| Tool or panel | Windows and Linux | macOS |
|---|---|---|
| Brushes panel | F5 | F5 |
| Paintbrush tool | B | B |
| Blob Brush tool | Shift+B | Shift+B |
| Width tool | Shift+W | Shift+W |
Kinds of brushes
Section titled “Kinds of brushes”A brush draws along the path of a stroke. The path keeps its anchor points, so you can still reshape it, and the brush follows the new shape. Open the Brushes panel with Window → Brushes. The panel groups the brushes by kind, in the order of the following table.
| Kind | What it draws along the path | How you make one |
|---|---|---|
| Calligraphic | An oval pen tip at a set angle, so the stroke is thicker in some directions than in others | New Calligraphic Brush in the panel menu, or New Brush… |
| Scatter | Copies of a piece of art spread along the path, with size, spacing, scatter and rotation that can vary | Select the art, then New Scatter Brush from Selection |
| Art | One piece of art stretched along the whole length of the path | Select the art, then New Art Brush from Selection |
| Bristle | Many thin, partly transparent strands, like the marks of a real paintbrush | New Bristle Brush in the panel menu, or New Brush… |
| Pattern | Tiles repeated along the path, with separate tiles for the sides, the corners and the two ends | Select the art for the side tile, then New Pattern Brush from Selection |
A new document has a starting set: 3 pt. Round, 6 pt. Flat and 10 pt. Oval (calligraphic), Dots, Confetti and Leaves (scatter), Charcoal, Tapered Stroke and Arrow (art), Bristle Round and Bristle Flat Fan (bristle), and Chain, Stitches and Diamonds (pattern).
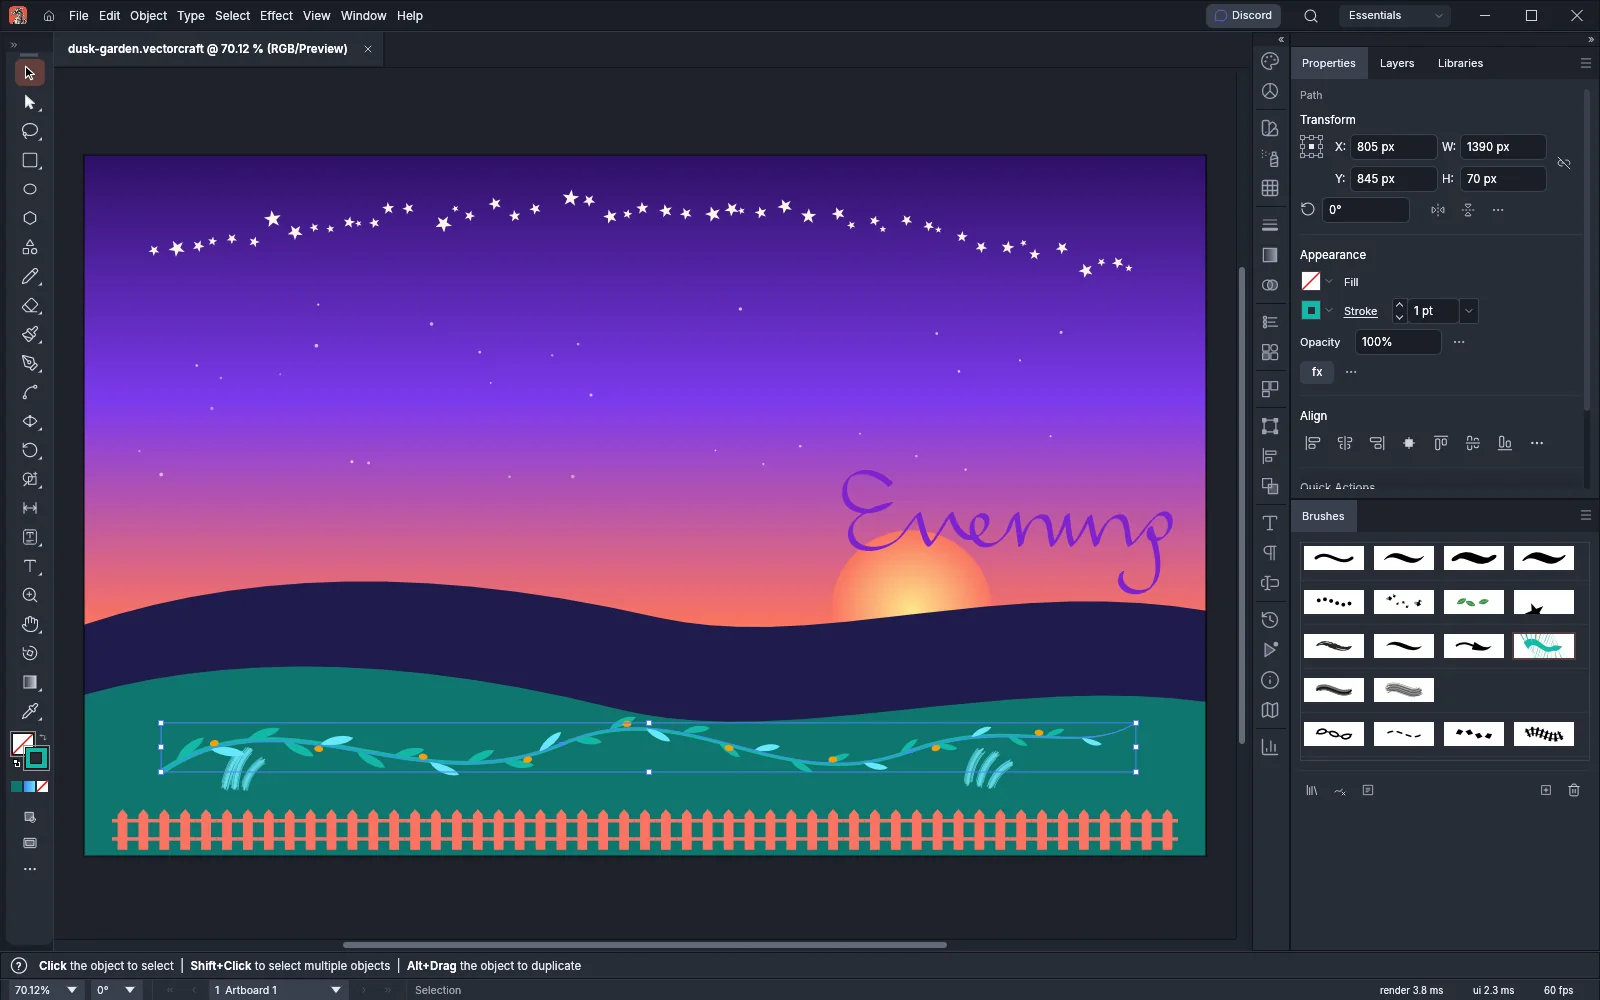
The panel menu, which opens from the button at the top right of the Brushes panel, also has these commands:
- Show Calligraphic Brushes, Show Scatter Brushes, Show Art Brushes, Show Bristle Brushes and Show Pattern Brushes hide or show that kind in the panel.
- Thumbnail View shows each brush as a tile, and List View shows a row with a preview and the brush’s name.
- Duplicate Brush copies the selected brushes. A copy is named after the original with “copy” added.
- Delete Brush deletes the selected brushes, as the button at the bottom of the panel does.
- Select All Unused selects the brushes that no stroke in the document uses.
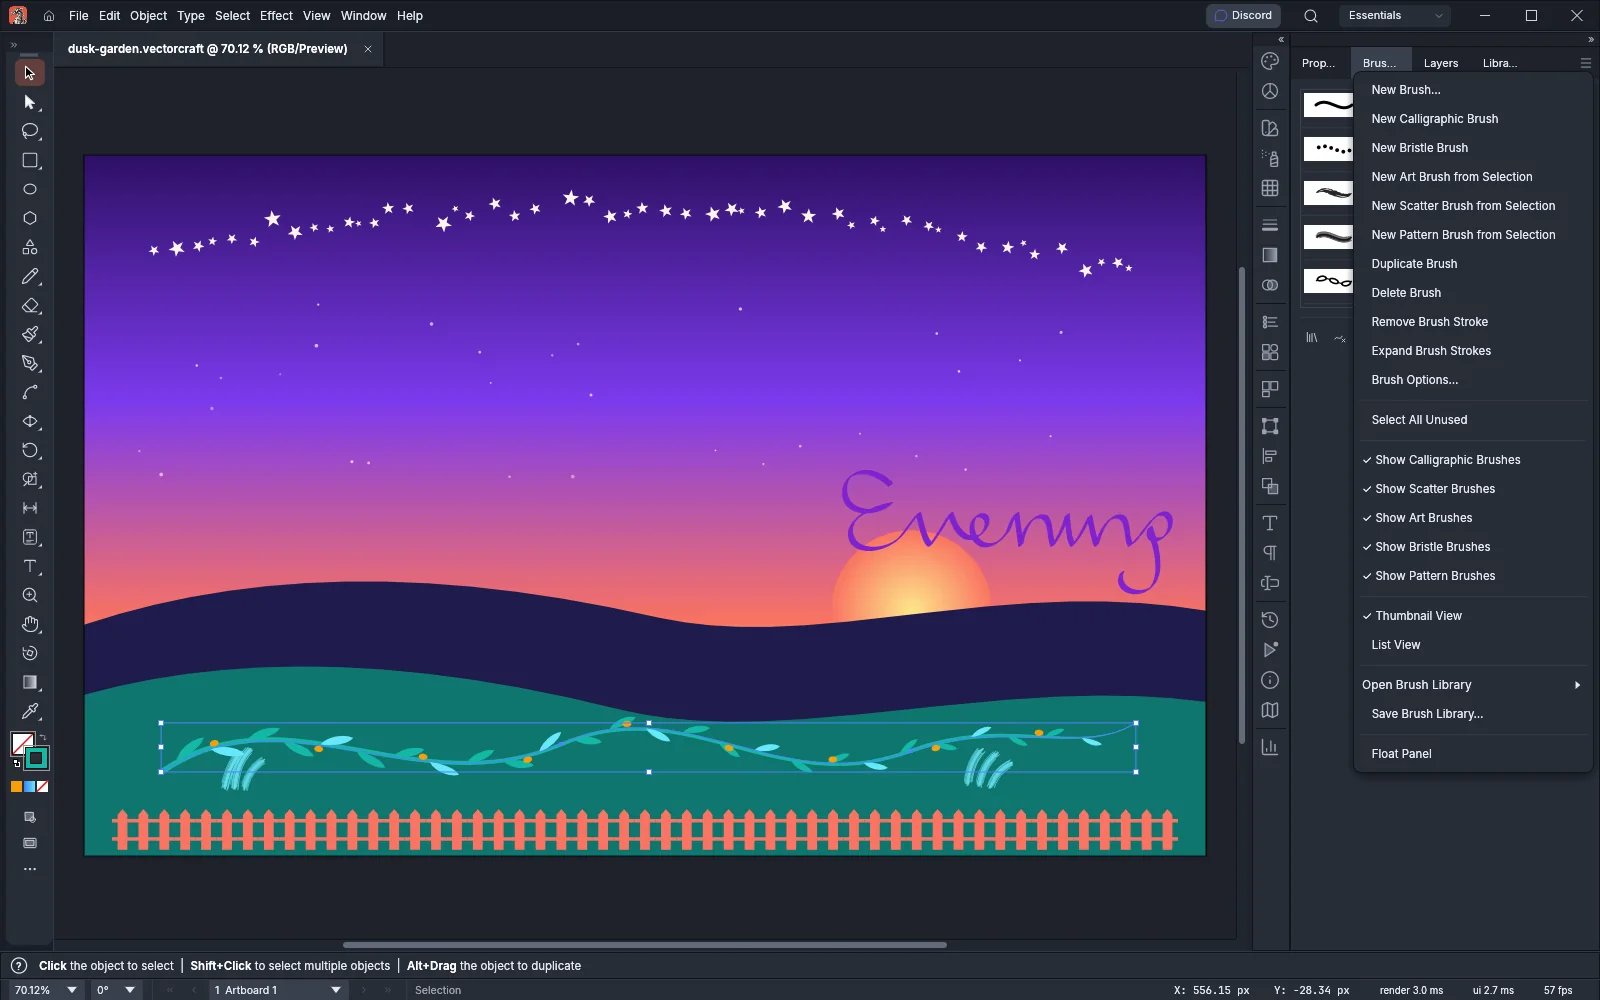
To select several brushes in the panel, Shift-click to select a range, or Ctrl-click (Cmd-click on macOS) to add or remove one brush. To change the order of the brushes, drag a brush to a new place among the brushes of its kind.
Apply a brush to a path
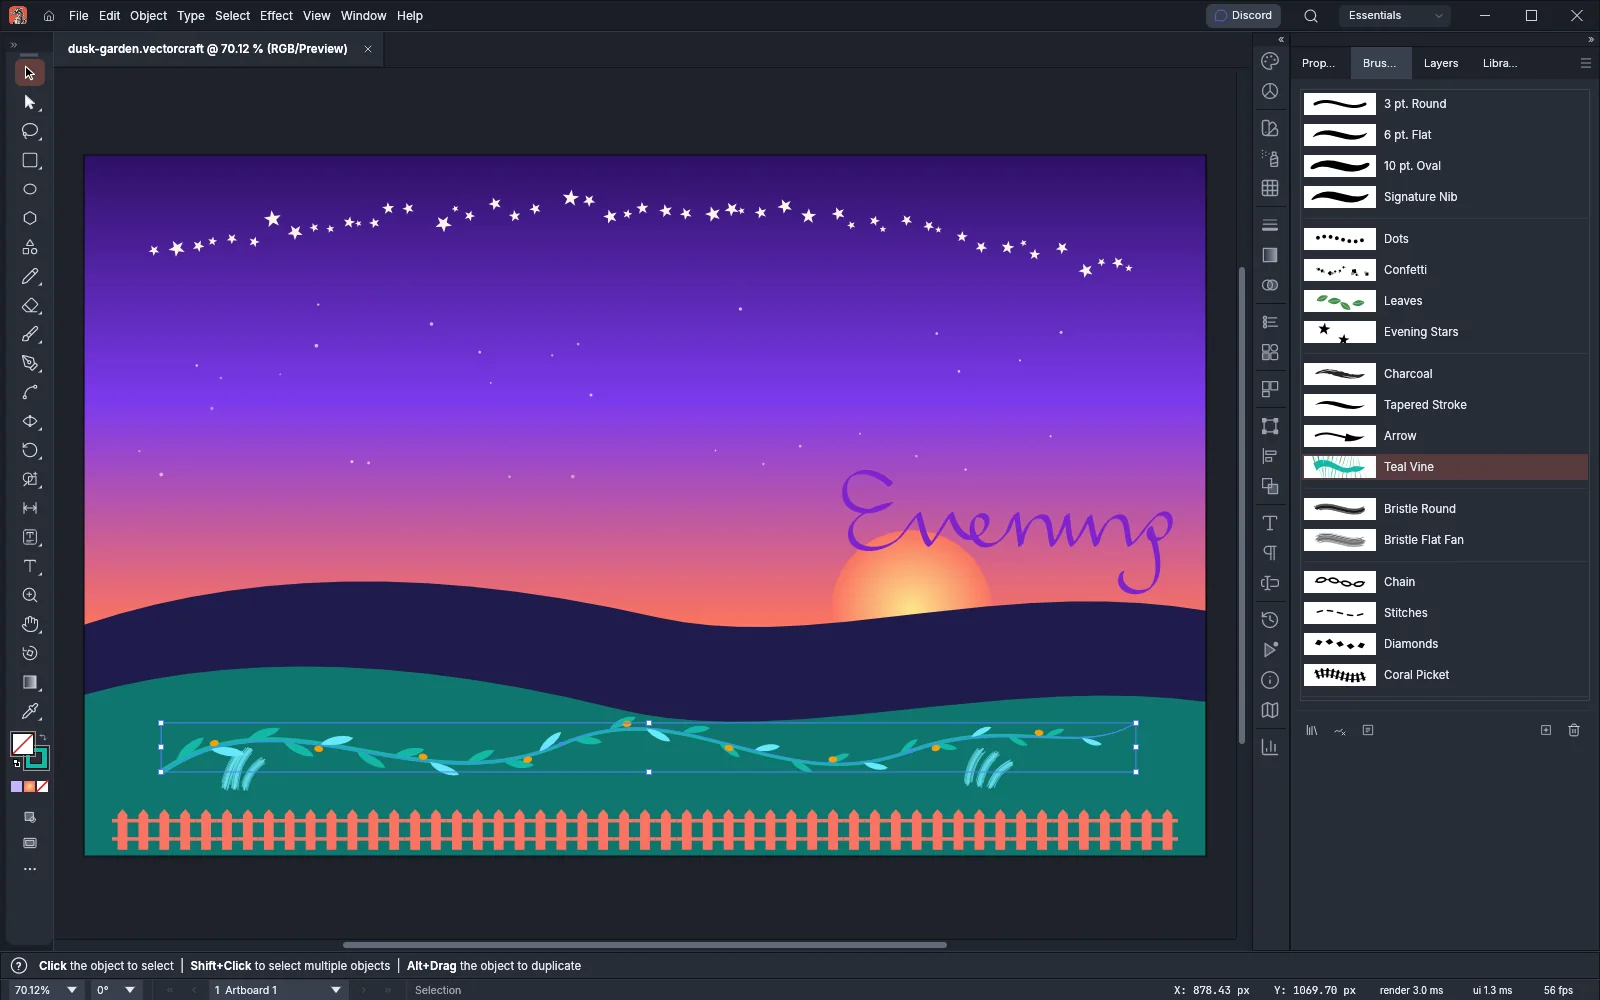
Section titled “Apply a brush to a path”- Select one or more paths.
- Click a brush in the Brushes panel. The brush is applied to the strokes of the selected paths. A path that has no stroke gets one in the current stroke color, or in black when the stroke is None.
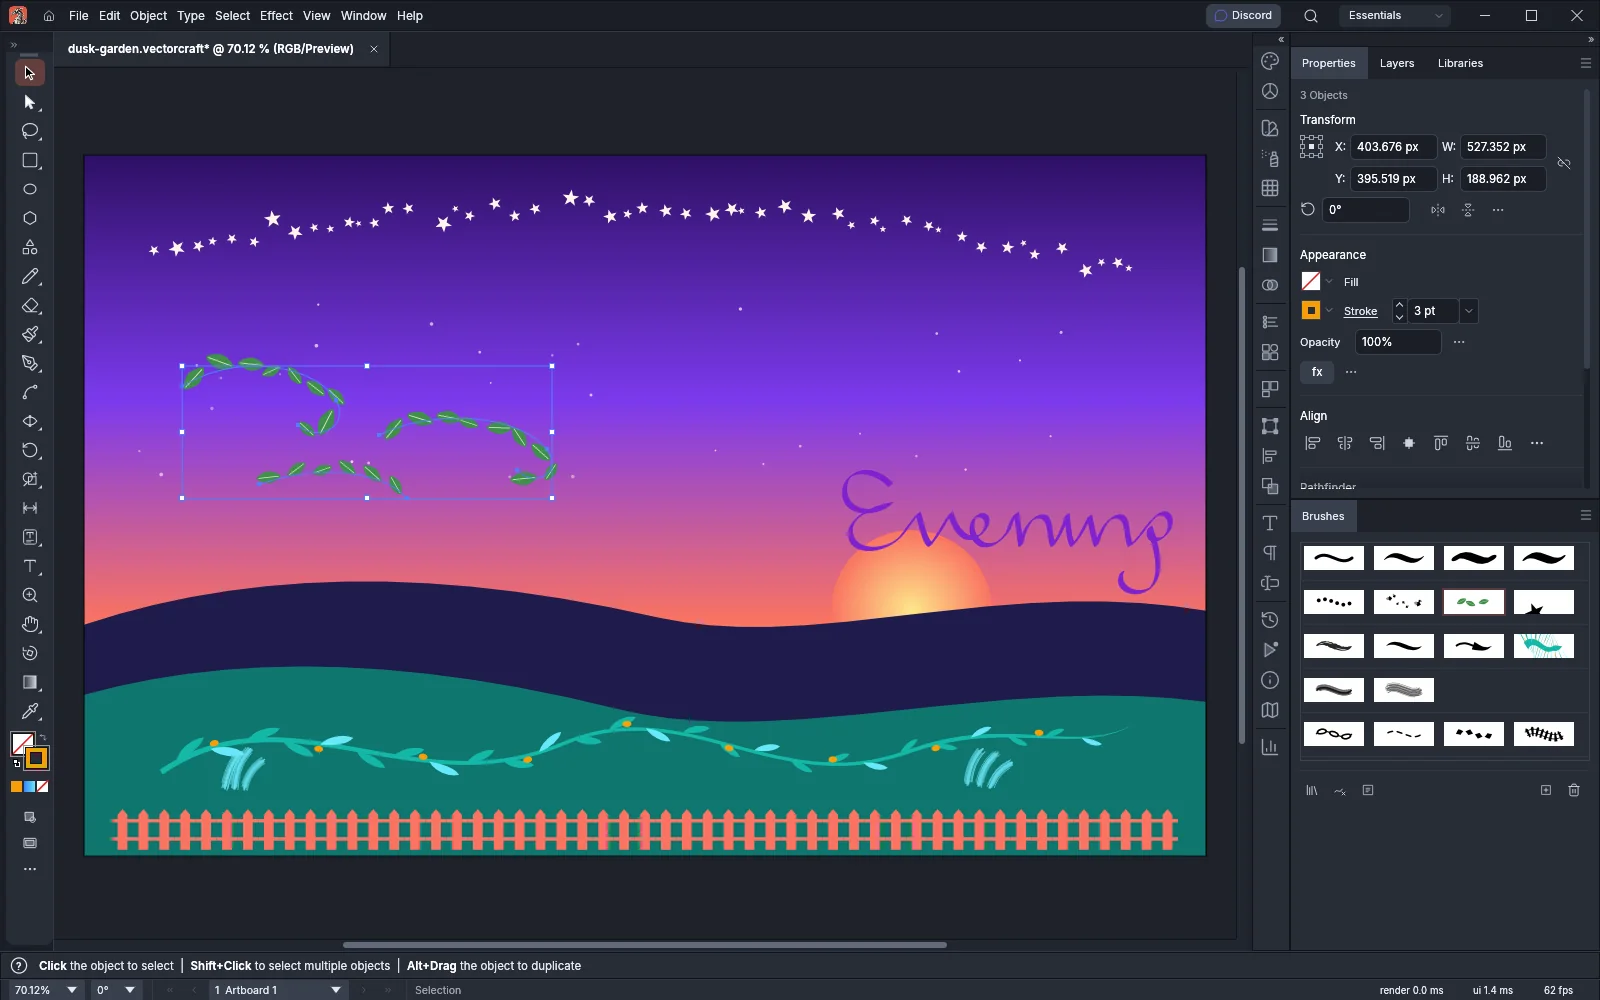
You can also drag a brush from the panel onto a path, whether or not it is selected.
The brush becomes the current brush, which the Paintbrush paints with. To make a brush current without applying it, click it with nothing selected.
To take the brush off a path and leave a plain stroke, select the path and click Remove Brush Stroke at the bottom of the panel, or choose it from the panel menu. To select every path that uses a brush, choose Select → Object → Brush Strokes, or Select → Object → Bristle Brush Strokes for the paths that use a bristle brush. For more ways to select, see Select artwork.
A brush stroke takes its color from the stroke color. A scatter, art or pattern brush also uses its Colorization setting, which Change a brush’s options describes. To change the stroke color and weight, see Fill, stroke and color.
Paint with the Paintbrush
Section titled “Paint with the Paintbrush”The Paintbrush draws a freehand path where you drag and applies the current brush to it.
- In the Brushes panel, click the brush to paint with. Press Ctrl+Shift+A (Cmd+Shift+A on macOS) first if something is selected, so that the click does not apply the brush to the selection.
- Press B to choose the Paintbrush tool.
- Drag on the canvas. The stroke follows the pointer as you drag.
- Release the mouse button. VectorCraft smooths the path and keeps it as a path with the brush on its stroke.
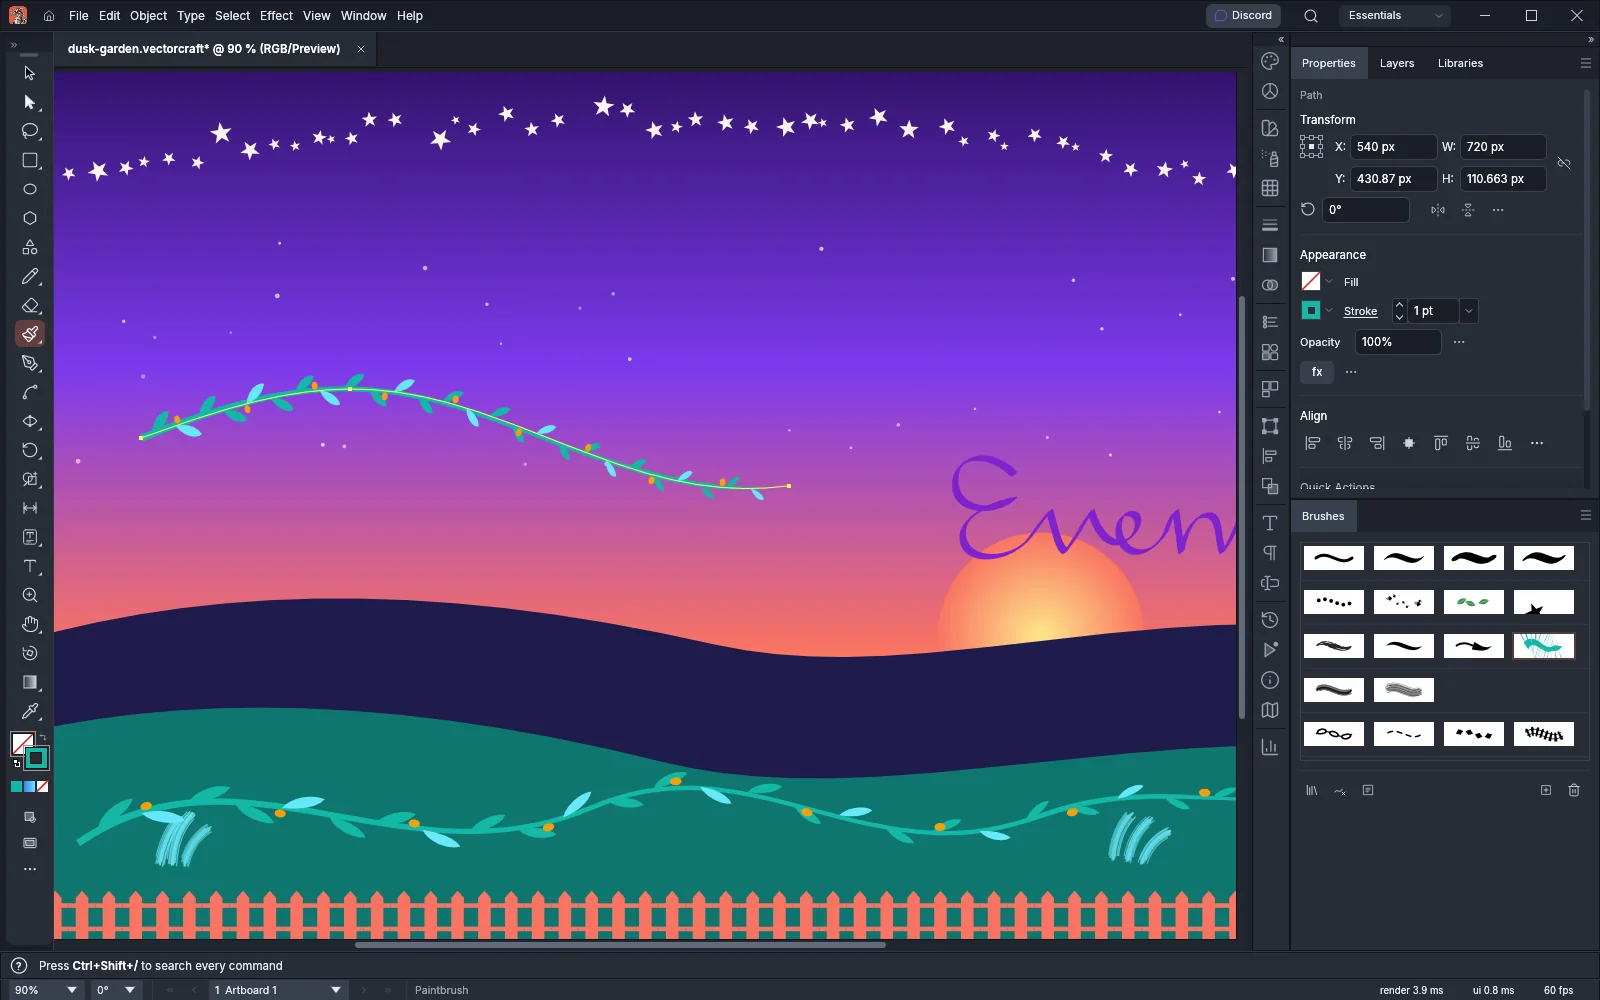
The stroke uses the current stroke color, or black when the stroke is None. With no current brush, the Paintbrush draws a plain stroke. With a drawing tablet, the Paintbrush records the pen pressure, tilt and barrel rotation, and brushes set to vary with them change along the stroke.
To close the path, press Alt (Option on macOS) after the stroke begins, and keep it held as you release. To smooth a selected path, hold Alt (Option on macOS) as you press, then drag along the path.
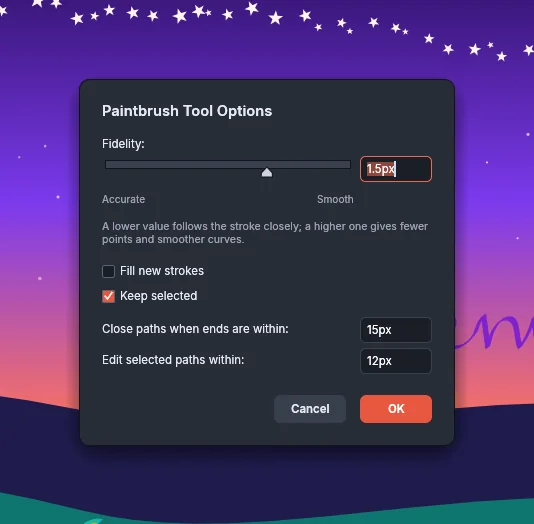
Double-click the Paintbrush tool in the Tools panel to open Paintbrush Tool Options. The options stay as you set them when you switch tools.
| Option | Default | What it does |
|---|---|---|
| Fidelity | 1.5 px | How closely the path follows your drag. Drag the slider toward Accurate for a path that follows every movement, or toward Smooth for fewer anchor points and smoother curves. The field takes 0.01 to 100 px, measured on screen |
| Fill new strokes | Off | Fills each new path with the current fill color |
| Keep selected | On | Keeps the new path selected after you draw it. When it is off, nothing is selected after a stroke |
| Close paths when ends are within | 15 px | Closes the path when you end the stroke this close to where it began. 0 turns it off |
| Edit selected paths within | 12 px | When you start a stroke this close to a selected path, the stroke redraws that part of the path instead of starting a new one. 0 turns it off |
Make your own brush from artwork
Section titled “Make your own brush from artwork”A scatter, art or pattern brush is made from artwork that you draw first.
- Draw the art. For an art or pattern brush, draw it lying horizontally, so that it runs left to right.
- Select the art. Several objects become one piece of brush art.
- Click New Brush at the bottom of the Brushes panel, or choose New Brush… from the panel menu.
- Choose Scatter Brush, Art Brush or Pattern Brush and click OK.
- In the Brush Options dialog that opens, type a name and set the options, then click OK.
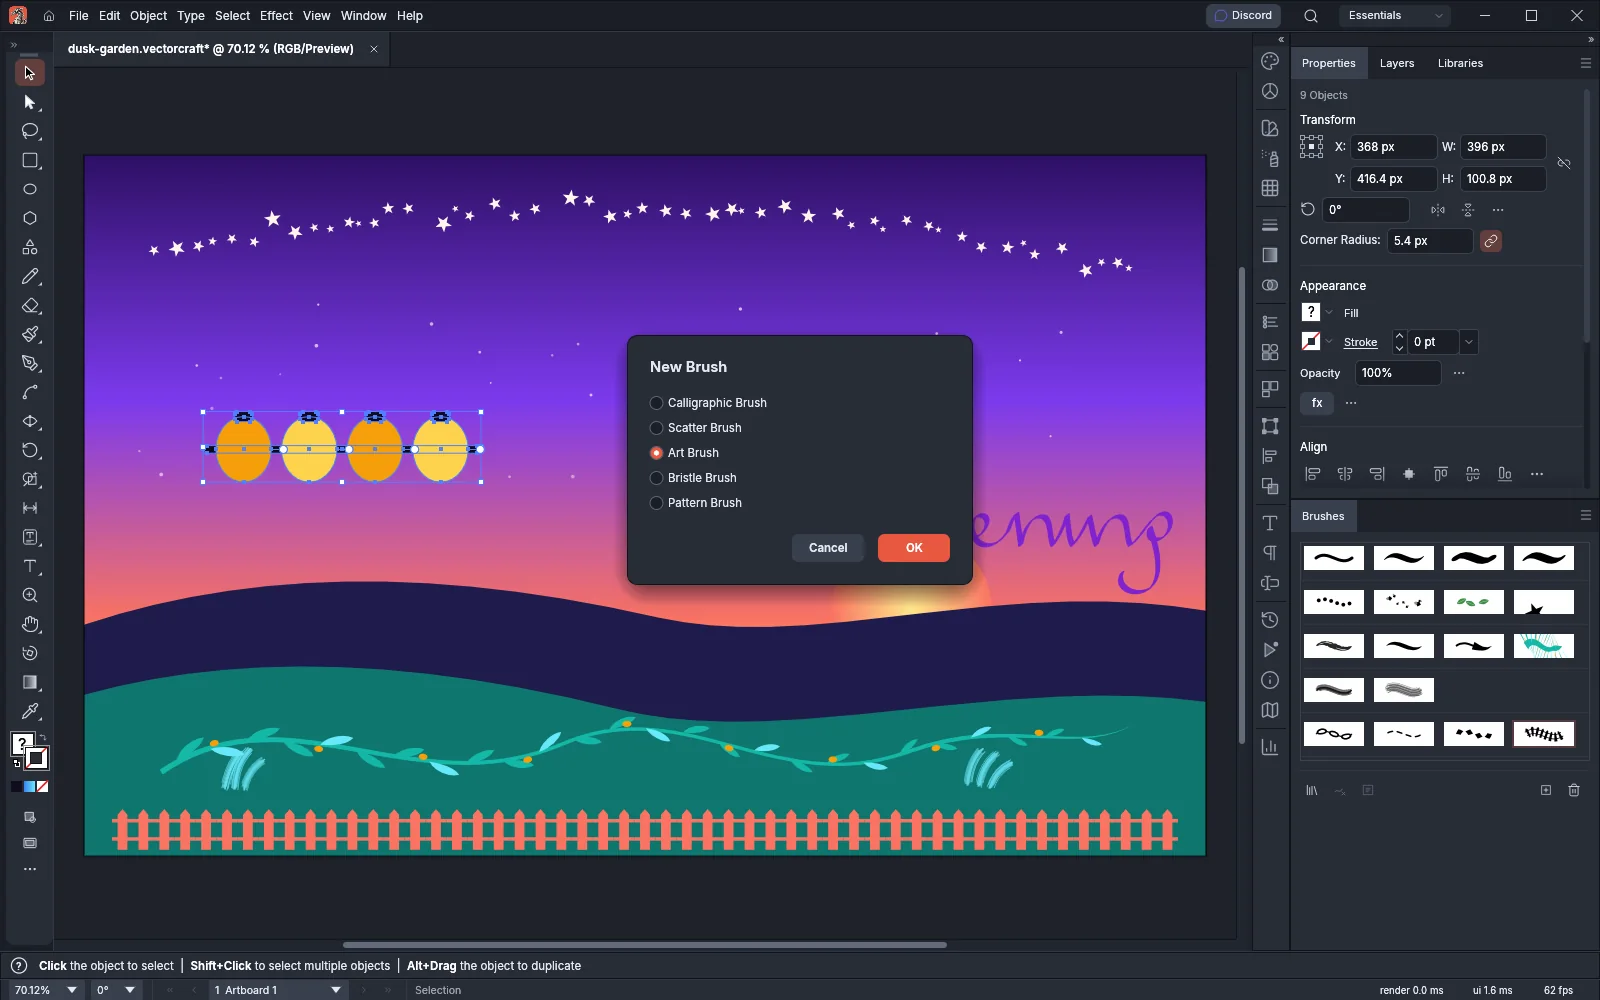
You can also drag the selected art from the canvas onto the list of brushes to open New Brush for it. The New Art Brush from Selection, New Scatter Brush from Selection and New Pattern Brush from Selection commands in the panel menu make the brush at once, without the dialog.
A calligraphic or bristle brush needs no art. Choose Calligraphic Brush or Bristle Brush in New Brush to set its options before you make it, or choose New Calligraphic Brush or New Bristle Brush in the panel menu to make one with the default options. A new brush is named New Art Brush, New Scatter Brush and so on, with a number when the name is taken.
Change a brush’s options
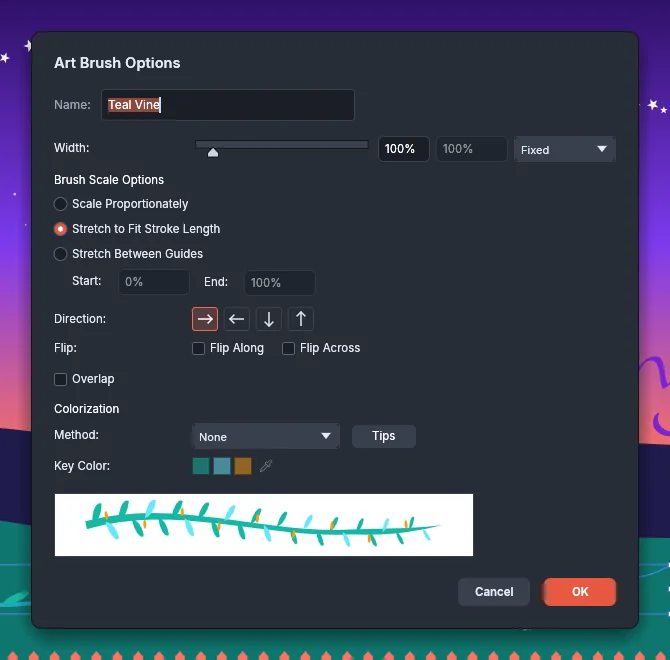
Section titled “Change a brush’s options”Double-click a brush in the Brushes panel to open its options. You can also select a path and choose Brush Options… from the panel menu, which opens the options of that path’s brush, or of the current brush when no brushed path is selected. When you click OK, every stroke that uses the brush updates. Each dialog has a preview of a stroke that updates as you change the values.
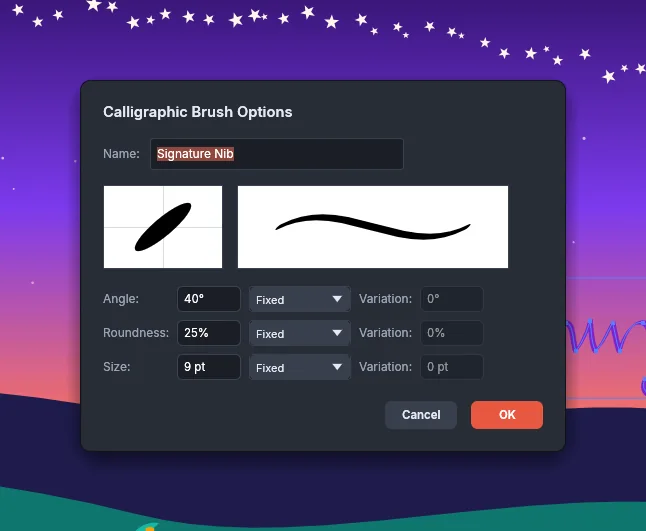
Calligraphic Brush Options set the pen tip. Angle runs from −180° to 180°, Roundness from 0 to 100% and Size from 0 to 1296 pt. Each value can be Fixed, Random, Pressure, Tilt, Bearing or Rotation, with a Variation that sets how far it moves. Pressure, Tilt, Bearing and Rotation read a drawing tablet’s pen.
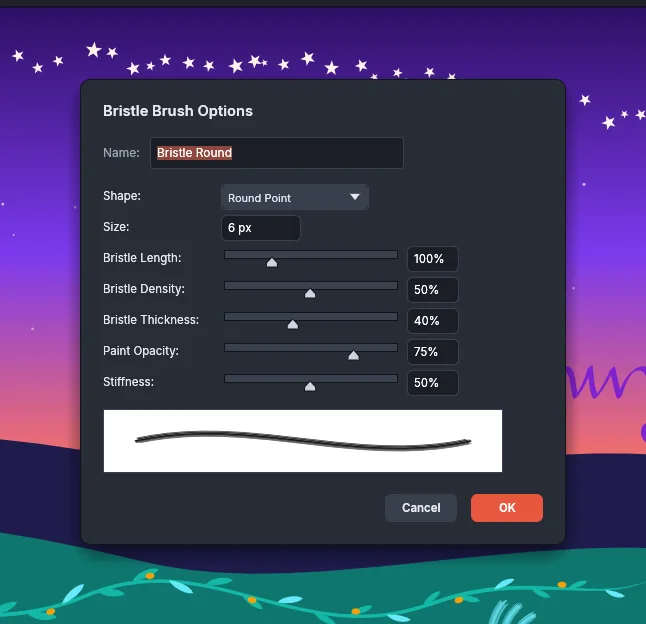
Bristle Brush Options set the Shape of the brush (Round Point, Flat Point, Round Blunt, Flat Blunt, Round Curve, Flat Curve, Round Angle, Flat Angle, Round Fan or Flat Fan) and its Size from 0.1 to 1296 pt. Bristle Length runs from 25 to 300%, and Bristle Density, Bristle Thickness, Paint Opacity and Stiffness run from 1 to 100%.
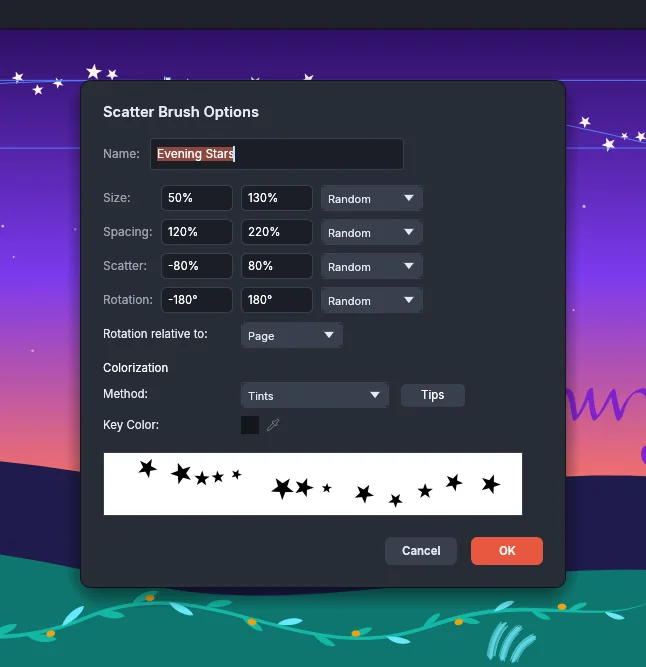
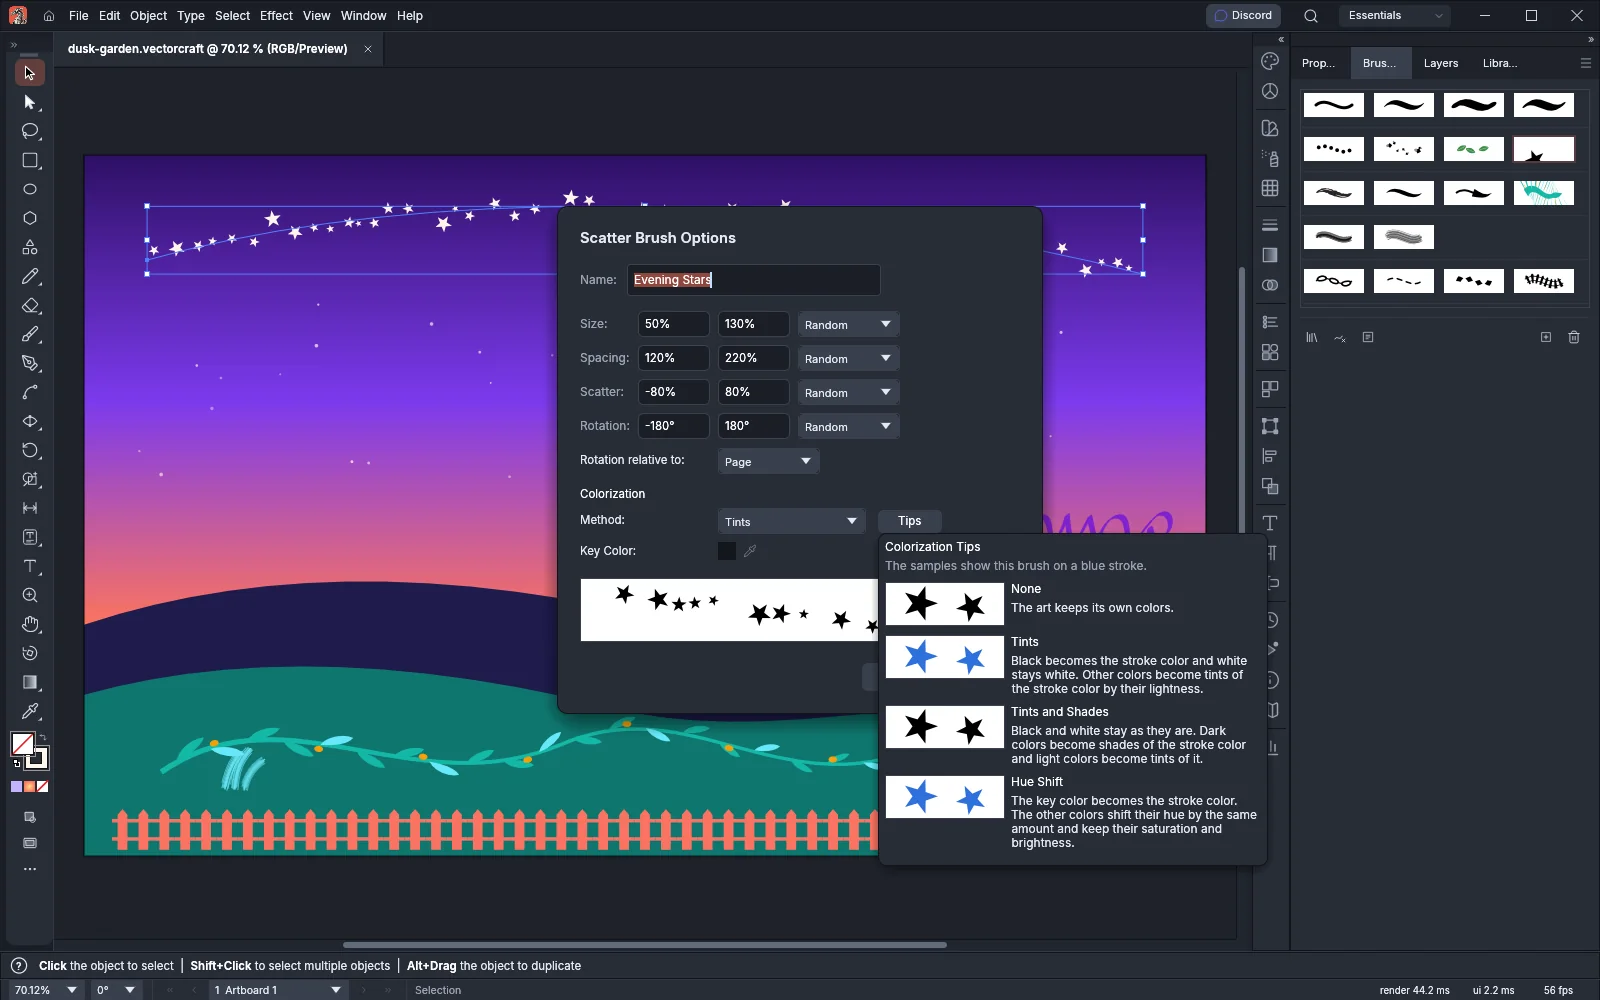
Scatter Brush Options set Size (1 to 10000%), Spacing (1 to 10000%), Scatter (−1000 to 1000%) and Rotation (−180° to 180°). Each has two values and a menu. With Fixed, the brush uses the first value; with Random, each copy gets a value between the two. Rotation relative to turns the copies with the Page or with the Path.
Art Brush Options have these settings:
| Option | What it does |
|---|---|
| Width | The width of the art, from 1 to 1000%. With Pressure, the second field sets the width at the heaviest pen pressure |
| Scale Proportionately | Keeps the art’s proportions as it follows the path |
| Stretch to Fit Stroke Length | Stretches the art to the length of the path. This is the default |
| Stretch Between Guides | Stretches only the part of the art between Start and End, given in percent of the art’s length, and keeps the ends as they are |
| Direction | Which way the art runs along the path: Left to Right, Right to Left, Top to Bottom or Bottom to Top |
| Flip Along and Flip Across | Mirror the art along the path or across it |
| Overlap | Bends the art on each run of the path between sharp corners |
Pattern Brush Options set Scale (1 to 10000%) and Spacing (0 to 10000%), the five tiles (Outer Corner Tile, Side Tile, Inner Corner Tile, Start Tile and End Tile), Flip Along and Flip Across, and the Fit: Stretch to fit, Add space to fit or Approximate path. A tile can be the brush’s original art, None, a pattern swatch from the document, or, for a corner, a tile made from the side tile (Auto-Centered, Auto-Between, Auto-Sliced or Auto-Overlap). A pattern brush needs a side tile.
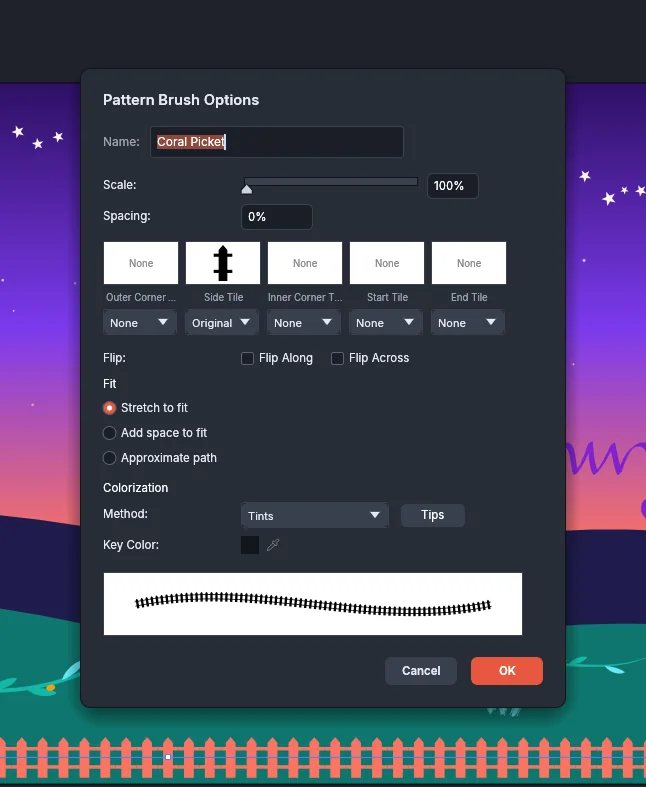
Scatter, art and pattern brushes also have Colorization. Click Tips beside Method to see a sample of each method.
| Method | What happens to the art’s colors |
|---|---|
| None | The art keeps its own colors |
| Tints | Black becomes the stroke color and white stays white. Other colors become tints of the stroke color by their lightness |
| Tints and Shades | Black and white stay as they are. Dark colors become shades of the stroke color, and light colors become tints of it |
| Hue Shift | The Key Color becomes the stroke color. The other colors shift their hue by the same amount and keep their saturation and brightness. Pick the key color from the art’s colors, or with the eyedropper |
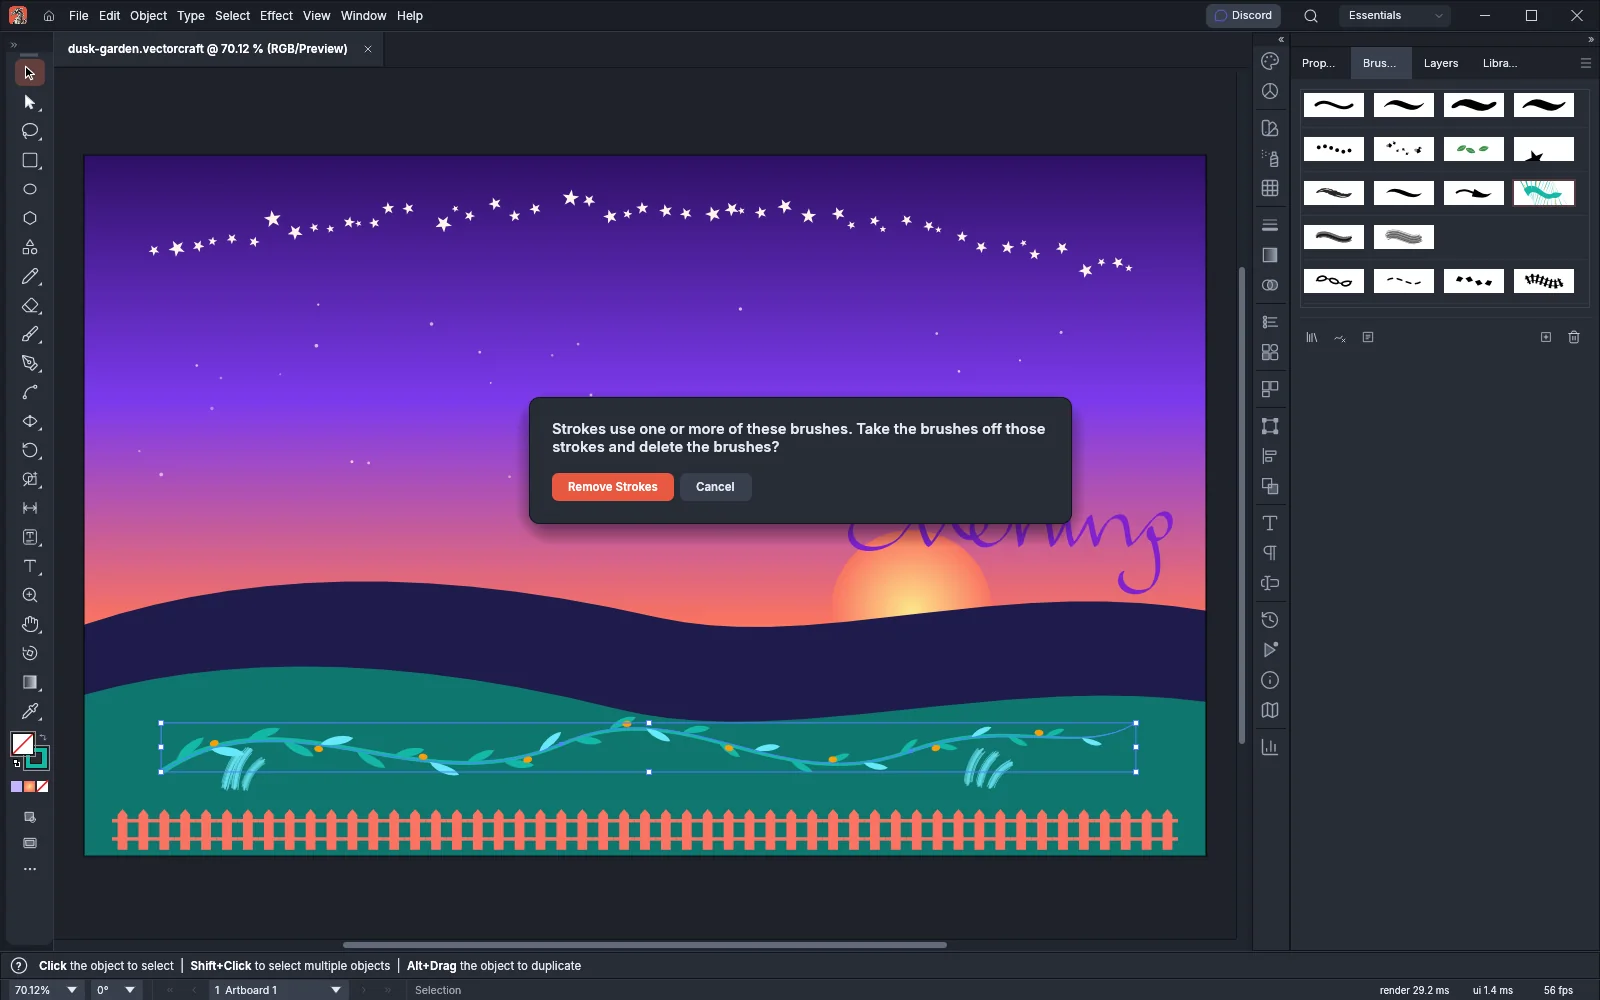
To delete brushes, select them in the panel and click Delete Brush. When no stroke uses them, VectorCraft asks whether to delete them. When strokes use them, click Remove Strokes to take the brushes off those strokes, which keep a plain stroke, and delete the brushes. Alt-click (Option-click on macOS) Delete Brush to delete brushes that no stroke uses without being asked.
Load and save brush libraries
Section titled “Load and save brush libraries”A brush library is a set of brushes that opens in its own panel. Libraries are read-only: to use a brush, you add it to the document’s Brushes panel.
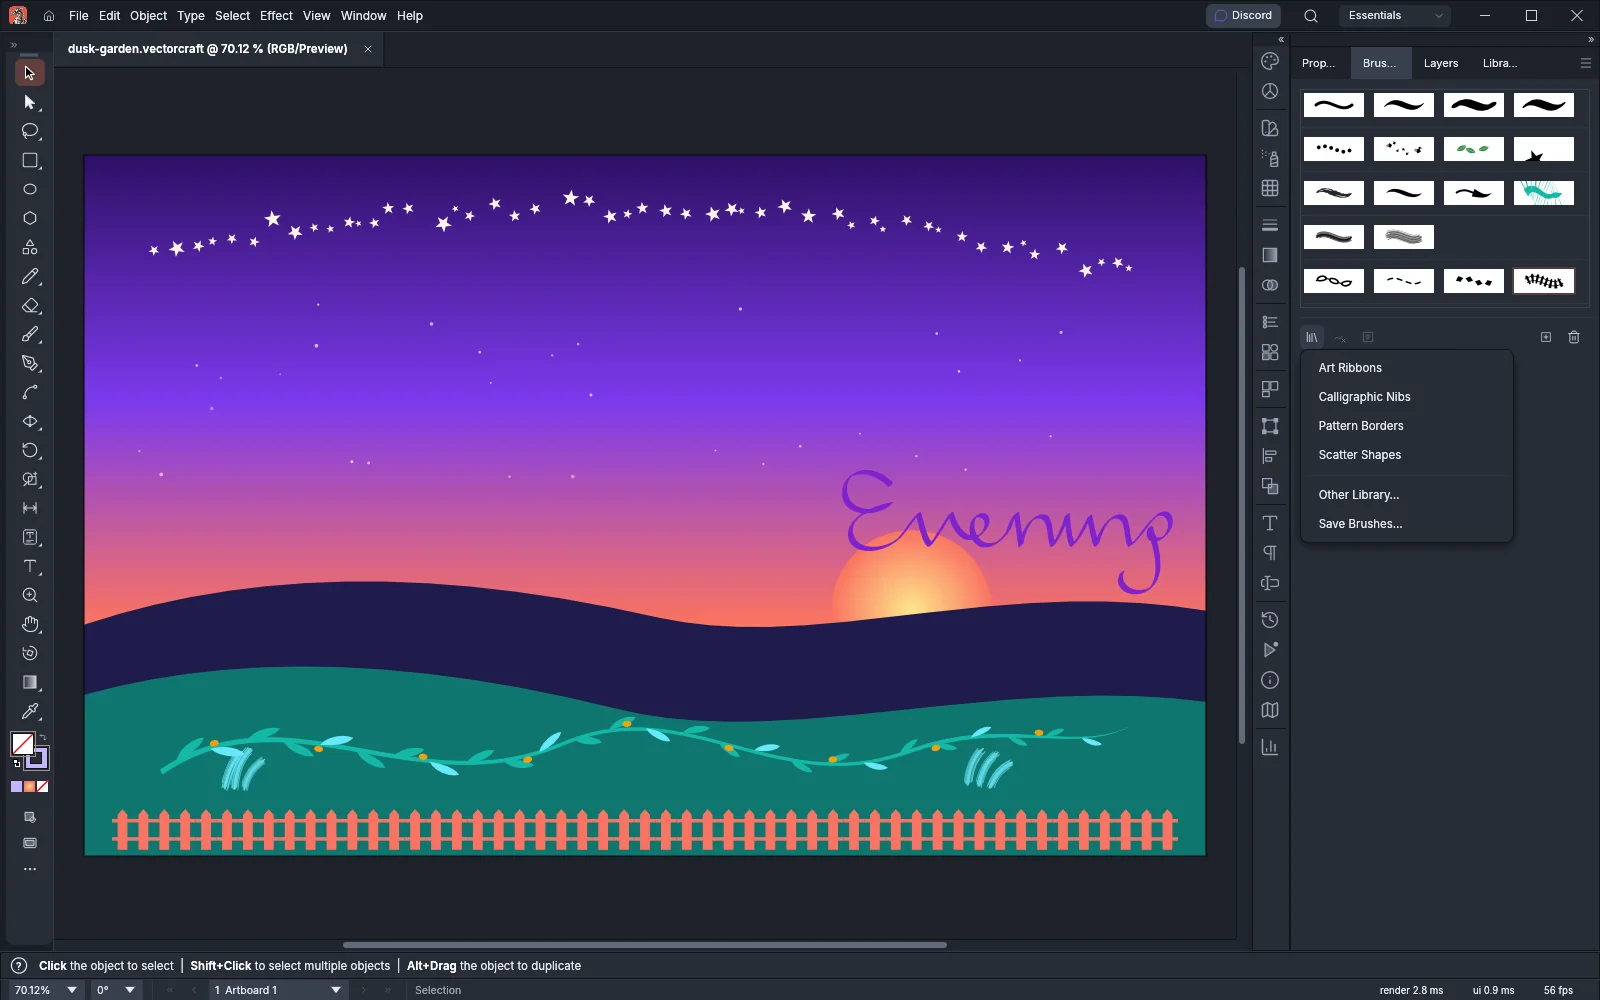
- Choose Window → Brush Libraries, click Brush Libraries Menu at the bottom left of the Brushes panel, or choose Open Brush Library from the panel menu, and choose a library. VectorCraft has four: Art Ribbons, Calligraphic Nibs, Pattern Borders and Scatter Shapes.
- Click a brush in the library panel. The brush is added to the Brushes panel as the current brush, and it is applied to any selected paths.
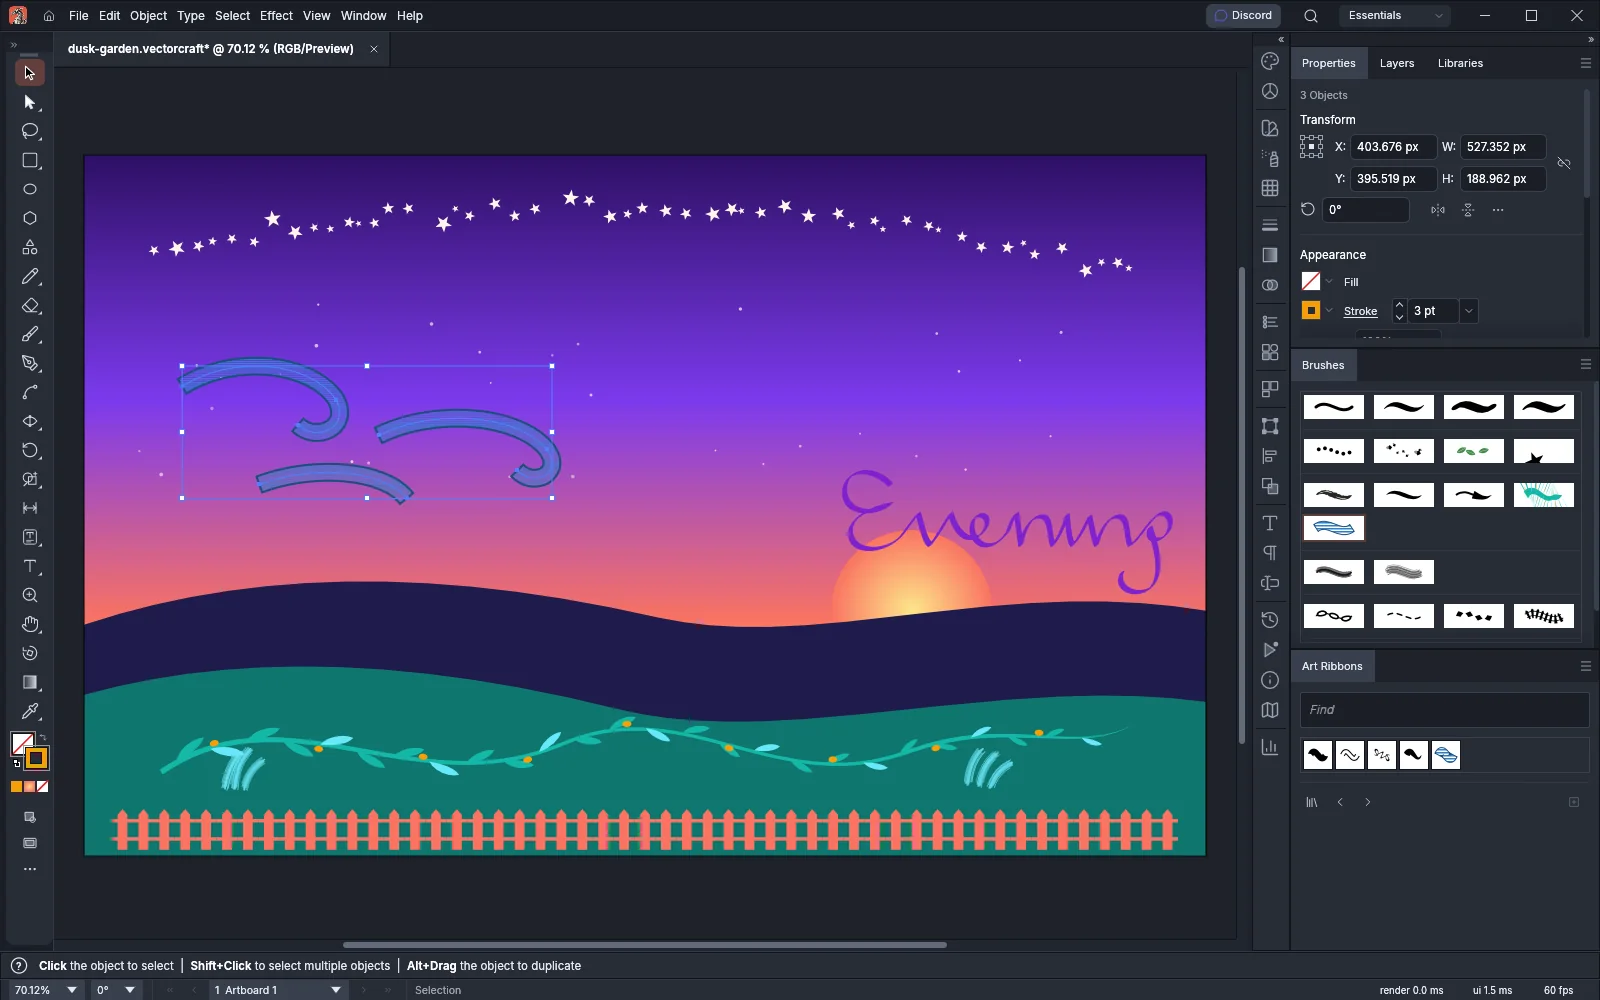
You can also drag a library brush onto a path to apply it, or onto the Brushes panel to add it. A brush that the document already has is not added twice, and a brush whose name is taken gets a number.
To use the brushes of another file, choose Window → Brush Libraries → Other Library… and open any document that VectorCraft can open. The library stays in the menu until you quit VectorCraft.
To save the document’s brushes as a library:
- In the Brushes panel, select the brushes to save, or select none to save them all.
- Choose Save Brush Library… from the panel menu, or Window → Brush Libraries → Save Brushes….
- Type a Name, and under Save To, choose User Defined Libraries or A File…. Turn on Selected Brushes Only to save only the brushes you selected.
- Click OK.
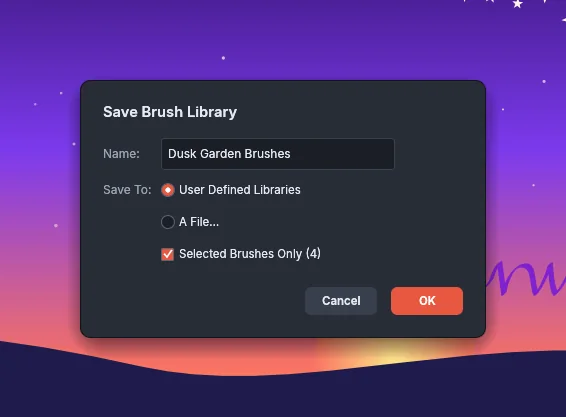
A library is saved as a .vectorcraft file that holds the brushes and everything their art uses, such as patterns, symbols and swatches. Libraries saved to User Defined Libraries are listed under Window → Brush Libraries → User Defined.
Vary a stroke’s width with the Width tool
Section titled “Vary a stroke’s width with the Width tool”The Width tool makes a stroke wider or narrower at points along its path. It works on any stroke, with or without a brush.
- Press Shift+W to choose the Width tool. It shares a slot in the Tools panel with the Warp tool and the other distortion tools.
- Move the pointer over a stroke. A hollow diamond and the stroke’s width at that place appear.
- Drag outward from the path. VectorCraft adds a width point there and widens both sides of the stroke equally. A readout shows the total width as you drag.
- Release the mouse button.
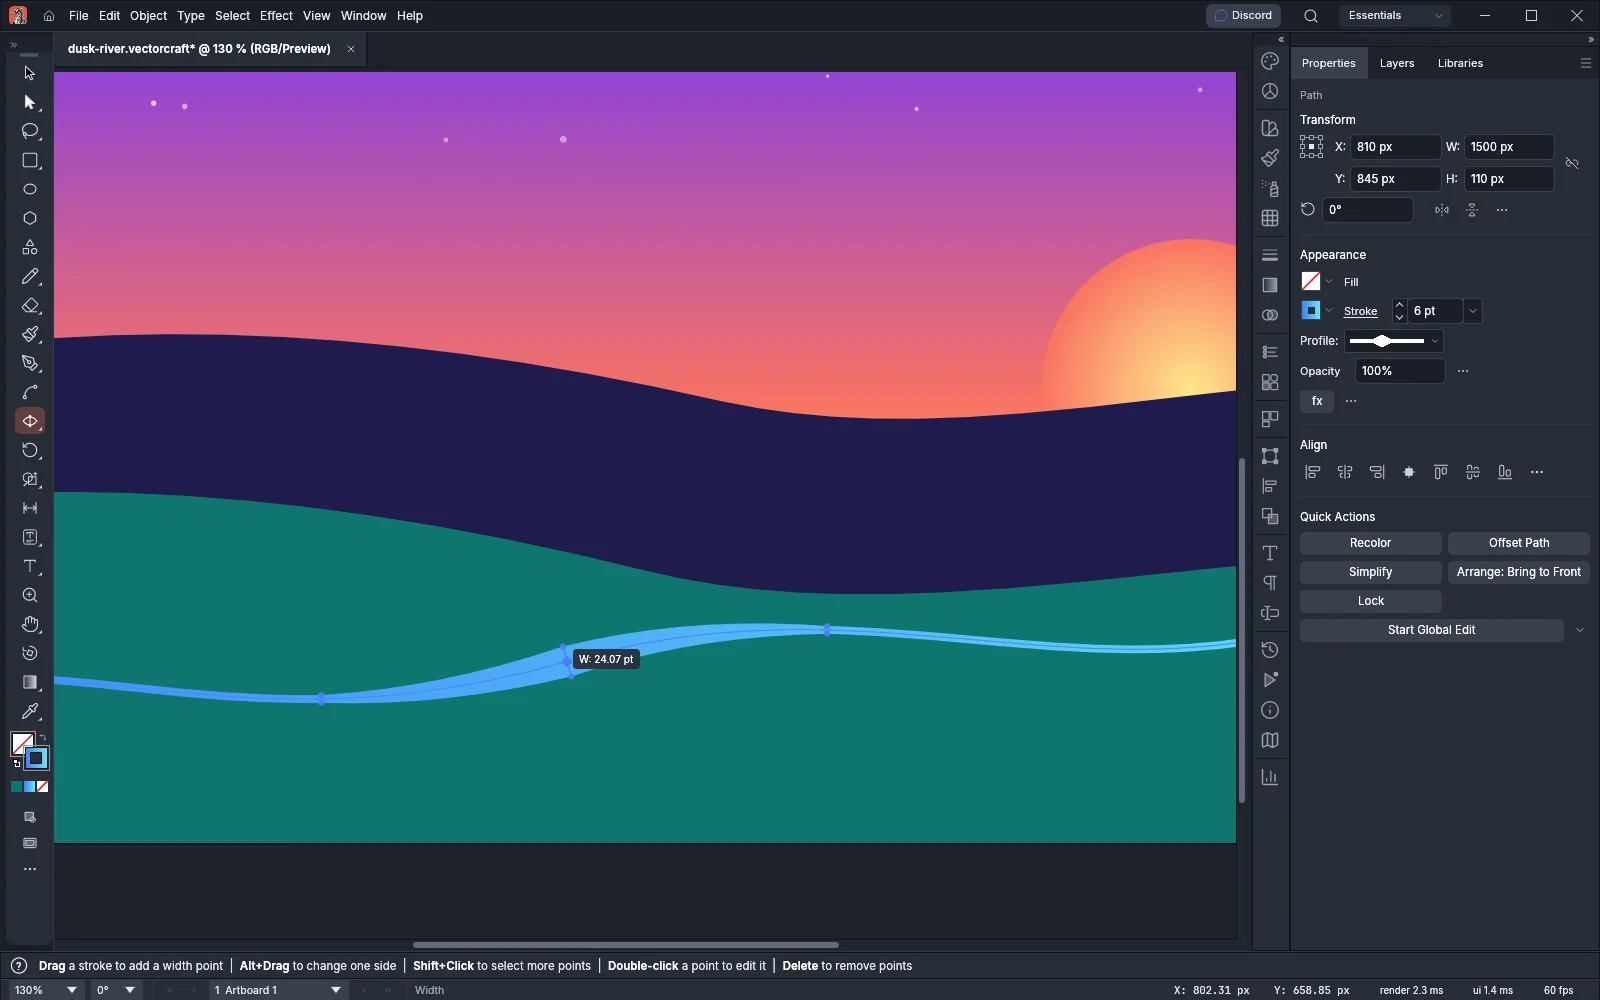
To change one side only, hold Alt (Option on macOS) as you drag. To move a width point along the path, drag its center. To copy it, Alt-drag (Option-drag on macOS) its center. When you drop a width point onto another one, the width changes in a single step at that place.
Shift-click width points to select several. Dragging one of them then moves or widens them all. Press Delete or Backspace to remove the selected width points, or Esc to deselect them.
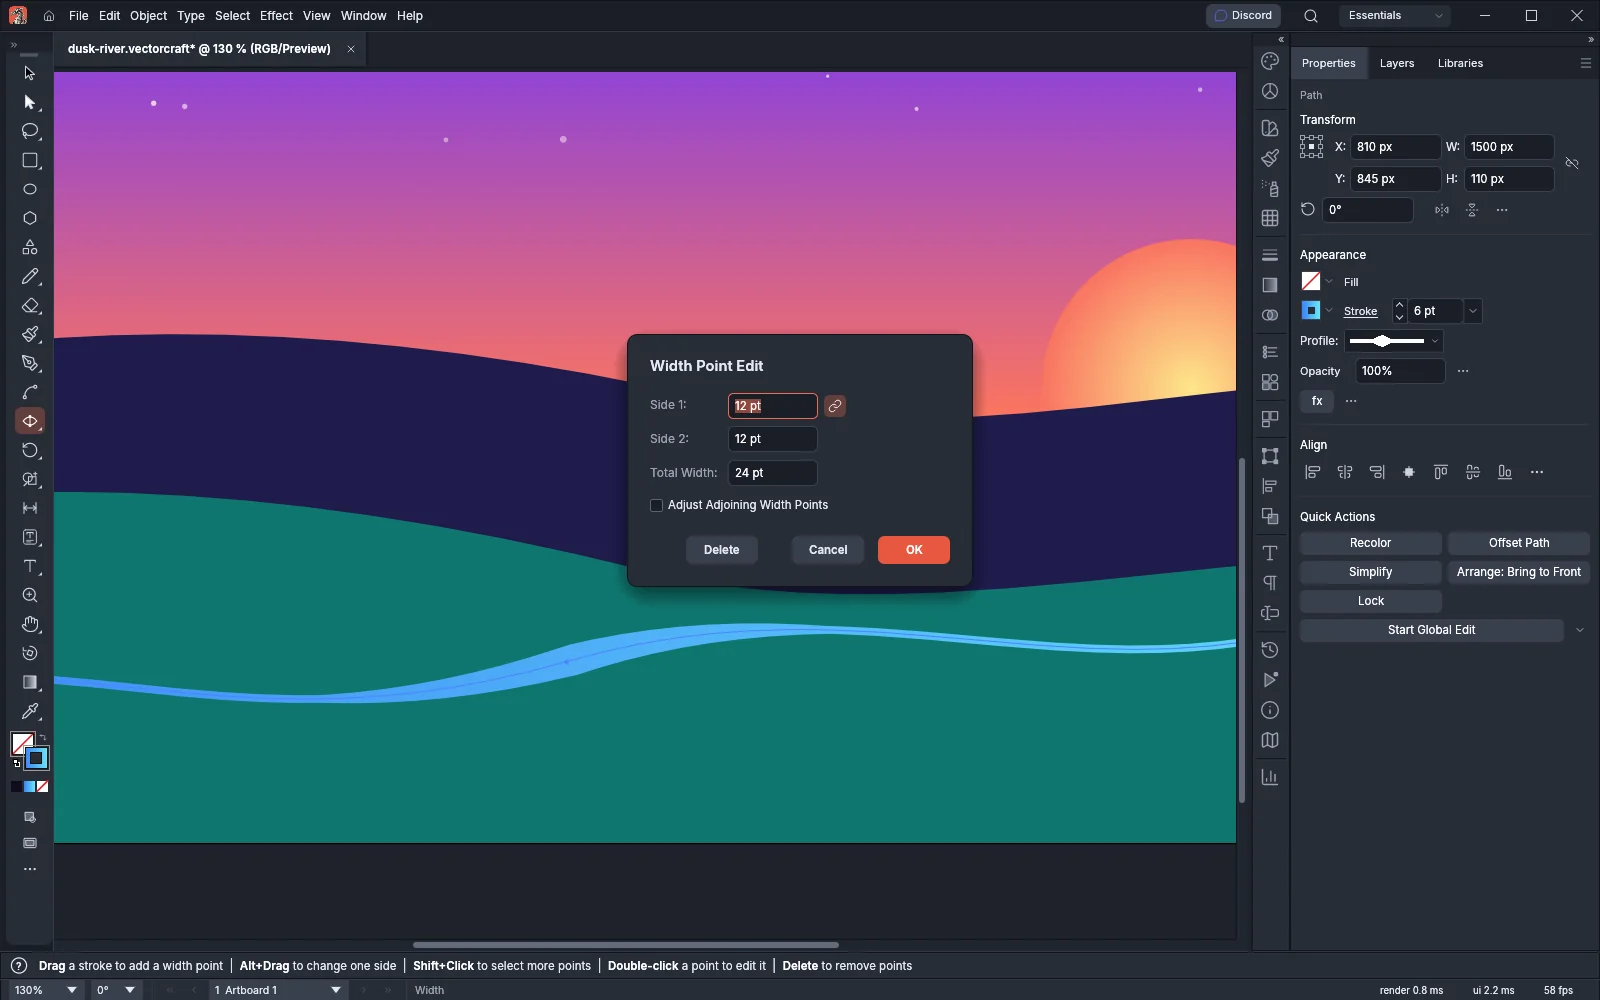
To type exact widths, double-click a stroke or a width point to open Width Point Edit:
| Option | What it does |
|---|---|
| Side 1 and Side 2 | The width on each side of the path |
| Keep both sides the same width | The link button between the sides. When it is on, changing one side changes the other |
| Total Width | The width of both sides together. Changing it changes both sides in proportion |
| Adjust Adjoining Width Points | Also changes the nearest width points on either side in proportion |
Click Delete in the dialog to remove the width point. Shift-double-click a width point to open the dialog with Adjust Adjoining Width Points turned on.
Paint filled shapes with the Blob Brush
Section titled “Paint filled shapes with the Blob Brush”The Blob Brush paints filled shapes instead of stroked paths. A shape that you paint over another shape with the same fill and no stroke merges with it, so you can build up one shape stroke by stroke.
- Set the stroke color to the color you want to paint with. The Blob Brush uses the stroke color, or the fill color when the stroke is None.
- Press Shift+B to choose the Blob Brush tool.
- Drag on the canvas. Press [ to make the tip 1 pt smaller or ] to make it 1 pt larger.
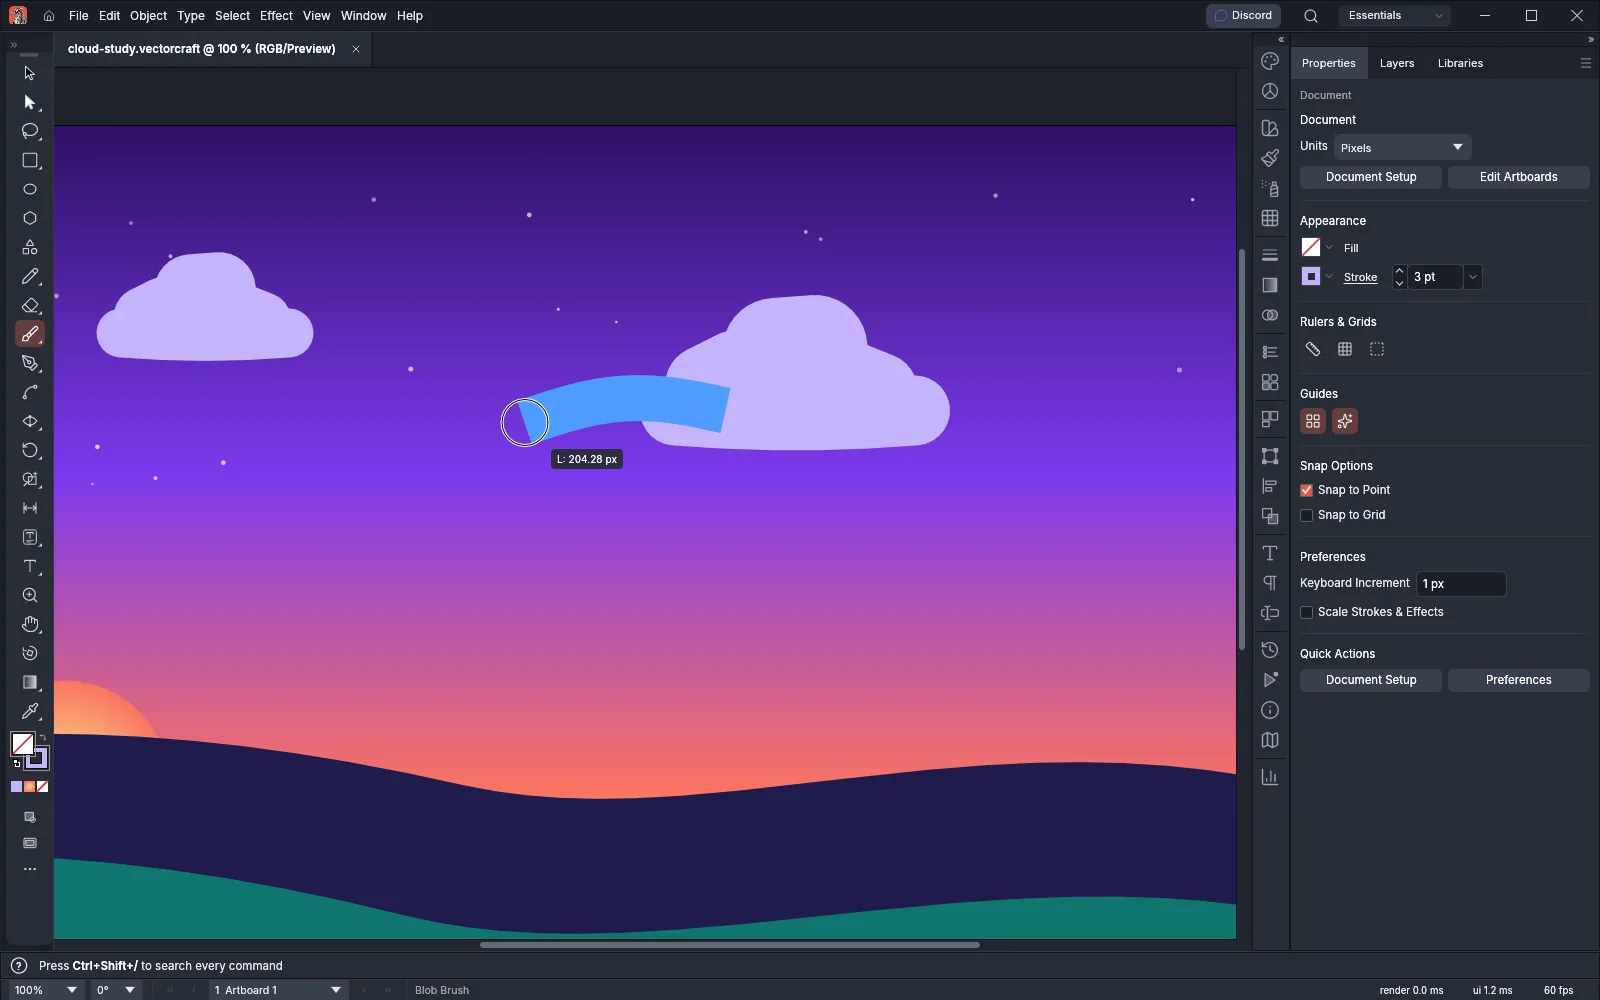
A new shape merges with the topmost touching path that has the same fill and no stroke, and with the touching paths next to it in the stacking order of the same group or layer. Hold Shift as you drag to keep the stroke on a horizontal or vertical line. Hold Alt (Option on macOS) as you press to smooth the selected paths instead.
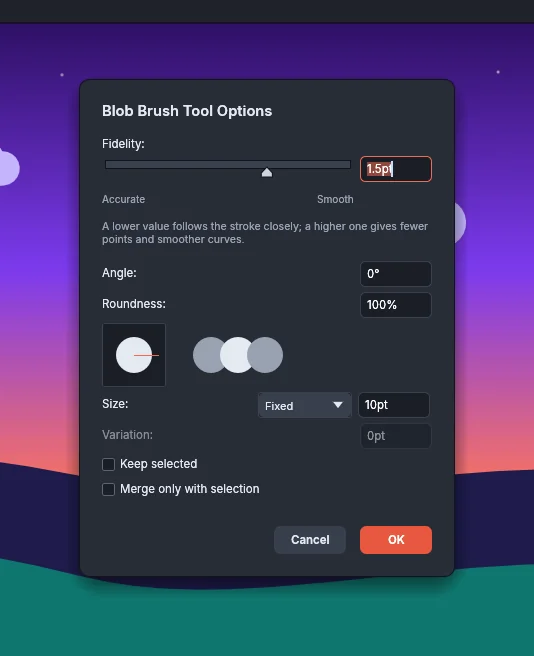
Double-click the Blob Brush tool in the Tools panel to open Blob Brush Tool Options:
| Option | Default | What it does |
|---|---|---|
| Fidelity | 1.5 pt | How closely the shape follows your drag, from Accurate to Smooth |
| Angle | 0° | The angle of the tip’s long side, from −180° to 180° |
| Roundness | 100% | The tip’s short side as a percentage of its long side. 100% is round. The preview beside it shows the tip |
| Size | 10 pt, Fixed | The tip’s width, from 0.1 to 1000 pt. With Pressure, the tip is Size minus Variation wide at the lightest pen pressure and Size plus Variation at the heaviest |
| Variation | 0 pt | How far the size changes with pressure, from 0 to 1000 pt. It is available only with Pressure |
| Keep selected | Off | Keeps the new or merged shape selected |
| Merge only with selection | Off | Merges a new shape only with selected paths |
Turn brush strokes into paths
Section titled “Turn brush strokes into paths”Expanding a brush stroke replaces it with the artwork that the brush draws, as ordinary objects that you can edit one by one.
- Select the paths that have brush strokes.
- Click Expand Brush Strokes at the bottom of the Brushes panel, or choose it from the panel menu.
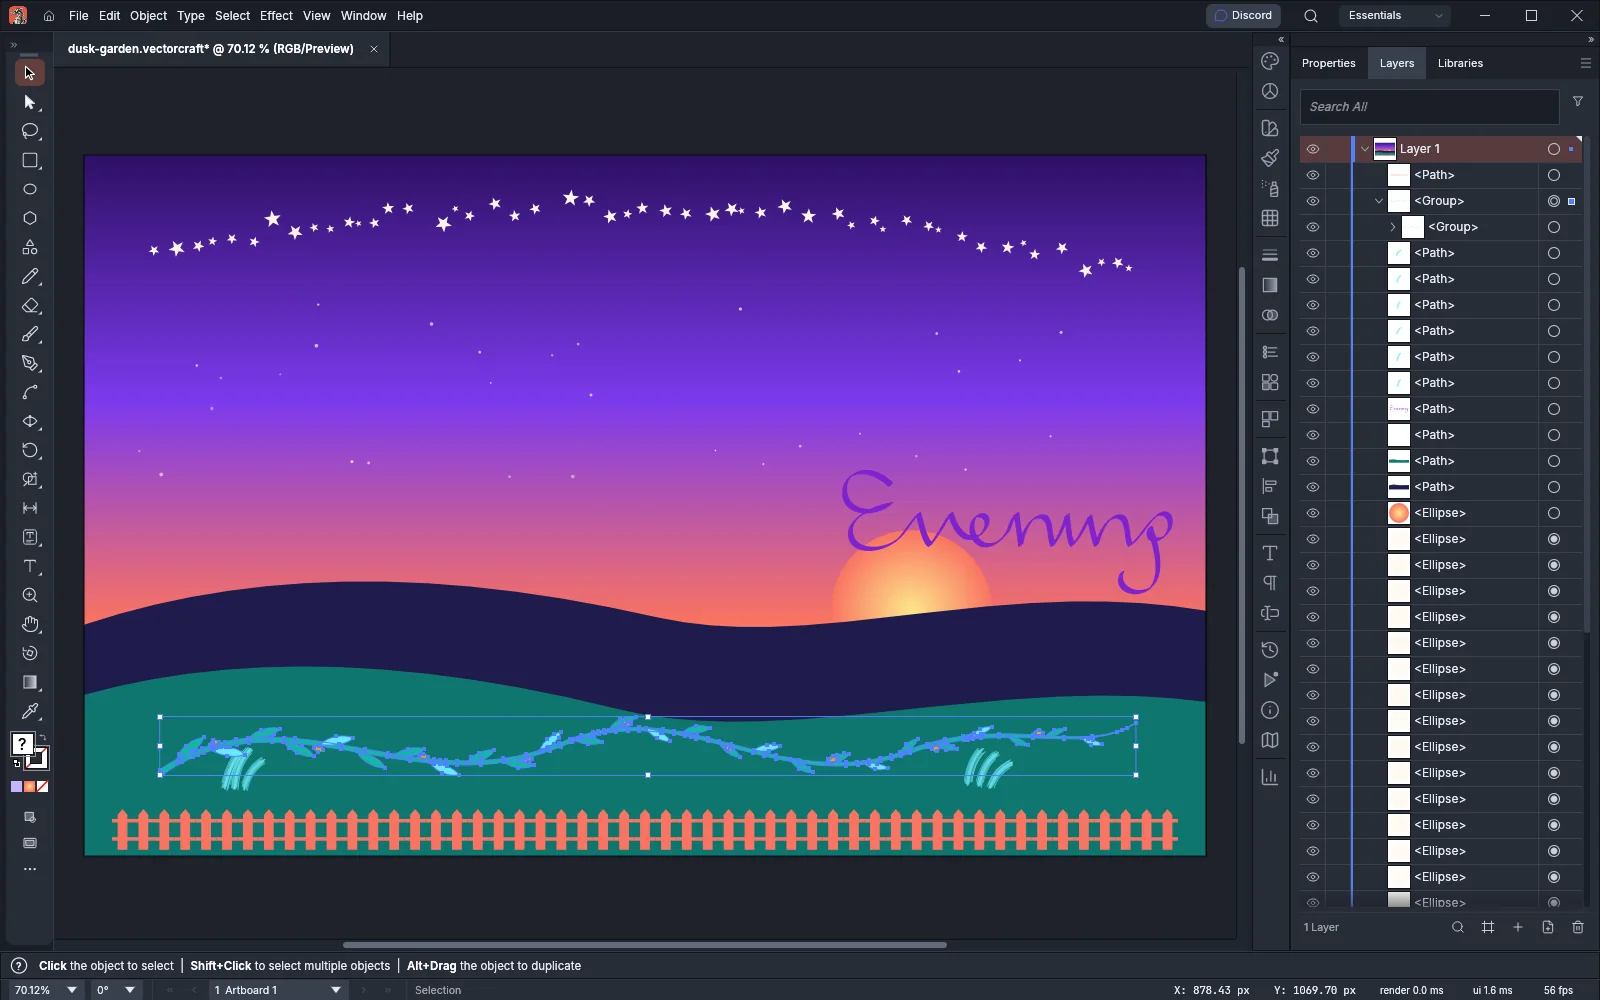
Expand Brush Strokes replaces each path with a group of the brush art. To undo it, press Ctrl+Z (Cmd+Z on macOS).