
Work with placed images
This guide covers the images in a document after you place them: the Links panel, relinking and embedding, missing links when a document opens, editing an image in its own app, cropping, rasterizing, and turning an image into tiles or halftone dots. To bring an image into a document, see Open and save files.
See every image in the Links panel
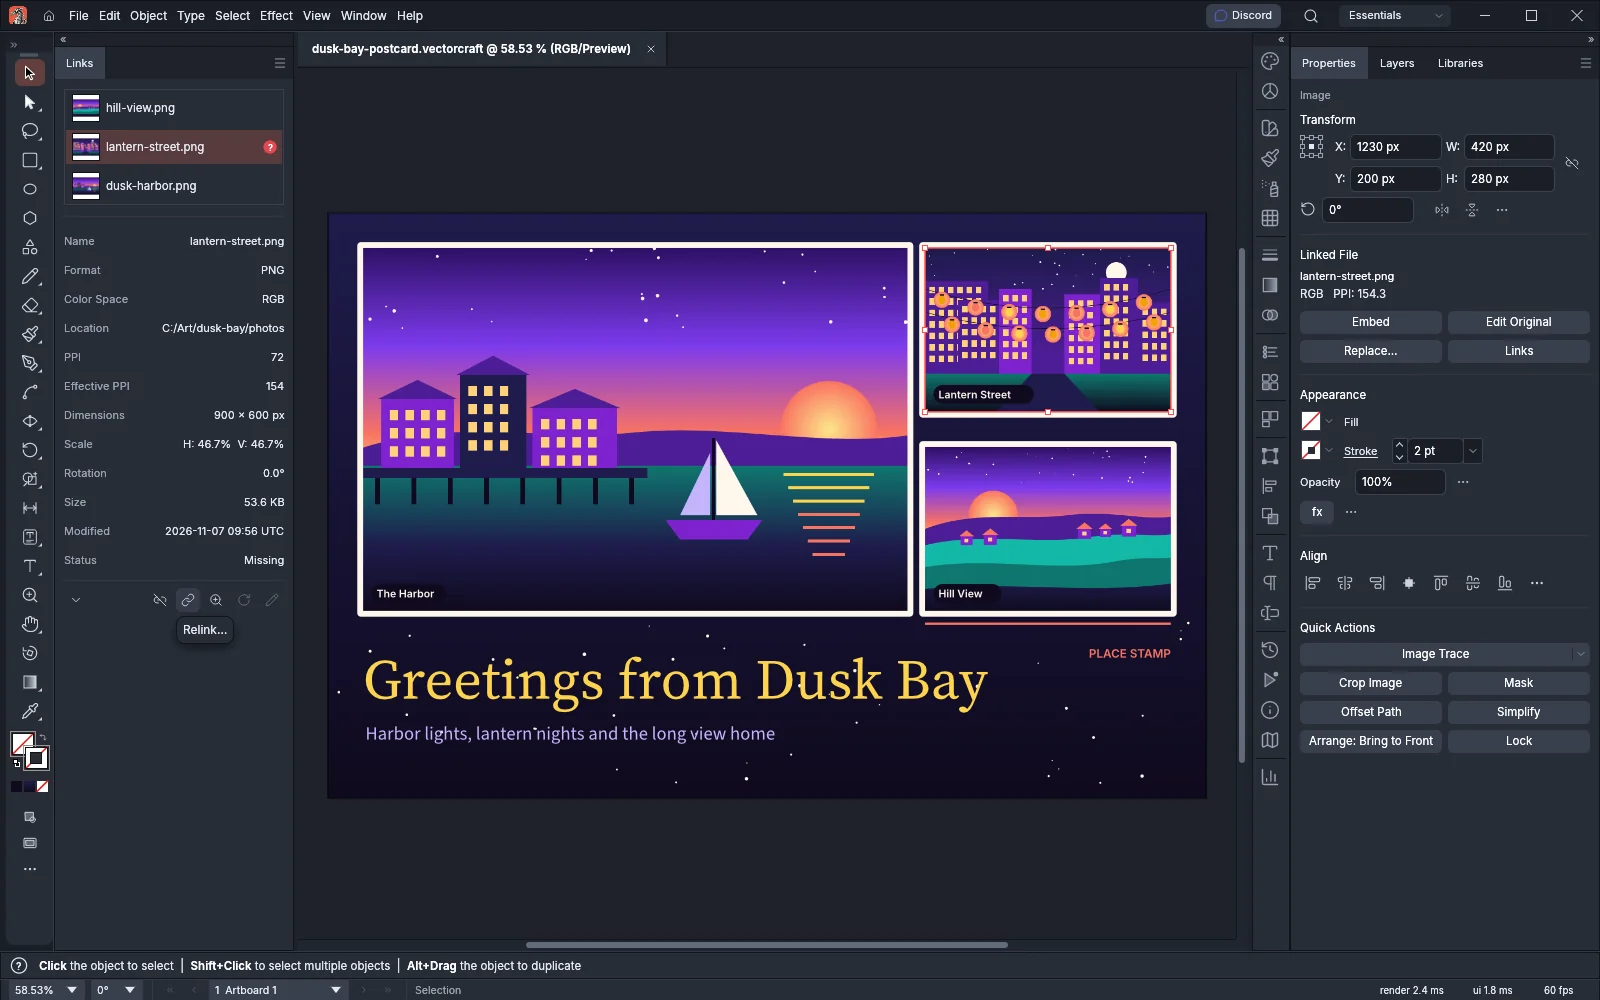
Section titled “See every image in the Links panel”- Choose Window → Links. Each row shows a thumbnail, the file name and a status badge.
- Click a row to select its image on the canvas. Ctrl-click (Cmd-click on macOS) adds or removes a row, and Shift-click selects every row from the last row you clicked without Shift to this one. Hold Ctrl (Cmd on macOS) as well to add that range to the selection.
- Double-click a row to select its image and scroll the view to it.
| Badge | Status | What it means |
|---|---|---|
| Red circle with ? | Missing | VectorCraft cannot find the file. The image shows the preview saved with the document. |
| Amber triangle with ! | Modified | The file changed after VectorCraft last read it. |
| Image icon | Embedded | The pixels are stored in the document, and there is no file. |
| No badge | Linked | VectorCraft found the file, and it has not changed. |
VectorCraft checks the linked files every 2 seconds. If you move or edit a file in another app while the document is open, its row shows the new status. Hold the pointer over a row to see the file’s path.
The Link Info section under the list shows the first selected image’s name, format, color space, folder, PPI, effective PPI at its placed size, pixel dimensions, scale, rotation, file size, dates and status. Click the chevron at the bottom left of the panel, or choose Show Link Info in the panel menu, to hide or show it.
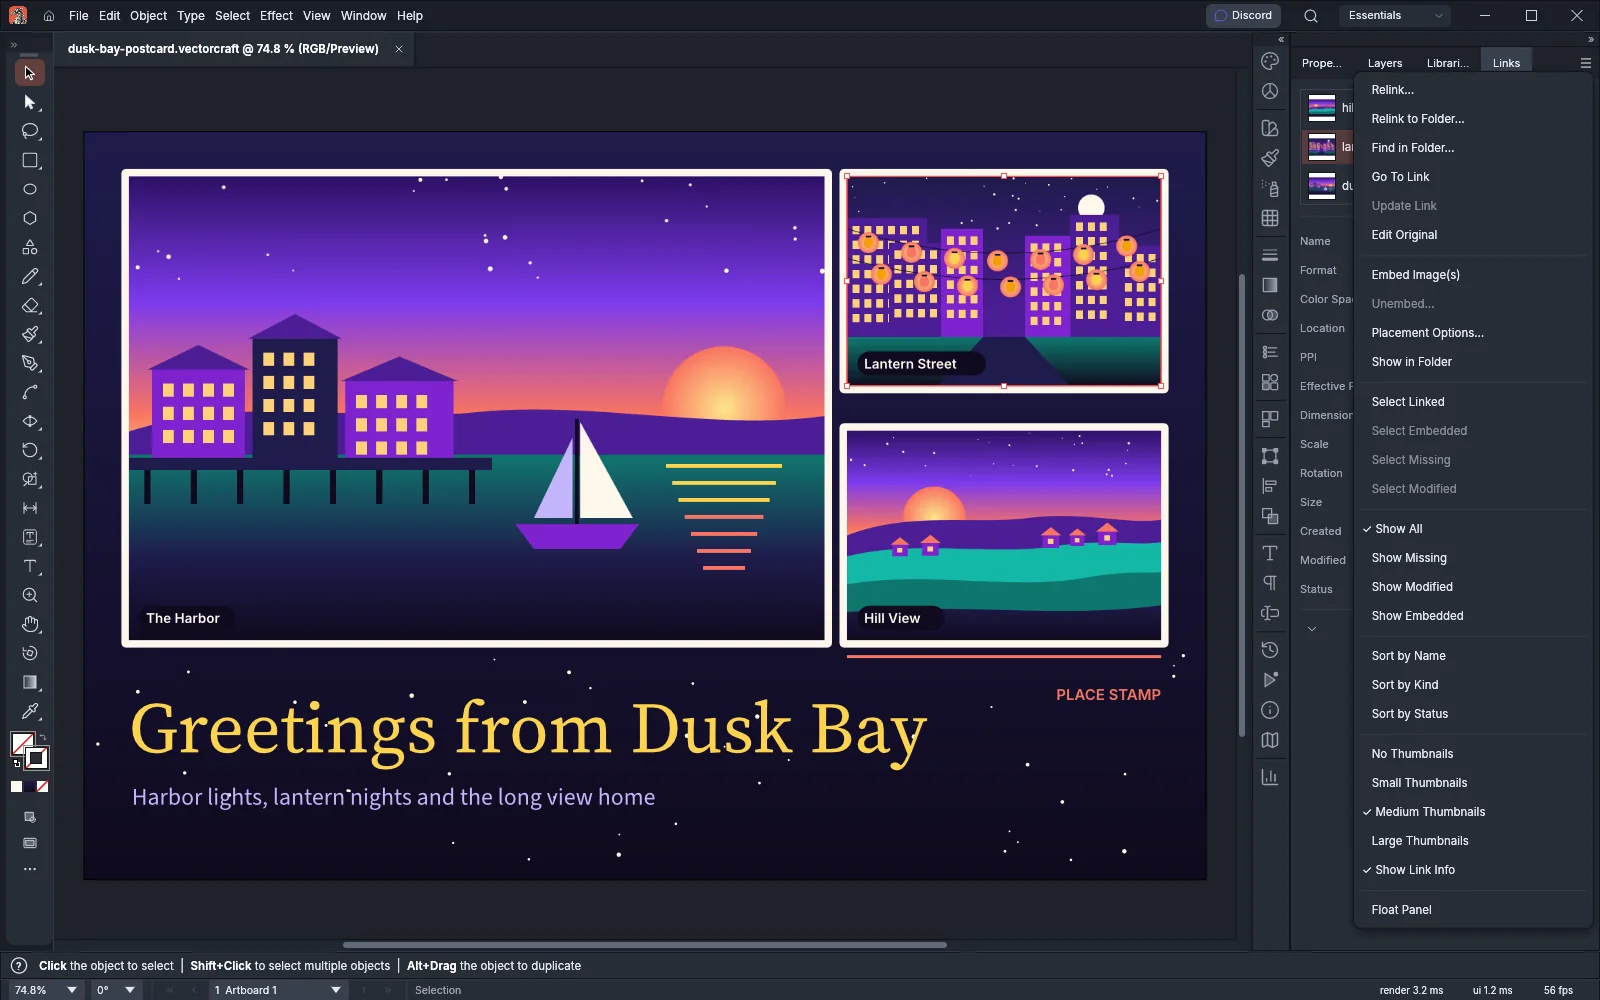
The panel menu, opened from the menu button at the top right of the panel, also holds these options:
- Select Linked, Select Embedded, Select Missing and Select Modified select every image with that status in the document. Hold Shift while you choose one to add to the selection.
- Show All, Show Missing, Show Modified and Show Embedded filter the list.
- Sort by Name, Sort by Kind and Sort by Status sort it. With no sort chosen, the list follows the stacking order, top first.
- No Thumbnails, Small Thumbnails, Medium Thumbnails and Large Thumbnails set the thumbnail size. Medium is the default.
Relink, update and embed images
Section titled “Relink, update and embed images”Select one or more rows in the Links panel, then choose a command from the panel menu. Relink…, Go To Link, Update Link, Edit Original and Break Link are also buttons at the bottom of the panel.
| Command | What it does |
|---|---|
| Relink… | Links the selected images to a file you pick. An embedded image becomes linked. With the default Placement Options, each image keeps its bounds. |
| Relink to Folder… | Links each selected image to the file with the same name in a folder you pick. With nothing selected, it relinks every missing image. The status bar lists the names it did not find. |
| Find in Folder… | Searches a folder and its subfolders for the selected linked files, or for the missing ones when none is selected. See Fix missing links when a document opens. |
| Go To Link | Selects the image and scrolls the view to it. It needs one selected row. |
| Update Link | Reads a modified file again. With the default Placement Options, each image keeps its bounds. |
| Edit Original | Opens the linked file in its own app. See Edit an image in its own app. |
| Embed Image(s) | Stores the pixels of the selected linked images in the document and drops the link. The Break Link button does the same. A missing image stays linked until you relink it. |
| Unembed… | Writes one embedded image to a file you name and links the image to that file. PNG, JPEG, GIF and WebP images keep their format, and other images are written as PNG. |
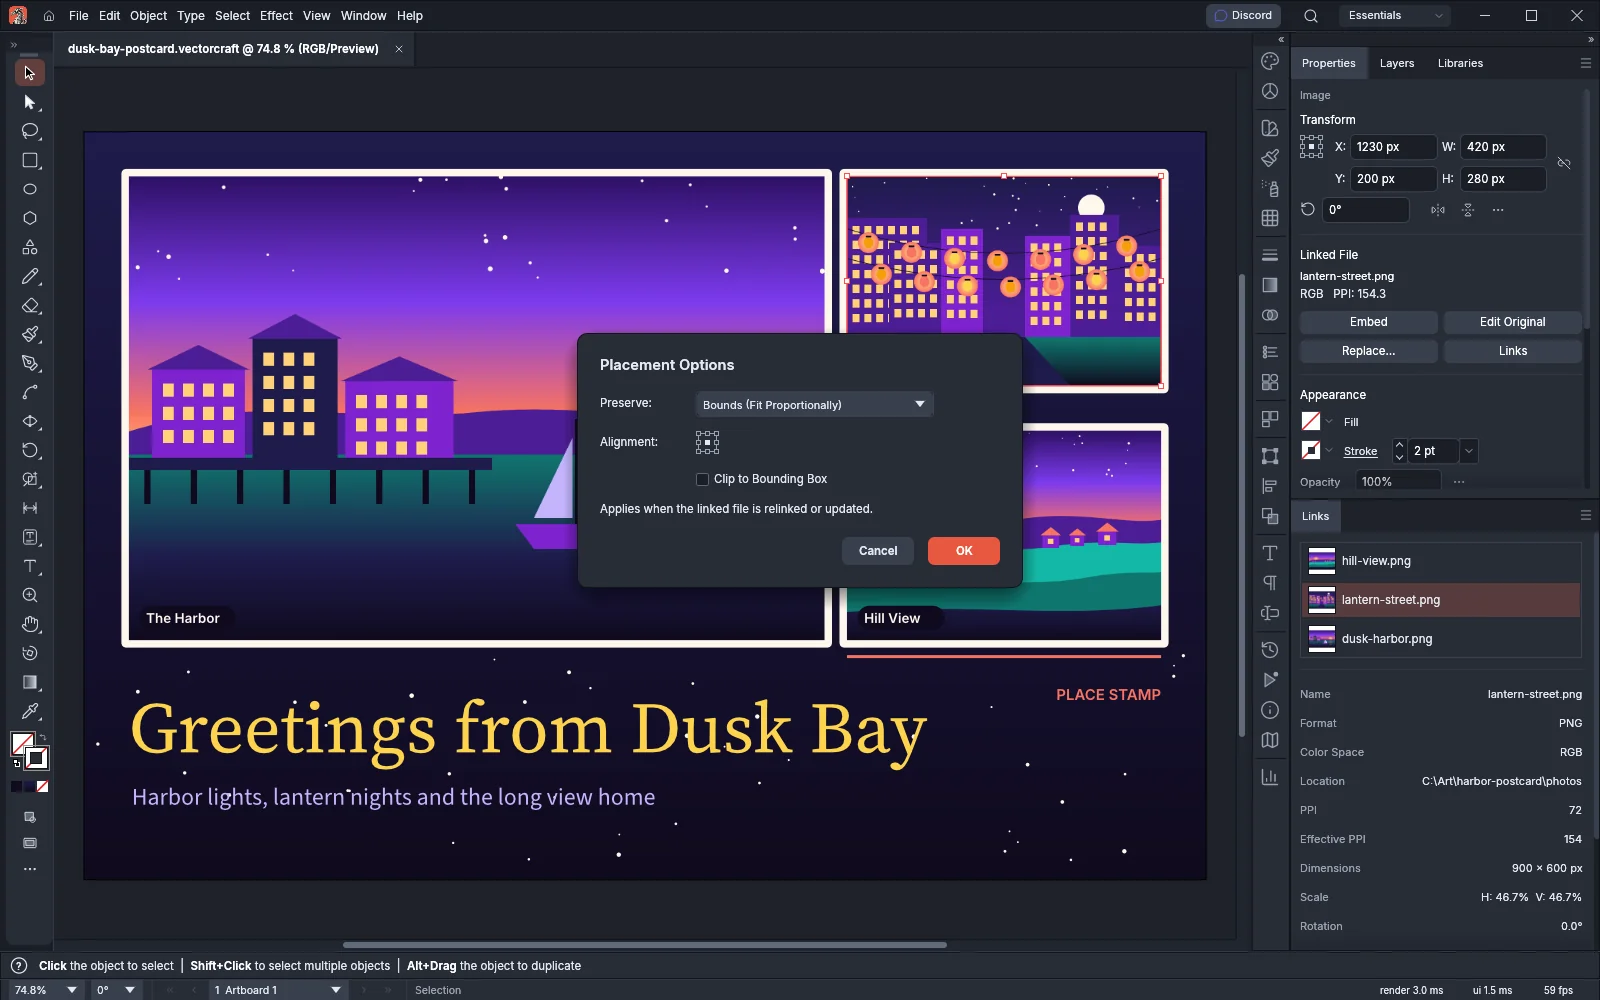
| Placement Options… | Sets how a new or updated file takes the image’s place. |
| Show in Folder | Shows the linked file in the system’s file manager. |
Each relink, update, embed and unembed is one undo step.
Placement Options… has these settings. They apply the next time the image is relinked or updated.
| Setting | Choices |
|---|---|
| Preserve | Transforms keeps the image’s scale, rotation and position. Bounds stretches the new file into the old bounds, and it is the default. File Dimensions places it at 100% without rotation. Bounds (Fit Proportionally) and Bounds (Fill Proportionally) scale it to fit inside or to cover the old bounds. |
| Alignment | Where the new art sits inside the old bounds. It does not apply to Bounds. |
| Clip to Bounding Box | Clips a larger file to the old bounds. |
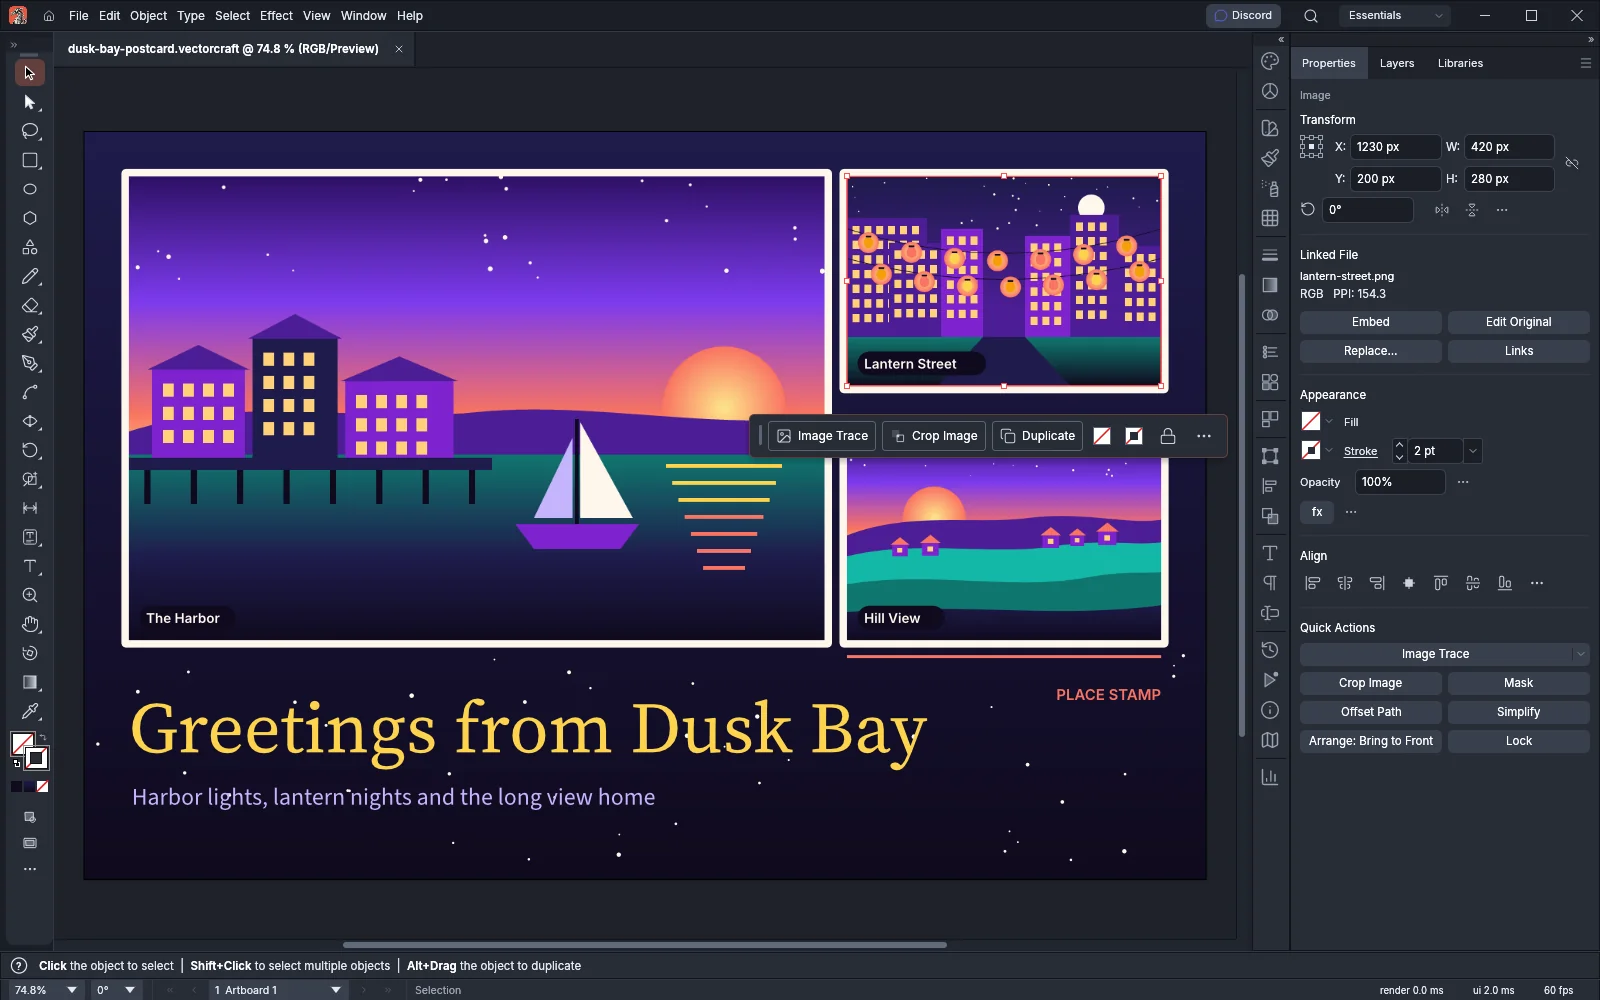
When one image is selected, the Properties panel and the Control bar show a Linked File or Embedded Image section. It has Embed and Edit Original for a linked image, or Unembed… for an embedded one, and Replace…, which swaps in another file that keeps its own aspect ratio inside the old bounds. On the Control bar, click the file name for Replace…, Go To Link, Edit Original, Update Link and Placement Options….
Fix missing links when a document opens
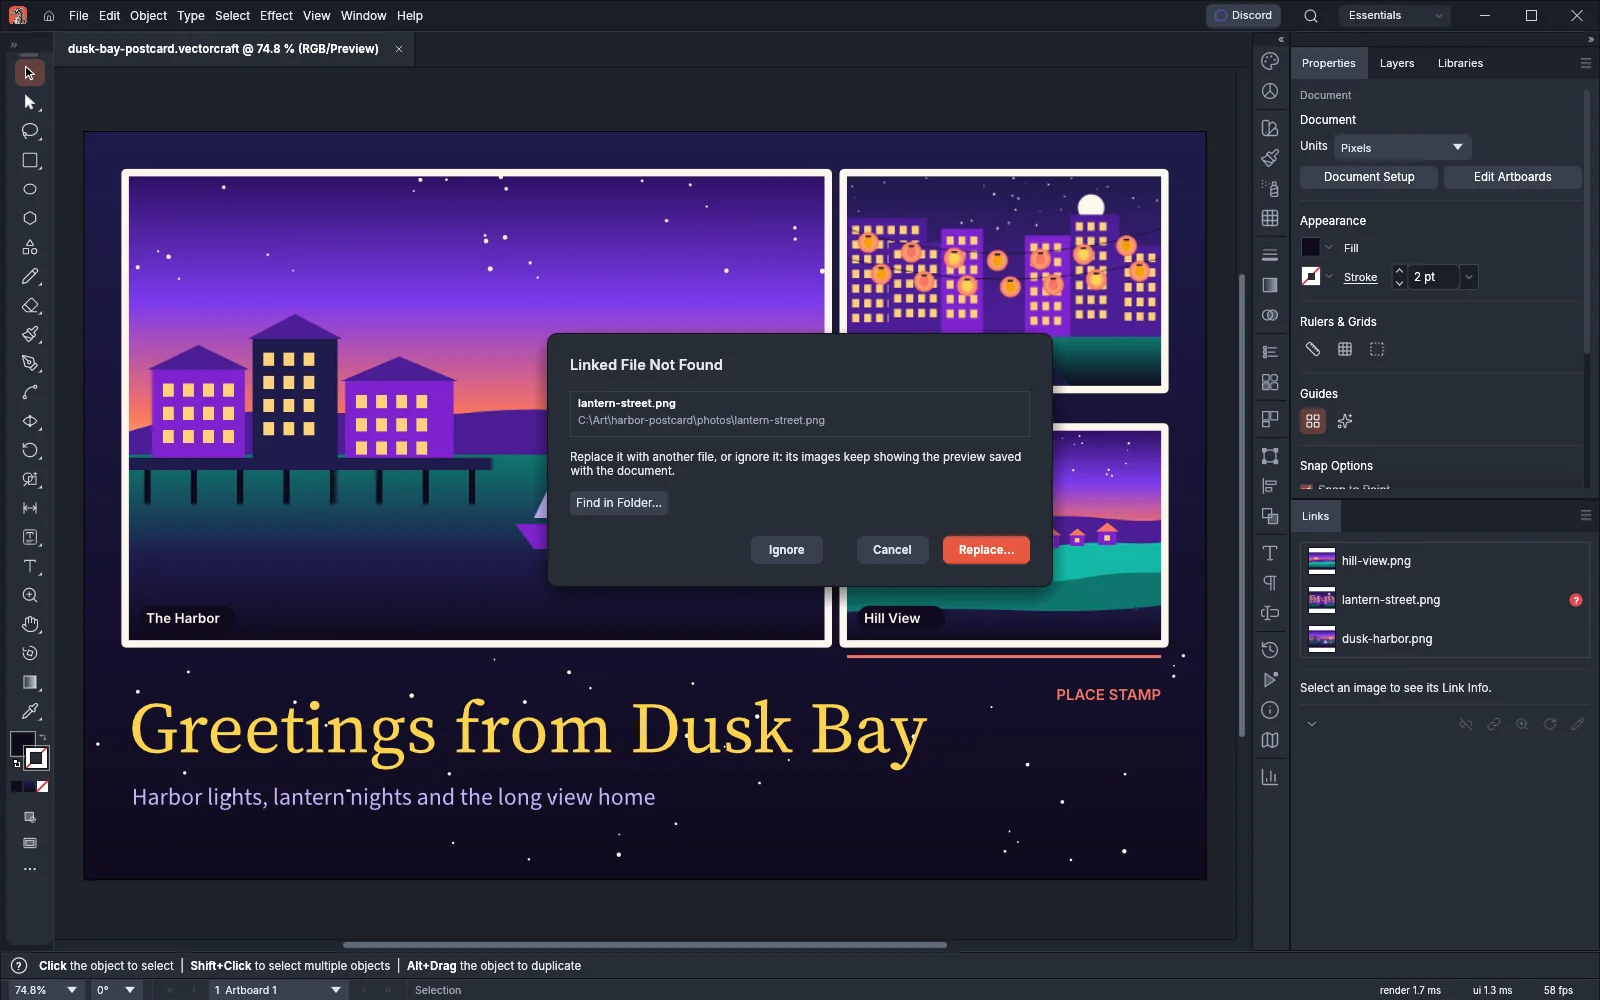
Section titled “Fix missing links when a document opens”VectorCraft looks for each linked file at the path saved in the document, then at the same relative path from the document’s folder, then by name in the document’s folder. When a file is still missing, the Linked File Not Found dialog opens and asks about one file at a time.
- Read the file name and the path where VectorCraft looked.
- Choose what to do with it:
- Replace… relinks the image to a file you pick.
- Ignore leaves the image linked. It keeps showing the preview saved with the document.
- Find in Folder… opens Find Linked Files and searches a folder you pick, with its subfolders, for every missing file.
- Cancel closes the dialog and leaves this file and the other missing files linked as they are. Their images keep showing the saved preview.
- When more files are missing, the dialog shows Apply to All. With it on, Replace… looks for the other missing files by name in the folder of the file you picked, and Ignore ignores all of them. VectorCraft asks again about any file it does not find.
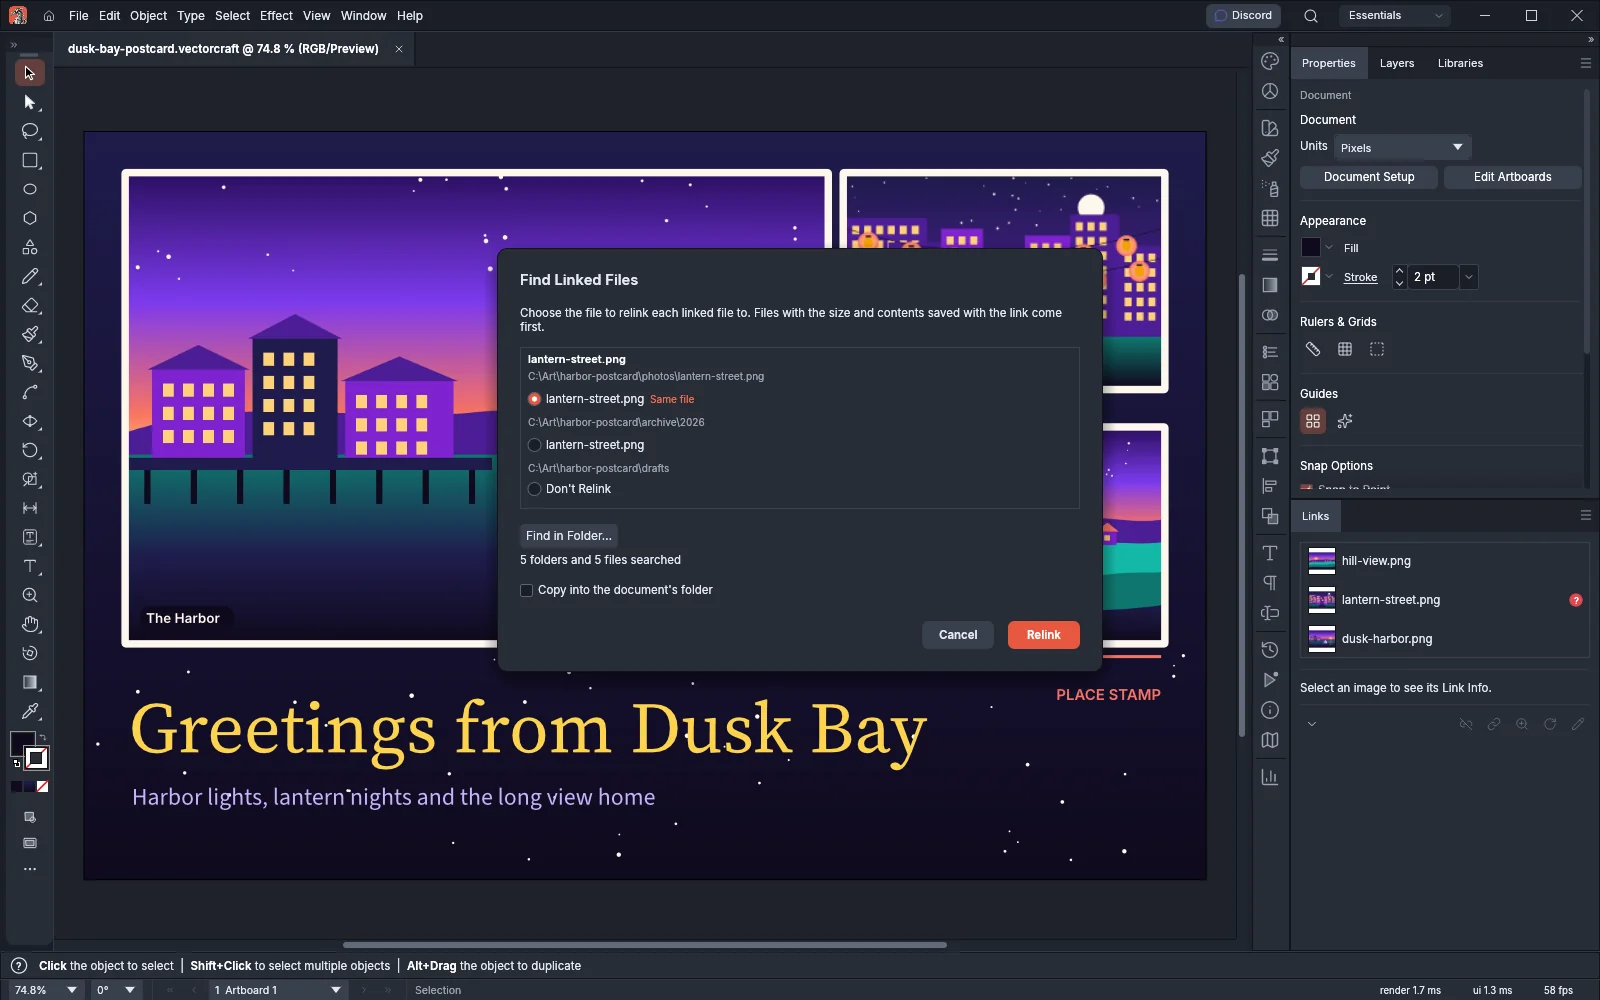
In Find Linked Files, each missing file lists the files found with its name, best match first. A match marked Same file has the size and contents saved with the link, and Same size has the size only. Choose a match for each file, or Don’t Relink, and press Relink. VectorCraft chooses a match for you only when it finds a single file with that name, or a single match marked Same file. Press Stop to end a long search. When you open Find Linked Files from Linked File Not Found, VectorCraft asks again in Linked File Not Found about each file you leave at Don’t Relink and each file that fails to relink. For a saved document, turn on Copy into the document’s folder to copy each image’s file next to the document before relinking. VectorCraft never replaces a file that is already there.
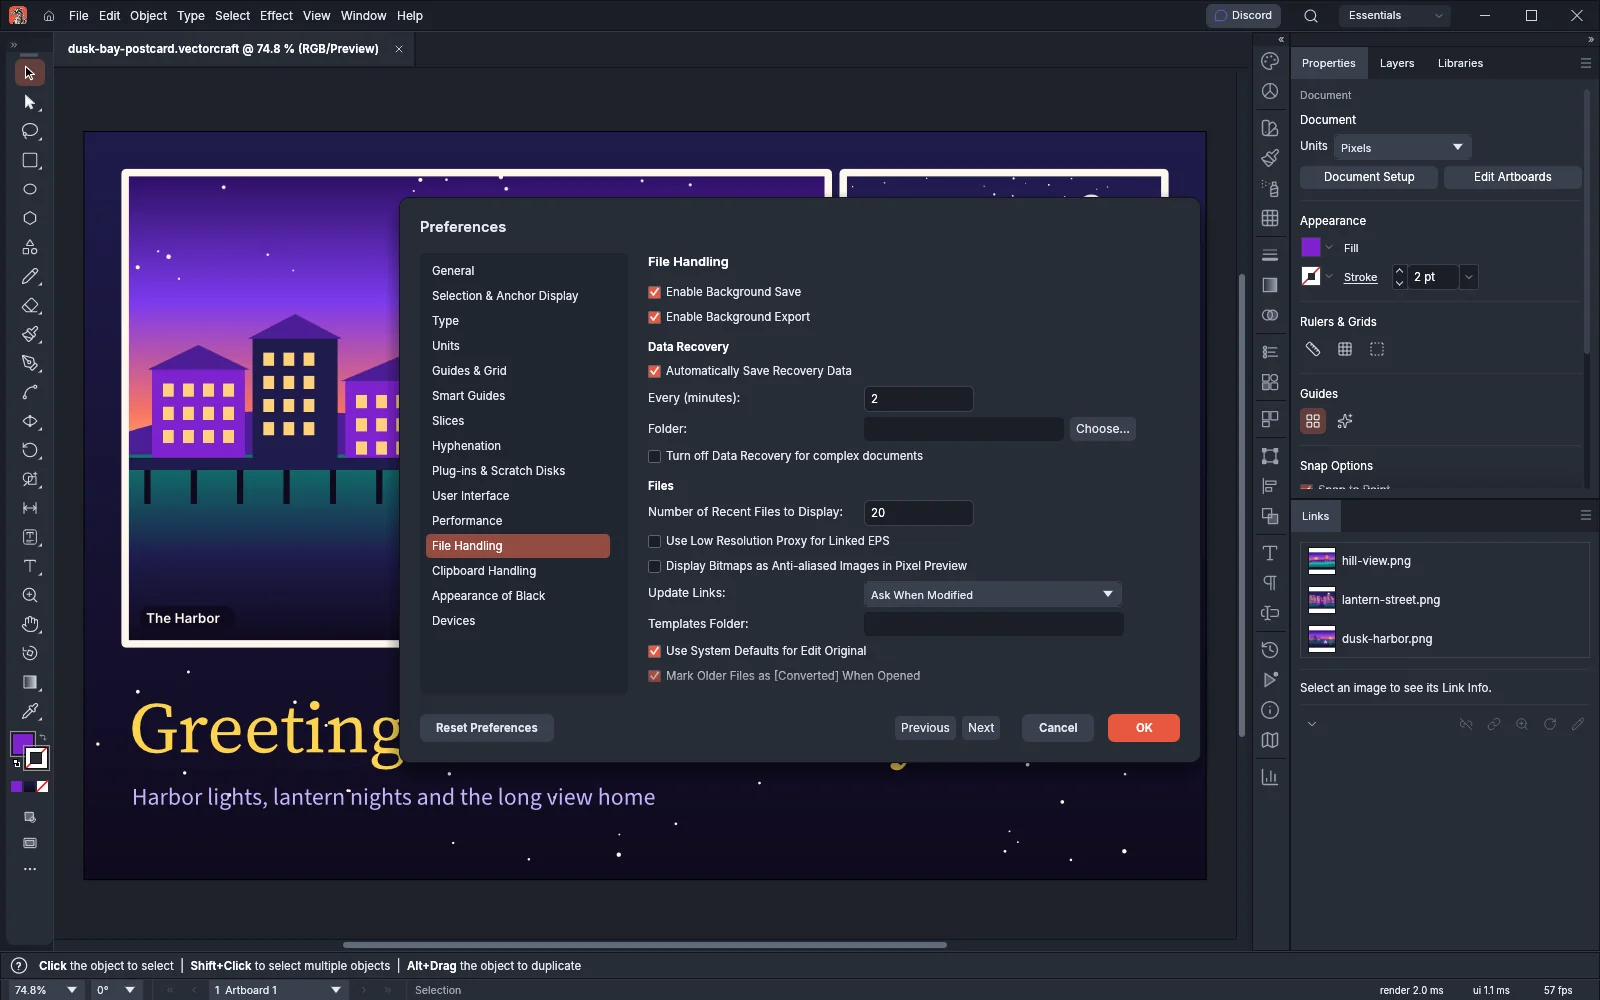
After the missing files, VectorCraft offers to update the linked files that changed since the document was saved. Update Links in Edit → Preferences… → File Handling on Windows and Linux, and in VectorCraft → Settings → File Handling… on macOS, sets what happens to a changed file:
| Update Links | What happens |
|---|---|
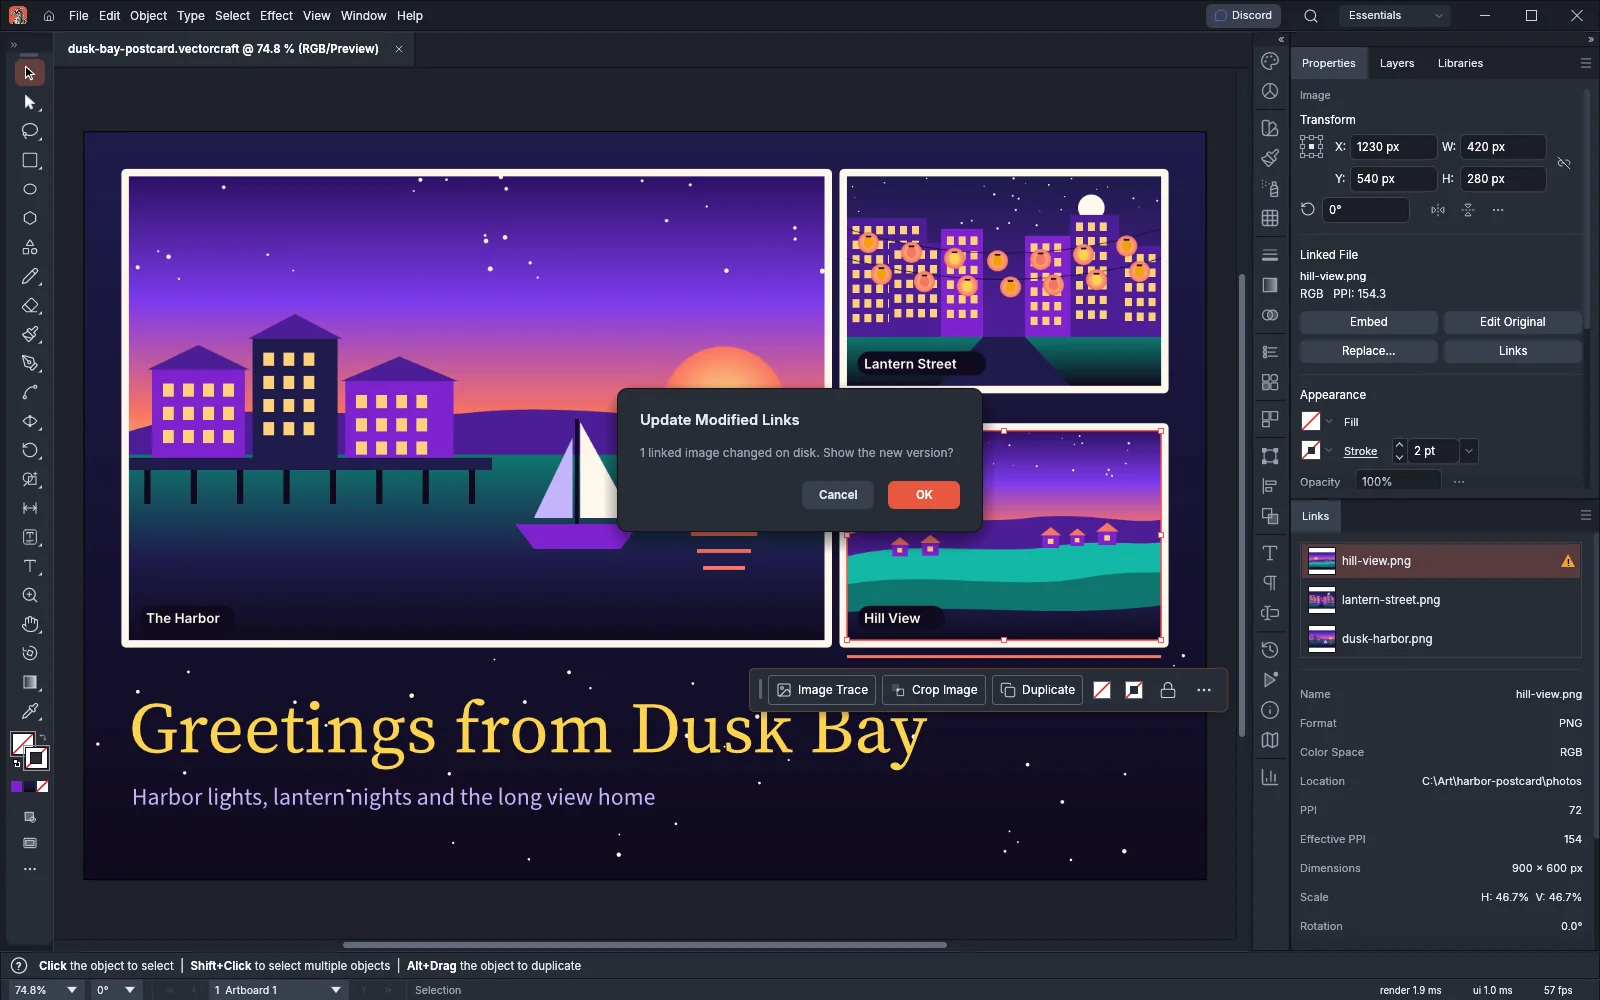
| Ask When Modified | VectorCraft asks before it shows the new version. This is the default. |
| Automatically | VectorCraft reads the changed file and updates the image. |
| Manually | The status bar reports the change, and the image keeps the old version until you choose Update Link. |
The same setting applies to files that another app changes while the document is open.
Edit an image in its own app
Section titled “Edit an image in its own app”- Select a linked image.
- Choose Edit → Edit Original, or click Edit Original in the Links panel, the Properties panel or the Control bar.
- Edit and save the file in the app that opens.
- Return to VectorCraft. The Links panel marks the image as modified. VectorCraft then updates the image, asks you first, or waits for Update Link, as Update Links in Preferences is set.
Edit Original opens the file in the app your system uses for its file type. It opens only image and document files in formats VectorCraft reads. A placed VectorCraft document opens in a new tab in VectorCraft instead, and saving it there updates the placed copy. An embedded image has no file to open, and a missing file must be relinked first.
Crop an image
Section titled “Crop an image”- Select the image.
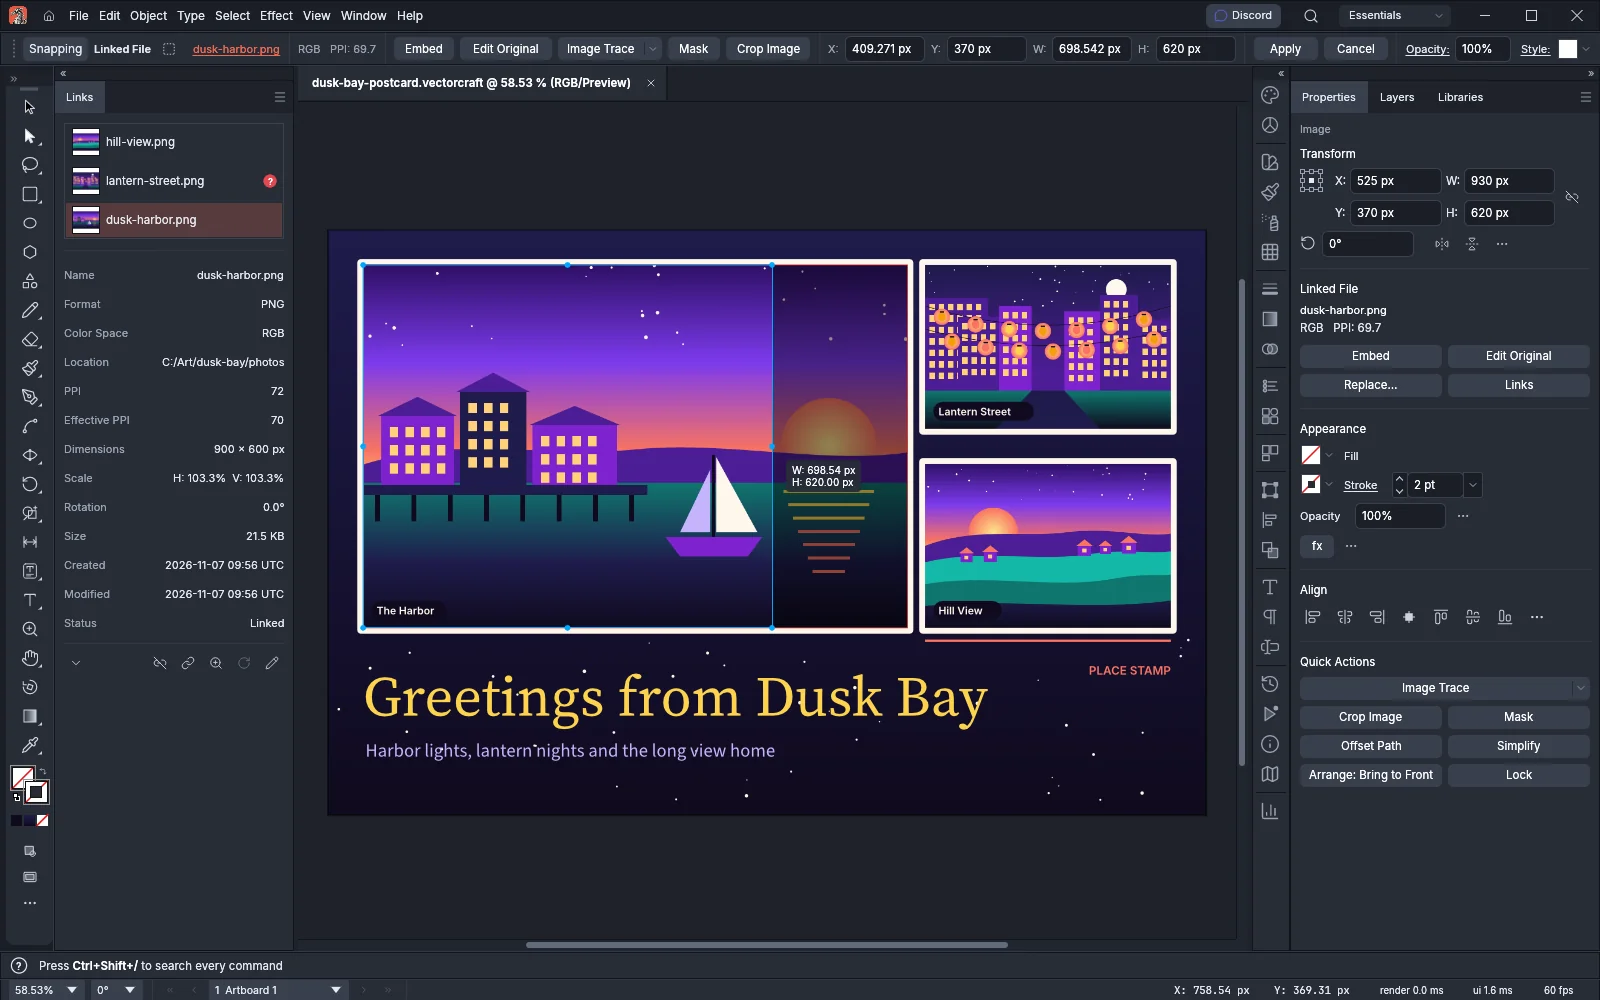
- Choose Object → Crop Image, or click Crop Image in the Properties panel’s Quick Actions, on the Control bar or on the Contextual Task Bar. A crop box appears over the part of the image that sits on its artboard, or over the whole image when it lies inside the artboard.
- Drag a handle to move an edge or corner, or drag inside the box to move it. The box stays inside the image, and the part outside it is dimmed. A readout next to the pointer shows the box’s width and height.
- To type the size, enter X and Y (the box’s center), W and H on the Control bar.
- Press Enter or click Apply to crop the image. Press Esc or click Cancel to leave it as it was. Both return to the Selection tool.
Rasterize vector art
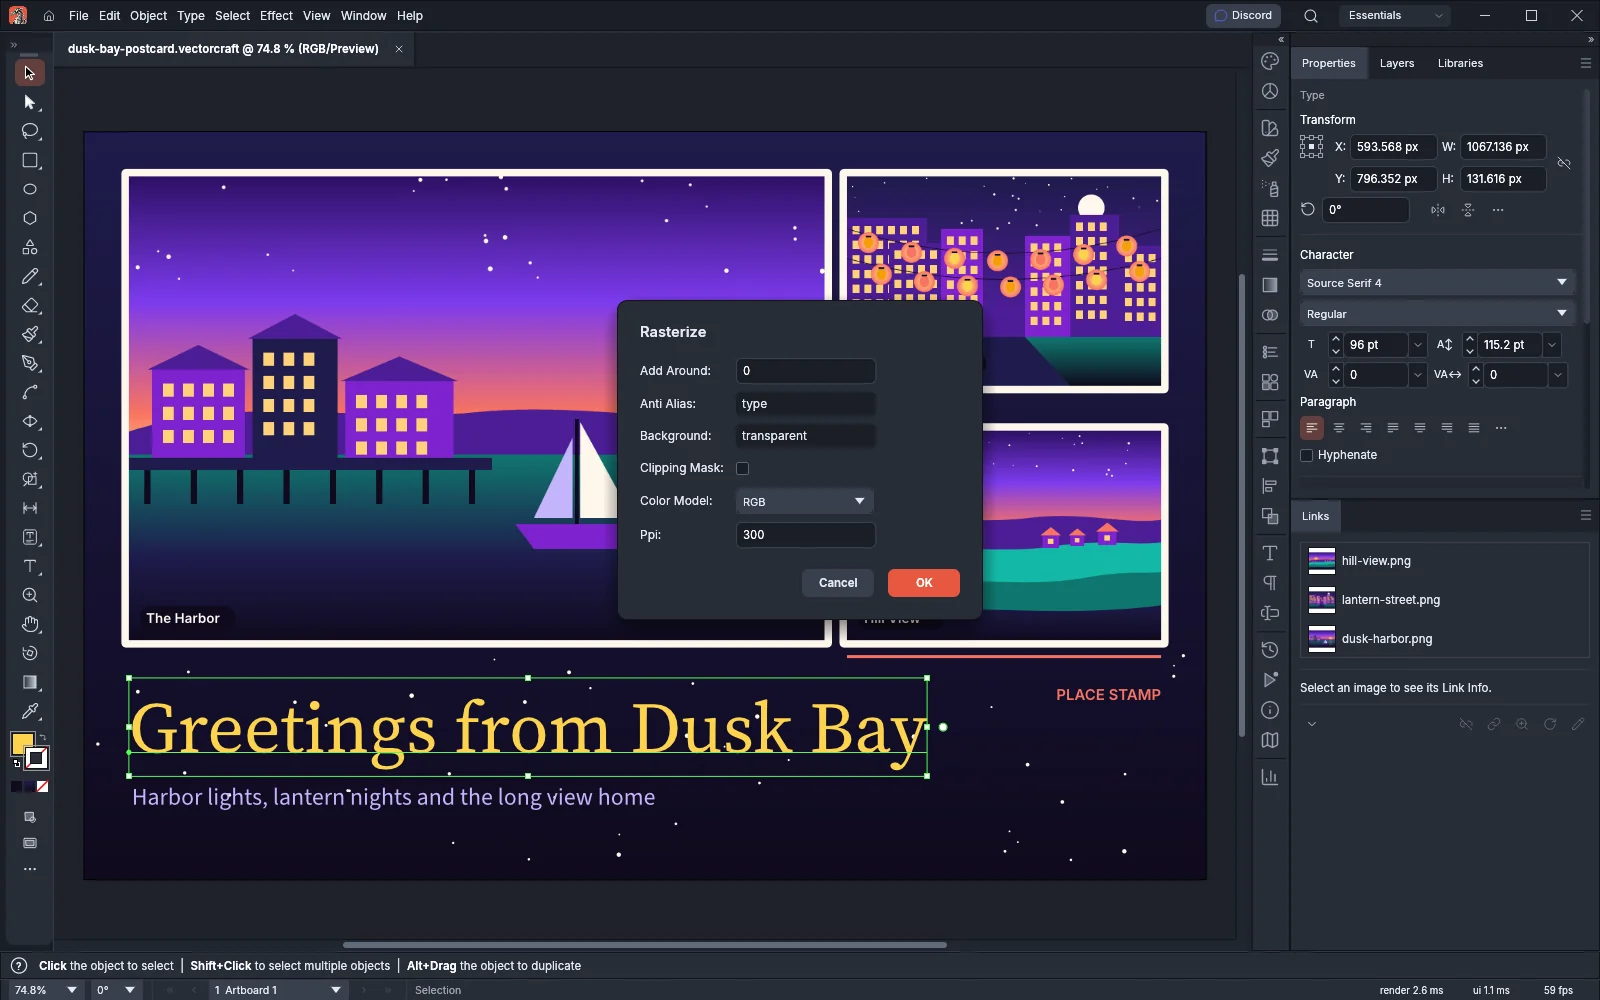
Section titled “Rasterize vector art”Object → Rasterize… turns the selected objects into one embedded image, in one undo step.
- Select the objects.
- Choose Object → Rasterize….
- Set the options, and click OK.
The dialog starts from the document’s raster effects settings, which you set in Effect → Document Raster Effects Settings….
| Option | What it sets |
|---|---|
| Add Around | Room around the art, from 0 to 1000 pt |
| Anti Alias | none for hard edges, art to smooth the art, or type to snap text to pixels |
| Background | transparent, white, black or a color as #rrggbb |
| Clipping Mask | Puts the image in a clip group with the art’s outline |
| Color Model | RGB (CMYK in a CMYK document), Grayscale or Bitmap |
| Ppi | The resolution, from 1 to 2400 ppi; a new document starts at 72 |
Turn an image into tiles or dots
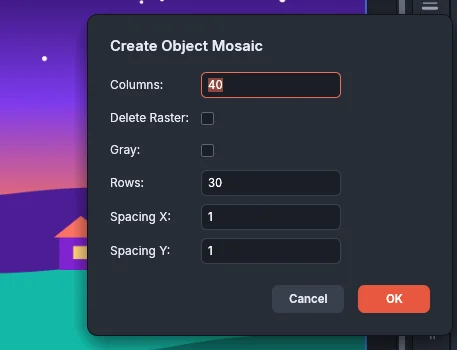
Section titled “Turn an image into tiles or dots”Object → Create Object Mosaic… turns an image into a grid of colored rectangles.
- Select an image.
- Choose Object → Create Object Mosaic….
- Set the grid and click OK.
| Option | What it sets | Default |
|---|---|---|
| Columns and Rows | The number of tiles across and down, from 1 to 1000 | 10 by 10 |
| Spacing X and Spacing Y | The gap between tiles in points | 0 |
| Gray | Fills the tiles with grays instead of colors | Off |
| Delete Raster | Removes the image after the tiles are made | Off |
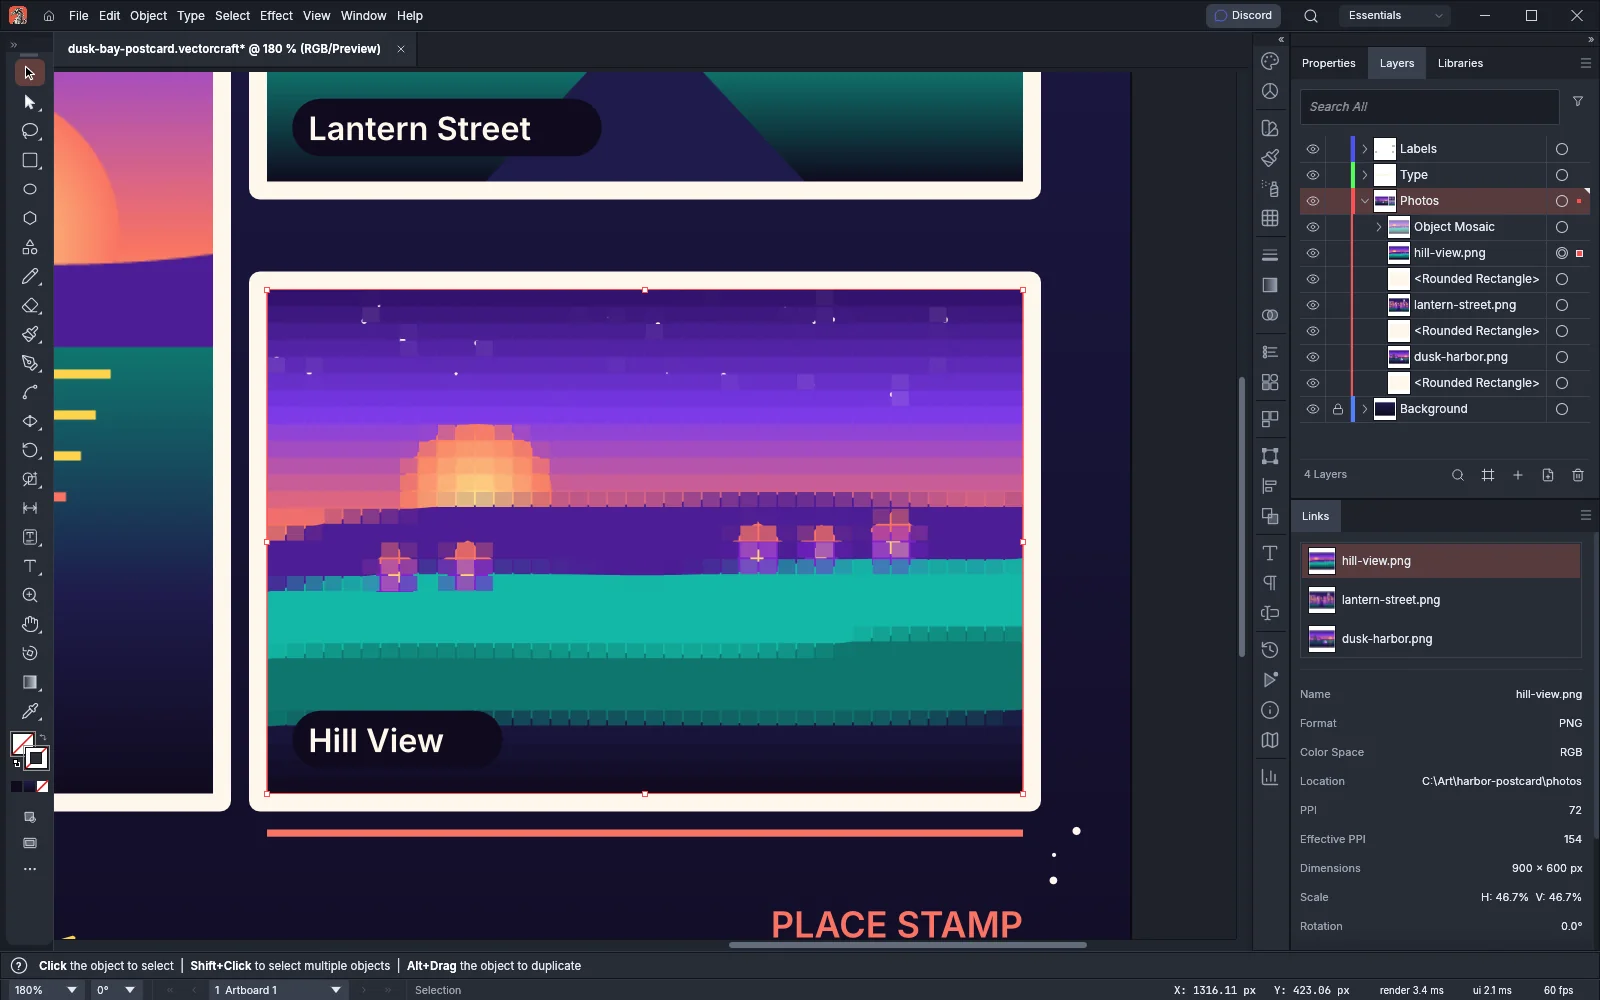
Each tile takes the average color of its part of the image. The tiles come in a group named Object Mosaic.
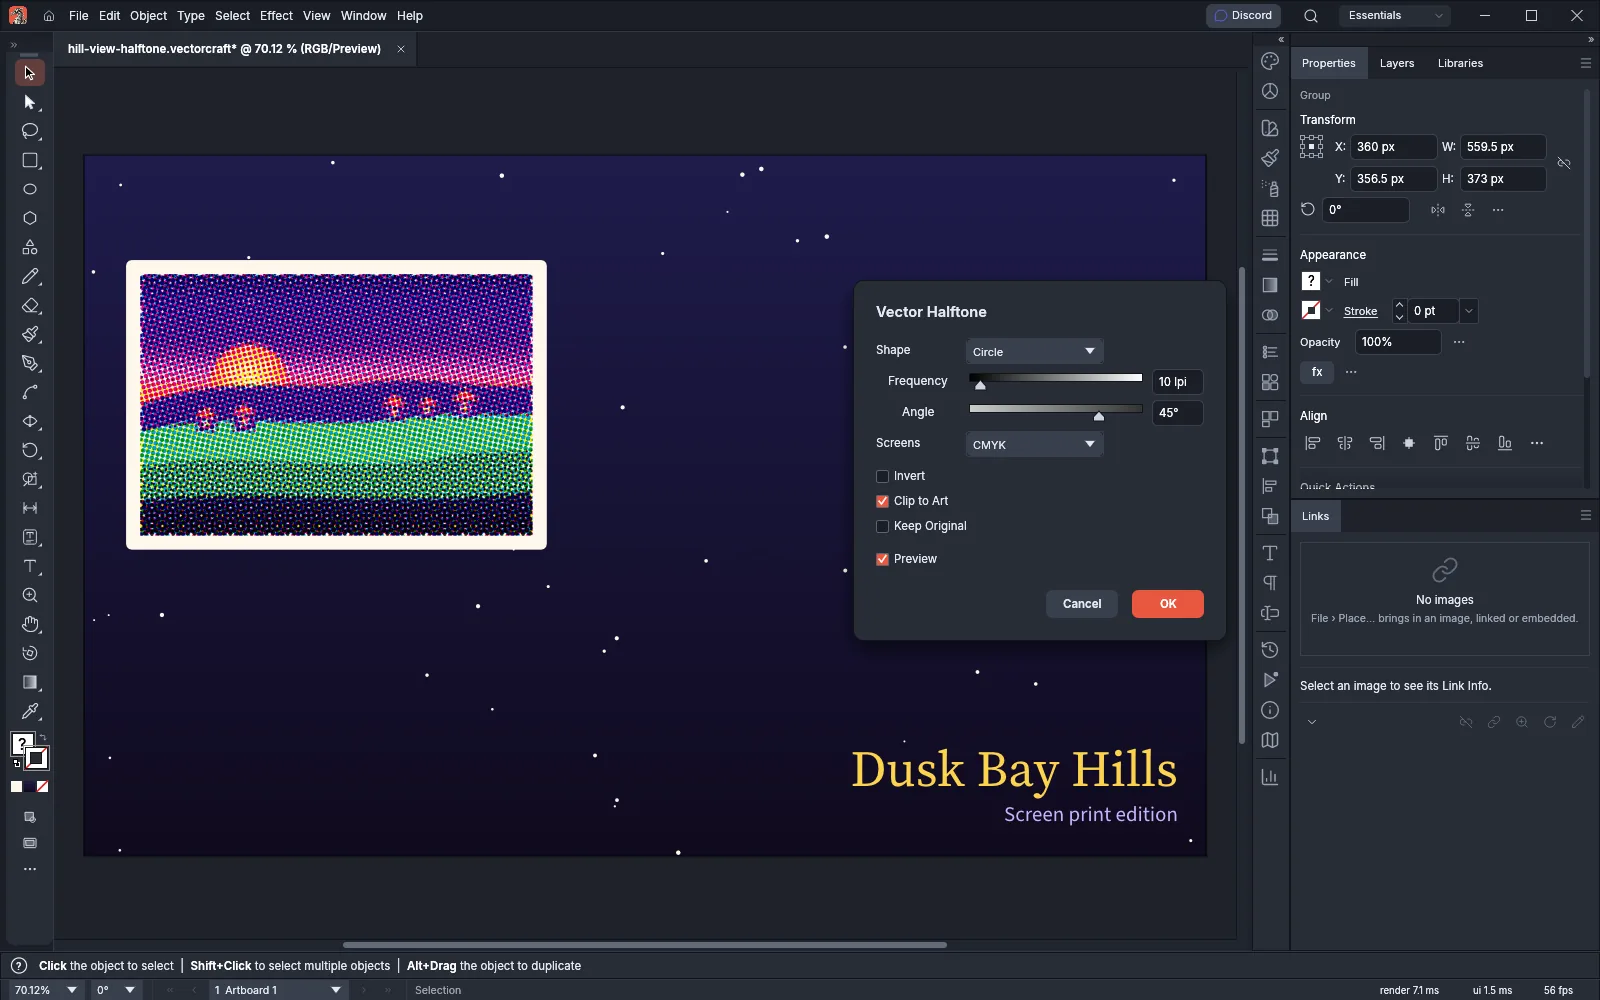
Object → Vector Halftone… redraws the selected objects (vectors, type or images) as vector dots sized by their tone. The canvas previews the result while the dialog is open.
| Option | What it sets | Default |
|---|---|---|
| Shape | Circle, Ellipse, Square, Diamond or Line | Circle |
| Frequency | The screen ruling, from 1 to 150 lines per inch | 20 lpi |
| Angle | The screen angle, from −90° to 90° | 45° |
| Screens | Mono draws one screen in one color. CMYK draws four screens that multiply, with cyan at −30°, magenta at +30° and yellow at −45° from the angle. | Mono |
| Color | The dot color for a Mono screen | #000000 |
| Invert | Puts the dots in the light tones | Off |
| Clip to Art | Clips the dots to the art’s outline | On |
| Keep Original | Keeps the original art as well as the dots | Off |
| Preview | Turns the live preview on the canvas on or off | On |
The result is one group with one path for each screen, made in one undo step.
To trace an image into editable paths instead, select it and click Image Trace on the Control bar or in the Properties panel. Trace an image covers the presets and options.