Draw behind and inside objects
This guide covers the three drawing modes, which set where new and pasted art goes: on top with Draw Normal, behind the selected object with Draw Behind, or clipped inside a shape or type object with Draw Inside.
| Command | Windows and Linux | macOS |
|---|---|---|
| Step through the drawing modes | Shift+D | Shift+D |
| Edit → Paste | Ctrl+V | Cmd+V |
| Edit → Paste in Front | Ctrl+F | Cmd+F |
| Edit → Paste in Back | Ctrl+B | Cmd+B |
| Edit → Paste in Place | Ctrl+Shift+V | Cmd+Shift+V |
| Edit → Paste on All Artboards | Ctrl+Alt+Shift+V | Cmd+Option+Shift+V |
| Object → Clipping Mask → Release | Ctrl+Alt+7 | Cmd+Option+7 |
Choose a drawing mode
Section titled “Choose a drawing mode”| Mode | Where new art goes |
|---|---|
| Draw Normal | On top of the current layer. This is the default. |
| Draw Behind | Directly behind the selected object, in the same group or layer. With several objects selected, it goes behind the one farthest back. With nothing selected, it goes to the back of the current layer. |
| Draw Inside | Inside the selected path, compound path or type object, clipped to its shape. |
The drawing mode buttons sit at the bottom of the Tools panel, below the fill and stroke colors.
- With the Tools panel in one column, a single button shows the current mode. The button is highlighted while Draw Behind or Draw Inside is on. Click it to go to the next mode.
- With the Tools panel in two columns, the Draw Normal, Draw Behind and Draw Inside buttons sit side by side. Click a button to choose that mode. The current mode’s button is highlighted.
To switch between one and two columns, click the double arrow in the Tools panel’s title bar, or choose Window → Toolbars → Double Column. If the buttons are missing, click the ••• button at the bottom of the Tools panel and turn on Draw Mode Controls in the drawer’s Show section. Customize the workspace describes the drawer.
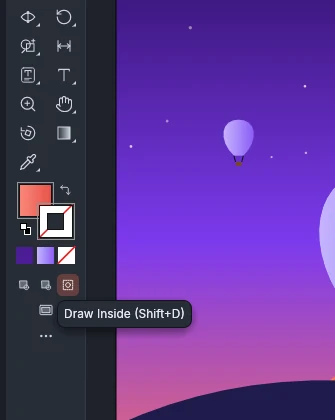
Press Shift+D to step through the modes in the order Draw Normal, Draw Behind, Draw Inside, and back to Draw Normal. When the selection is not one path, compound path or type object, Shift+D goes from Draw Behind straight back to Draw Normal.
A mode stays on until you choose another one.
Draw behind an object
Section titled “Draw behind an object”- With the Selection tool, select the object that the new art goes behind. To draw at the back of the current layer instead, select nothing.
- Click the Draw Behind button, or press Shift+D until the button shows Draw Behind.
- Draw with any drawing tool. The new object appears behind the selected object, and the Layers panel lists it directly below it.
- To go back to drawing on top, click Draw Normal, or press Shift+D until the button shows Draw Normal.
The new object becomes the selection, as in Draw Normal. The next object that you draw goes behind that new object.
New art takes the current fill and stroke. While New Art Has Basic Appearance is on in the Appearance panel menu (the default), selecting an object makes its fill, stroke and stroke weight the current ones, so the new object behind it takes the same colors. To give the new object other colors, change its fill and stroke after you draw it.
Draw inside a shape or type
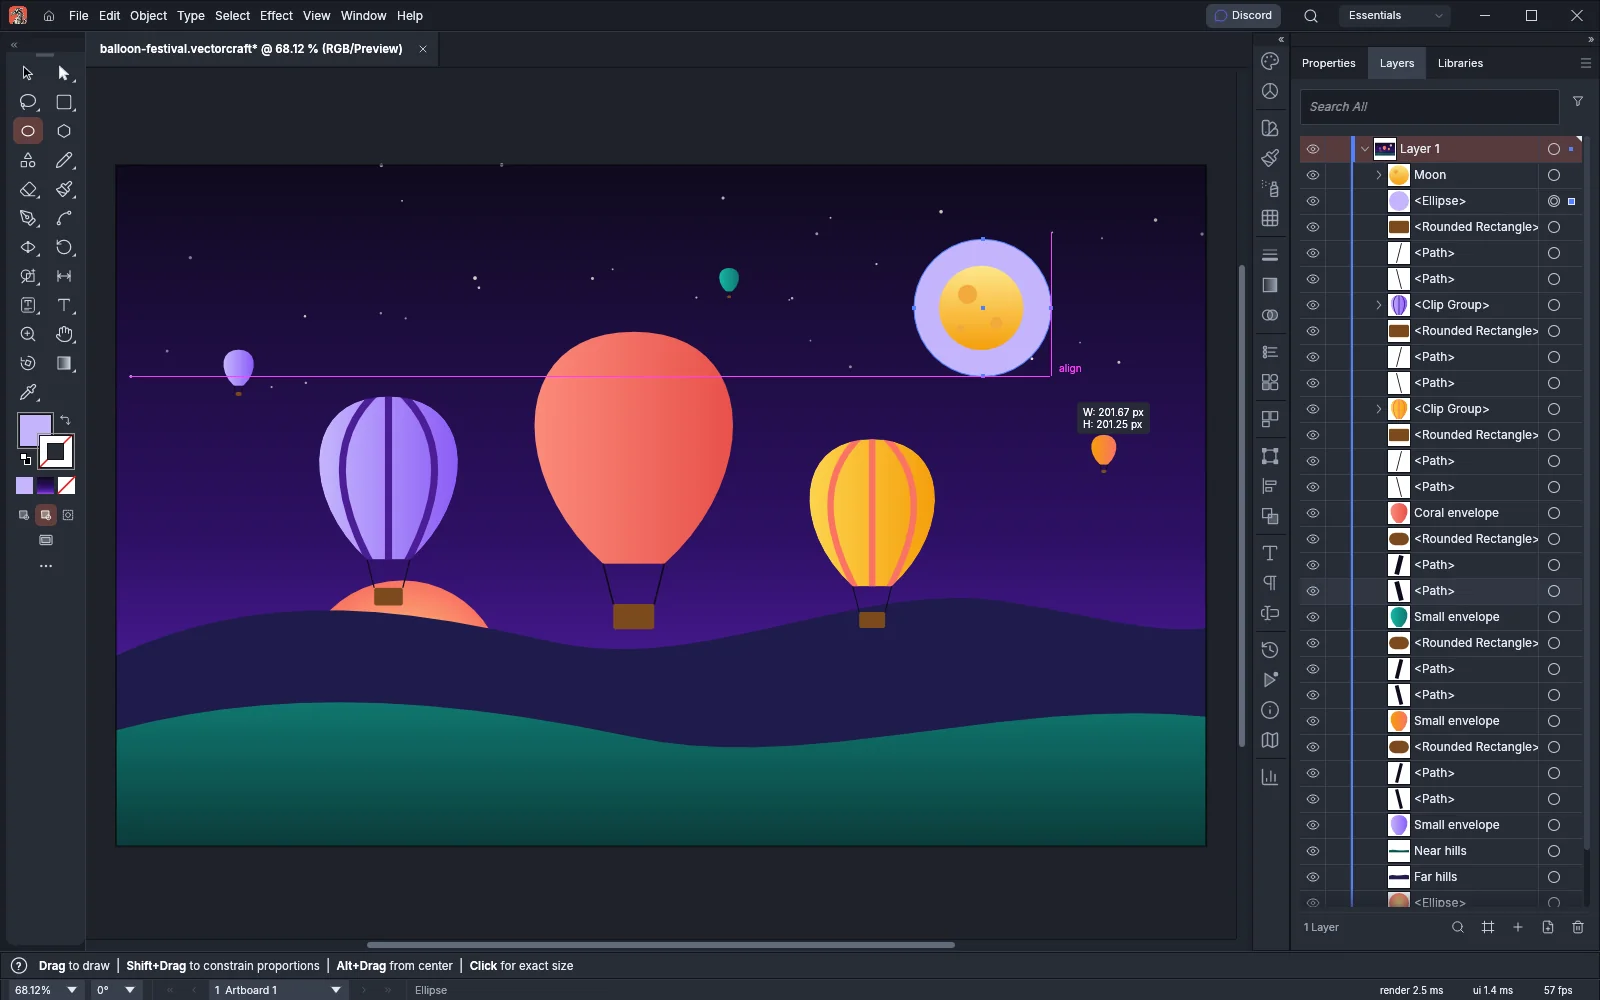
Section titled “Draw inside a shape or type”Draw Inside clips new art to one object. The object can be a path, a compound path or a type object.
- With the Selection tool, select the one object to draw into.
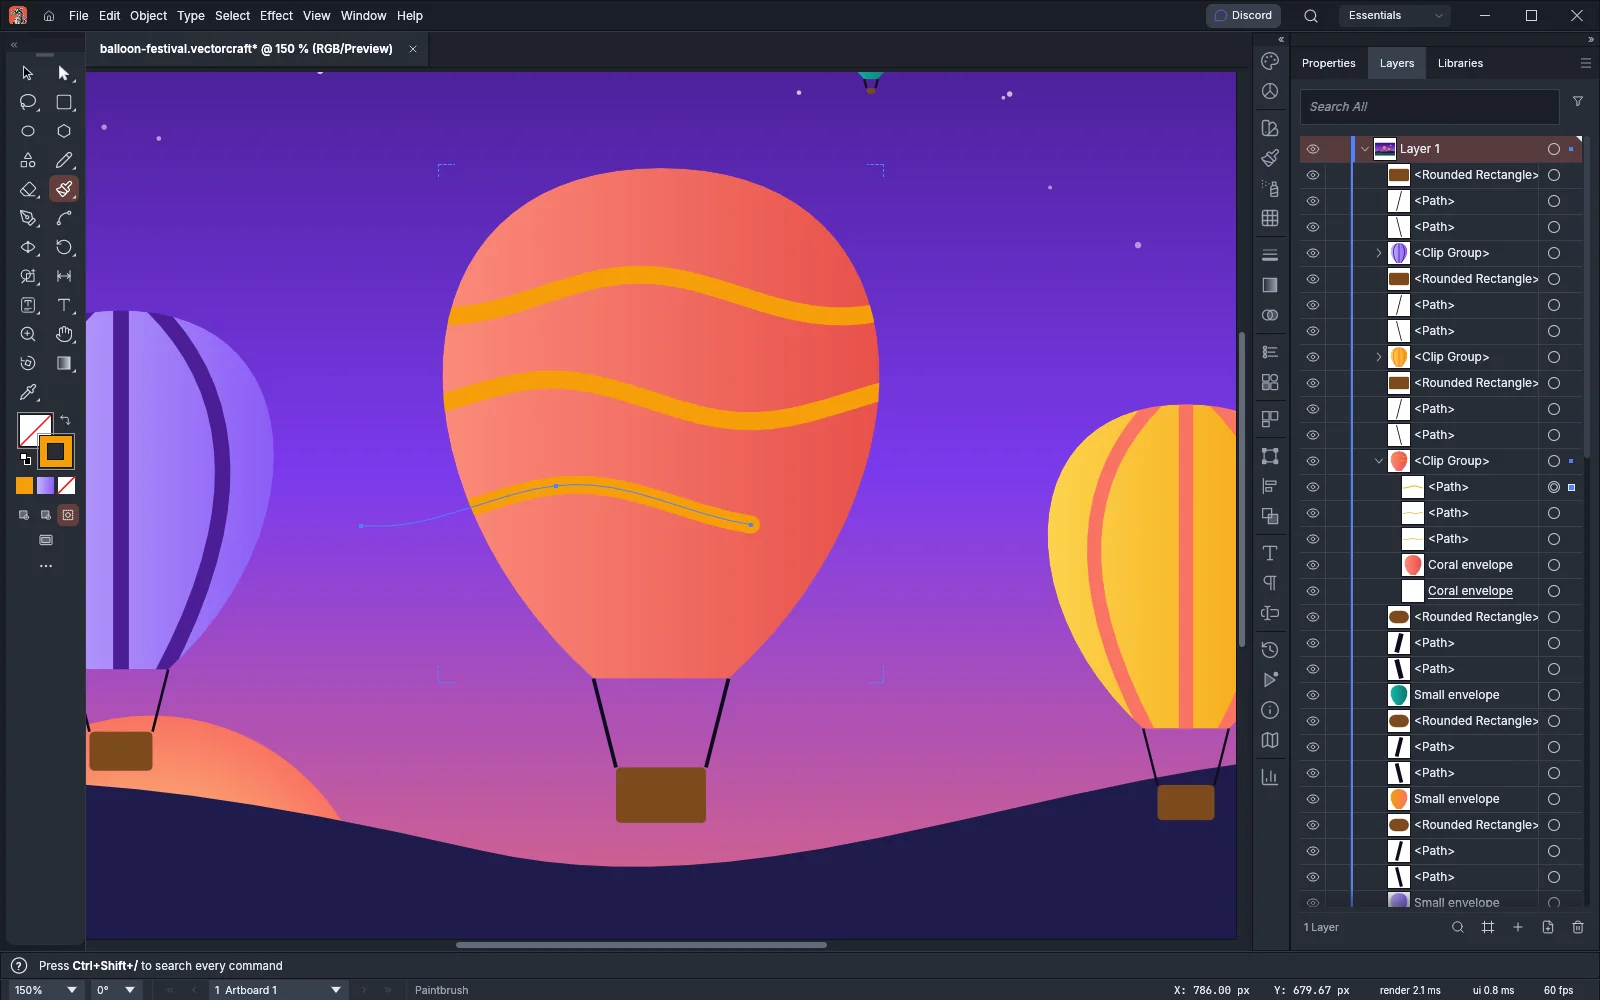
- Click the Draw Inside button, or press Shift+D until the button shows Draw Inside. A dotted open rectangle marks the corners of the object in its layer color.
- Draw with any drawing tool. The new art shows only inside the object.
- Draw more. The object that you draw into stays the same while Draw Inside is on, even though each new path becomes the selection.
- To stop, click Draw Normal, or press Shift+D until the button shows Draw Normal. The dotted rectangle disappears.
If the selection is empty, holds more than one object, or holds a group or an image, Draw Inside is not available.
The first object that you draw inside makes a clip group in the object’s place. The clip group holds a copy of the object as its clipping path, the object itself with its fill and stroke, and the new art on top. Later objects go on top of the art already inside. In the Layers panel, the clip group shows as <Clip Group>, and its clipping path is the underlined row at the bottom.
If the object that you draw into is in isolation mode, isolation mode moves to its clip group, so the new art is in isolation mode with it. Arrange, group and align describes isolation mode.
Paste behind or inside
Section titled “Paste behind or inside”Some paste commands follow the drawing mode:
| Command | Draw Behind | Draw Inside |
|---|---|---|
| Edit → Paste | Pastes on top, as in Draw Normal | Pastes inside the object |
| Edit → Paste in Place | Pastes behind the selection, as Paste in Back does | Pastes inside the object |
| Edit → Paste on All Artboards | Pastes behind the selection, as Paste in Back does | Pastes inside the object |
| Edit → Paste in Front | Pastes in front of the selection | Pastes in front of the selection |
| Edit → Paste in Back | Pastes behind the selection | Pastes behind the selection |
Behind the selection means behind the selected object farthest back. With nothing selected, the objects go to the back of the current layer.
To paste art inside a shape:
- Copy the art with Edit → Copy (Ctrl+C, or Cmd+C on macOS).
- Select the shape to paste into, and choose Draw Inside.
- Choose Edit → Paste (Ctrl+V, or Cmd+V on macOS), or Edit → Paste in Place to keep the art where it was.
The pasted objects go on top of the art already inside the shape. In Draw Inside, the pasted objects stay in the clip group even when Paste Remembers Layers is on in the Layers panel menu.
Edit or release art drawn inside
Section titled “Edit or release art drawn inside”Art drawn or pasted inside an object is an ordinary clip group, and the Object → Clipping Mask commands work on it. Select the clip group, then choose:
- Object → Clipping Mask → Edit Contents to select the art inside, so you can move or restyle it.
- Object → Clipping Mask → Edit Clipping Path to select the clipping path, so you can reshape the area that shows.
- Object → Clipping Mask → Release (Ctrl+Alt+7, or Cmd+Option+7 on macOS) to turn the clip group into a plain group. The art inside shows in full again. The clipping path stays in the group without a fill or stroke, unless you painted it after the clip group was made.
To keep drawing inside a clip group later, select the object you first drew into (for example with the Direct Selection tool or in the Layers panel) and choose Draw Inside again. The new art goes into the same clip group.
Combine and cut shapes describes clipping masks made with Object → Clipping Mask → Make.