
Paint with freeform gradients
This guide covers freeform gradients: you place color points anywhere inside a shape, or join them with smooth lines, and VectorCraft blends the colors between them.
These keys open the panel and the tool that this guide uses.
| Tool or panel | Windows and Linux | macOS |
|---|---|---|
| Gradient panel | Ctrl+F9 | Cmd+F9 |
| Gradient Tool | G | G |
Apply a freeform gradient
Section titled “Apply a freeform gradient”- Select the shape you want to paint.
- Choose Window → Gradient to open the Gradient panel.
- Click the Fill box in the panel to paint the fill, or the Stroke box to paint the stroke.
- Under Type, click Freeform Gradient, the last of the four Type buttons. While the Gradient Tool is active, the same Type buttons are also in the Gradient section of the Properties panel.
- Click Edit Gradient, or press G, to choose the Gradient Tool. Each color point shows as a small round chip on the shape.
VectorCraft places the first points in a grid, with two points across the shape’s shorter side and two to four along its longer side. Points that would fall outside the shape move to the nearest spot inside it. The points take their colors from the gradient that was there before. A solid color or None first becomes the default white-to-black gradient, so its points start in shades from white to black.
In the Gradient panel, the Type, Draw and Delete Point buttons are icons, and each name appears when you point at its button. Points is the circle icon, and Lines is the curved line icon.
On a freeform gradient, the Gradient panel shows a freeform section in place of the angle, aspect ratio and gradient slider.
| Control | What it does |
|---|---|
| Draw | Points: each click adds a free point. Lines: each click adds a point joined to the previous one by a line. Points is the default. |
| Color | Shows the selected point’s color and hex value. Click the chip to open the point’s popover. |
| Opacity | Sets the selected point’s opacity, 0 to 100%. |
| Spread | Sets how far the selected point’s pure color reaches before it blends, 0 to 100%. |
| Delete Point | The trash button removes the selected point. |
While the Gradient Tool is active, the Properties panel shows the same Draw setting as Points and Lines radio buttons. While no point is selected, the Gradient panel’s Opacity and Spread fields are blank, and the Gradient panel shows “Click the art with the Gradient tool to add or select points.”
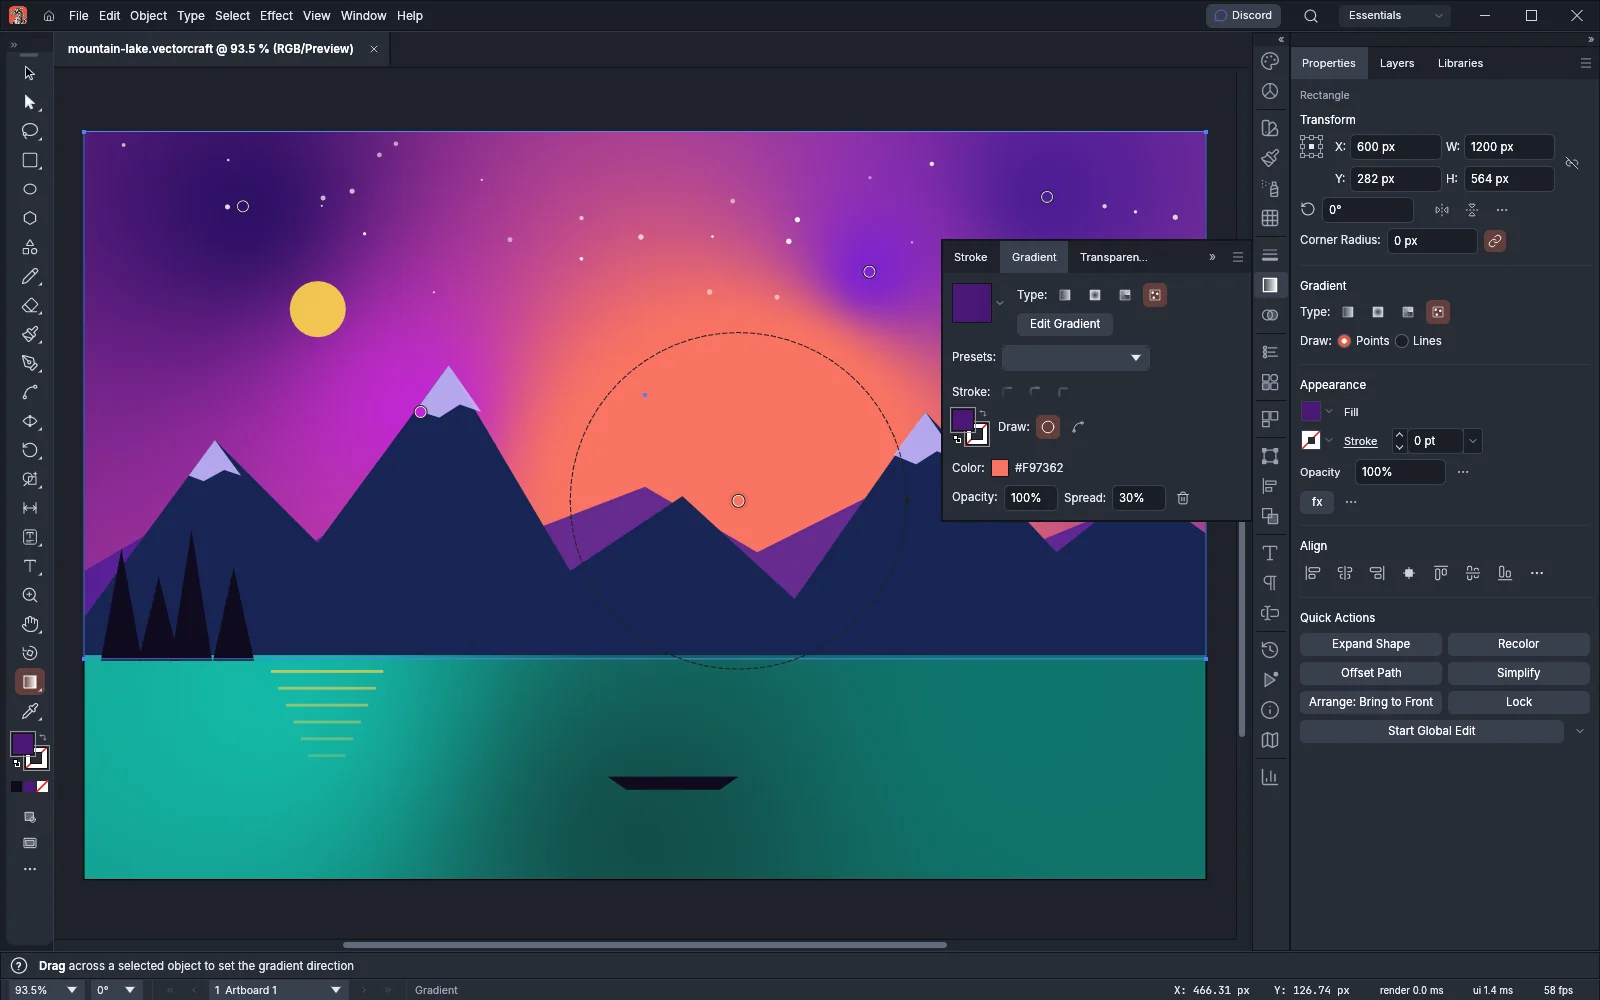
Add points
Section titled “Add points”- Select the shape and choose the Gradient Tool (G).
- Under Draw in the Gradient panel, click Points.
- Click inside the shape where you want a new color. The new point takes the gradient’s color and opacity at that spot.
- Color the new point as described in Color a point.
A new point is selected and starts with a spread of 0%. Clicking a line adds a point on it, with a color, opacity and spread between those of the points on either side. Clicking outside the shape clears the point selection.
Draw lines of color
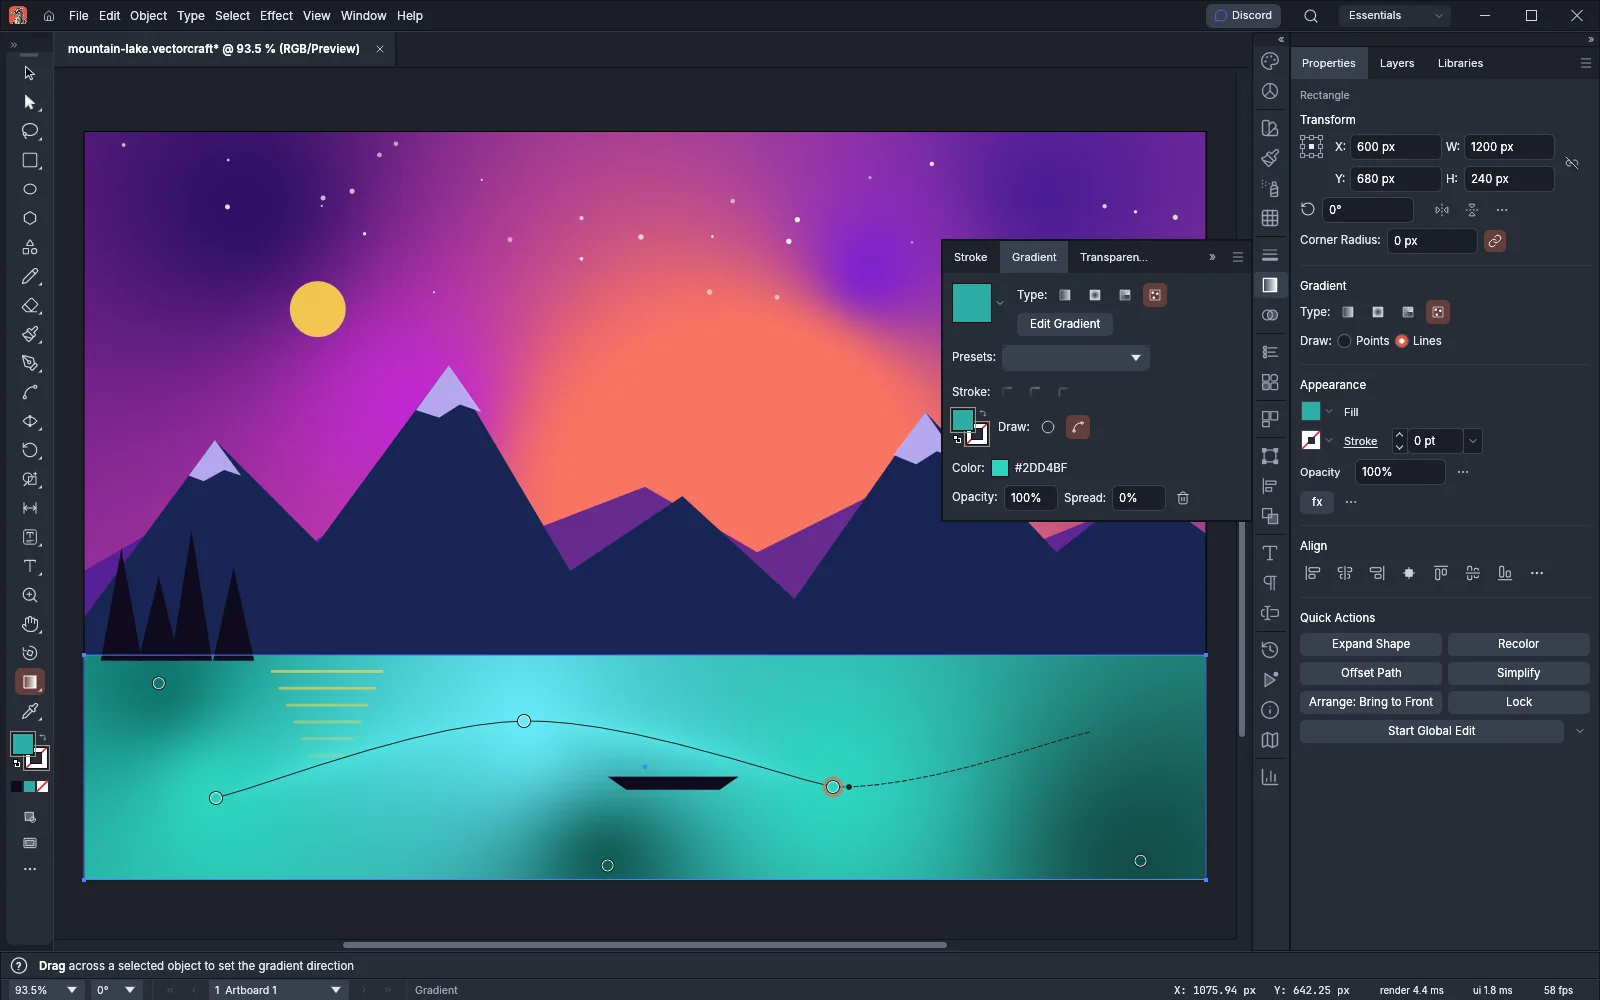
Section titled “Draw lines of color”A line joins points with a smooth curve. Each spot on a line gets a color between the colors of the two points on either side of it.
- Select the shape and choose the Gradient Tool (G).
- Under Draw in the Gradient panel, click Lines.
- Click inside the shape to add the first point. To continue from a point that is already there, click that point instead.
- Click again to add the next point. A smooth line joins it to the previous one. While the pointer is over the shape, a dashed line runs from the last point to the pointer to show where the next segment goes.
- Press Esc, or click outside the shape, to end the line.
Clicking a line adds a point on it and ends the line you are drawing.
Color a point
Section titled “Color a point”Click a point with the Gradient Tool to select it. The selected point’s chip is highlighted. Then change its color in any of these ways:
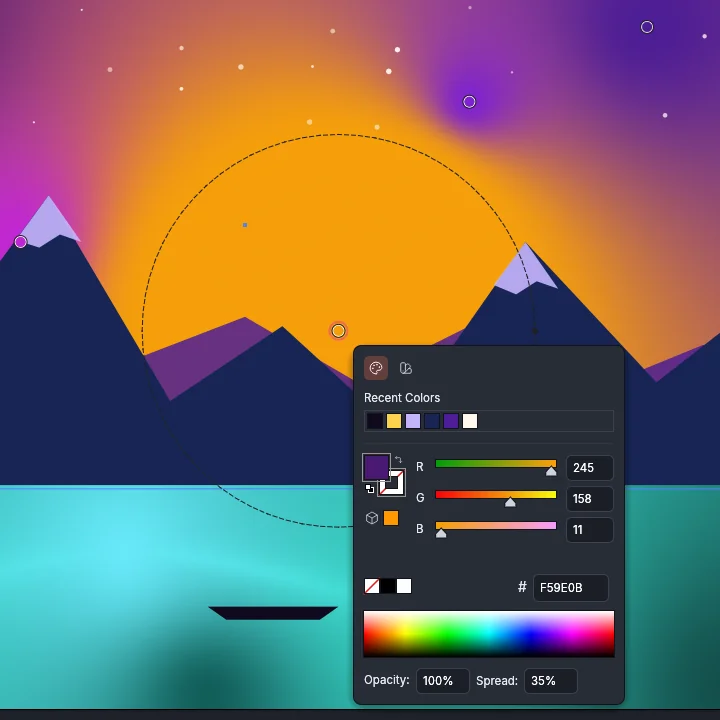
- Popover: double-click the point, or click the Color chip in the Gradient panel. The popover has two tab icons. The Color tab (the palette icon) holds the Color panel’s sliders, hex field and spectrum. The Swatches tab (the swatch book icon) lists the document’s color swatches, and a click gives the point that color. Below the tabs, Opacity and Spread set the point’s opacity and spread in percent. Press Esc or click elsewhere to close the popover.
- Color panel: the sliders, hex field and spectrum edit the selected point. With no point selected, they edit the first point.
- Color Wheel panel: the wheel edits the same color as the Color panel.
- Swatches panel: Alt-click (Option-click on macOS) a color swatch to give the selected point that color. A plain click paints the whole fill or stroke with the swatch instead of the point.
A popover opened by a double-click appears beside the selected shape where there is room, otherwise next to the point. Its Swatches tab and the Swatches panel give the point the swatch’s color, so a later change to the swatch does not change the point.
Spread a point’s color
Section titled “Spread a point’s color”Spread sets the size of the area of pure color around a point. At 0%, the color starts to blend at the point itself. At 100%, the pure color reaches half the length of the shape’s longer side before it blends.
- Select the point with the Gradient Tool.
- Drag the dashed ring, or the handle on its right side, away from the point to spread the color further, or toward it to spread less.
When the spread is 0%, only the handle shows, a short distance to the right of the point. Drag it outward to give the point a spread. You can also type a value in the Spread field in the Gradient panel or in the point’s popover.
Move and remove points
Section titled “Move and remove points”- Move: drag a point to a new place inside the shape.
- Cancel a move: press Esc while you drag, and the point goes back to where it was.
- Remove by dragging: drag the point outside the shape and release it there. If you drag it back inside before you release, the point stays.
- Remove with the keyboard: select the point and press Delete or Backspace while the Gradient Tool is active.
- Remove from the panel: select the point and click Delete Point in the Gradient panel.
A freeform gradient always keeps at least one point. You cannot remove the last point by any of these methods. When you remove a point from a line, the line closes up around the gap. A line left with only one point is removed.