
Snap and align with Smart Guides
This page shows how to use Smart Guides, the temporary guides that appear while you move, draw and transform art, to line objects up, space them evenly, check distances and draw at set angles.
Turn Smart Guides on
Section titled “Turn Smart Guides on”Smart Guides are on by default. To turn them on or off, do one of the following:
- Choose View → Smart Guides.
- Press Ctrl+U (Cmd+U on macOS).
- Click Snapping at the left of the Control bar and choose Smart Guides. To show the Control bar, choose Window → Control.
| Command | Windows and Linux | macOS |
|---|---|---|
| View → Smart Guides | Ctrl+U | Cmd+U |
| View → Show Grid | Ctrl+’ | Cmd+’ |
| View → Snap to Grid | Ctrl+Shift+’ | Cmd+Shift+’ |
| View → Snap to Point | Ctrl+Alt+’ | Cmd+Option+’ |
| View → Pixel Preview | Ctrl+Alt+Y | Cmd+Option+Y |
| Edit → Preferences… | Ctrl+K | Cmd+K |
The Control bar’s Snapping menu holds the snapping switches in one place:
| Item | Default | What it does |
|---|---|---|
| Smart Guides | On | Turns Smart Guides on or off, as View → Smart Guides does |
| Snap to Point | On | Snaps the pointer to anchor points. With Smart Guides on, it also snaps dragged points to ruler guides |
| Snap to Grid | Off | Snaps art you draw and move to the grid. While it is on, the Selection tool and the drawing tools use no Smart Guides |
| Snap to Pixel | Off | Places art you draw and move on whole pixels |
| Snap to Glyph | Off | Snaps art you draw to the bounds of live type. It works only while Smart Guides are on and Snap to Grid is off |
| Alignment Guides | On | Shows the guide lines along edges and centers. The same setting as Preferences → Smart Guides → Alignment Guides |
| Snap to Tangent | On | Snaps a line drawn from an anchor to the point where it touches a nearby curve |
| Snap to Perpendicular | On | Snaps a line drawn from an anchor to the point where it meets a nearby segment at a right angle |
In a narrow window, the Control bar leaves the Snapping menu out while the Artboard tool is active.
Line up art as you move it
Section titled “Line up art as you move it”- Choose the Selection tool (V).
- Drag an object. The status bar shows the Selection tool’s hints, such as Alt+Drag to duplicate.
- Move the object toward the edges and centers of other objects or the artboard. When an edge or the center of the object comes within the snapping tolerance of one of them, the object jumps into line and a guide line appears along the edge or center it lines up with. Measurement Labels shows how far you have moved the object as dX and dY.
- To put the point you grabbed onto an anchor point or the center of another object, bring that point near it. The object lands there, and a label names the target, such as anchor or center. When the object lines up with a ruler guide, an align label appears.
- Release the mouse button where you want the object.
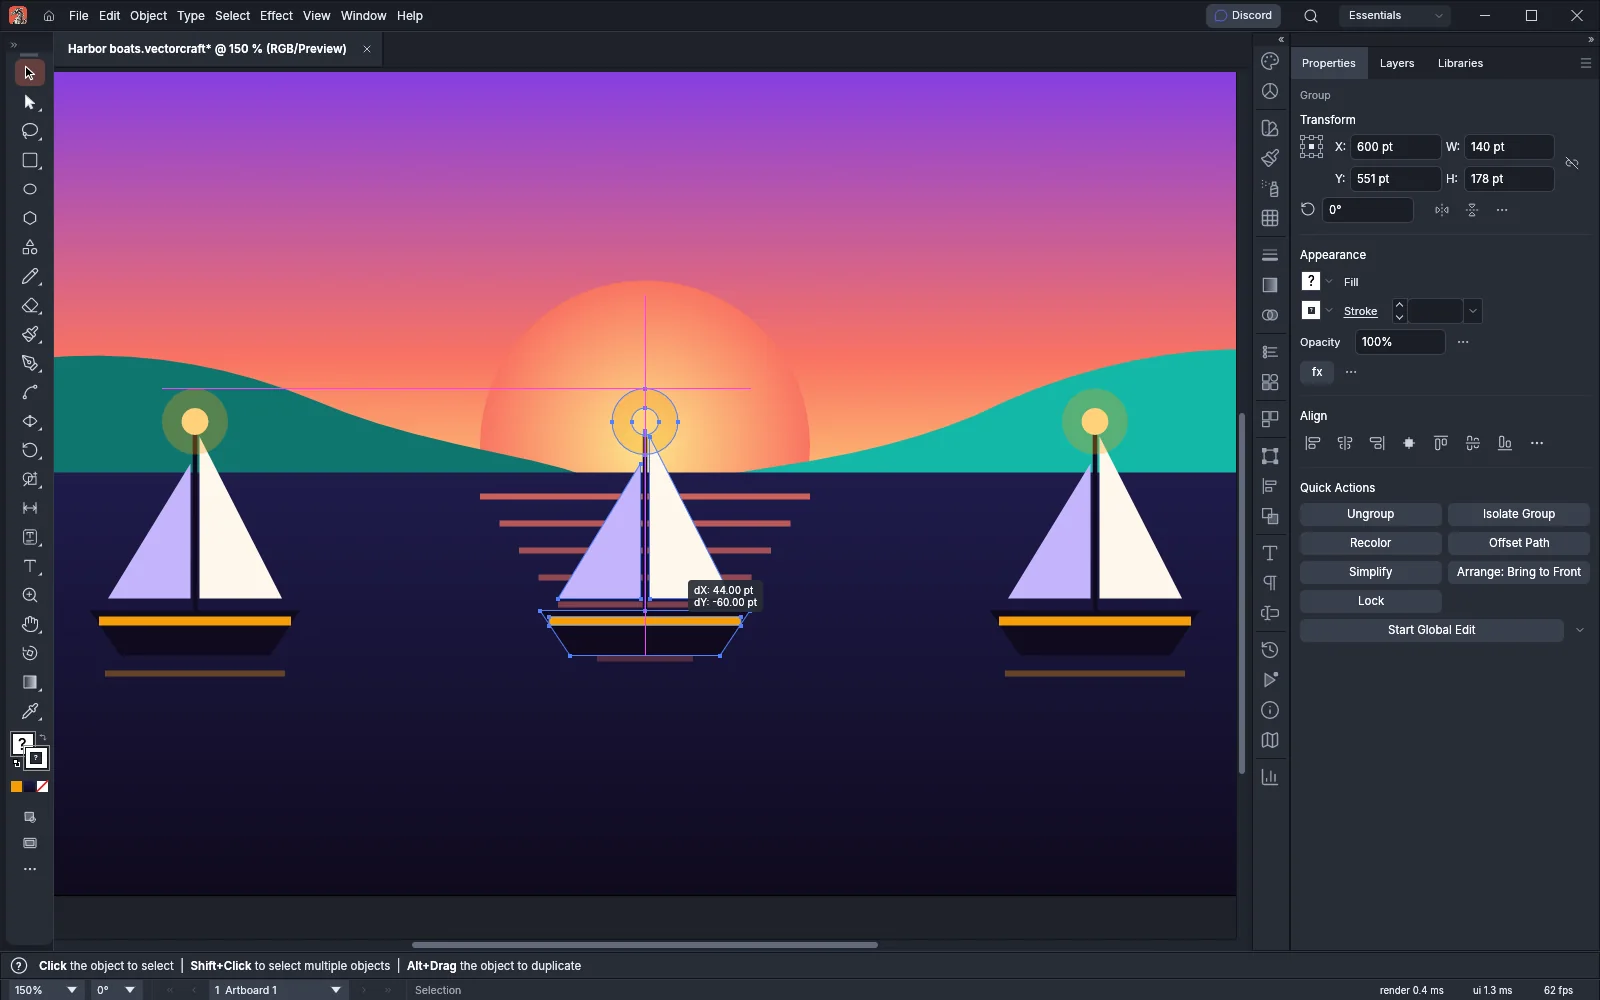
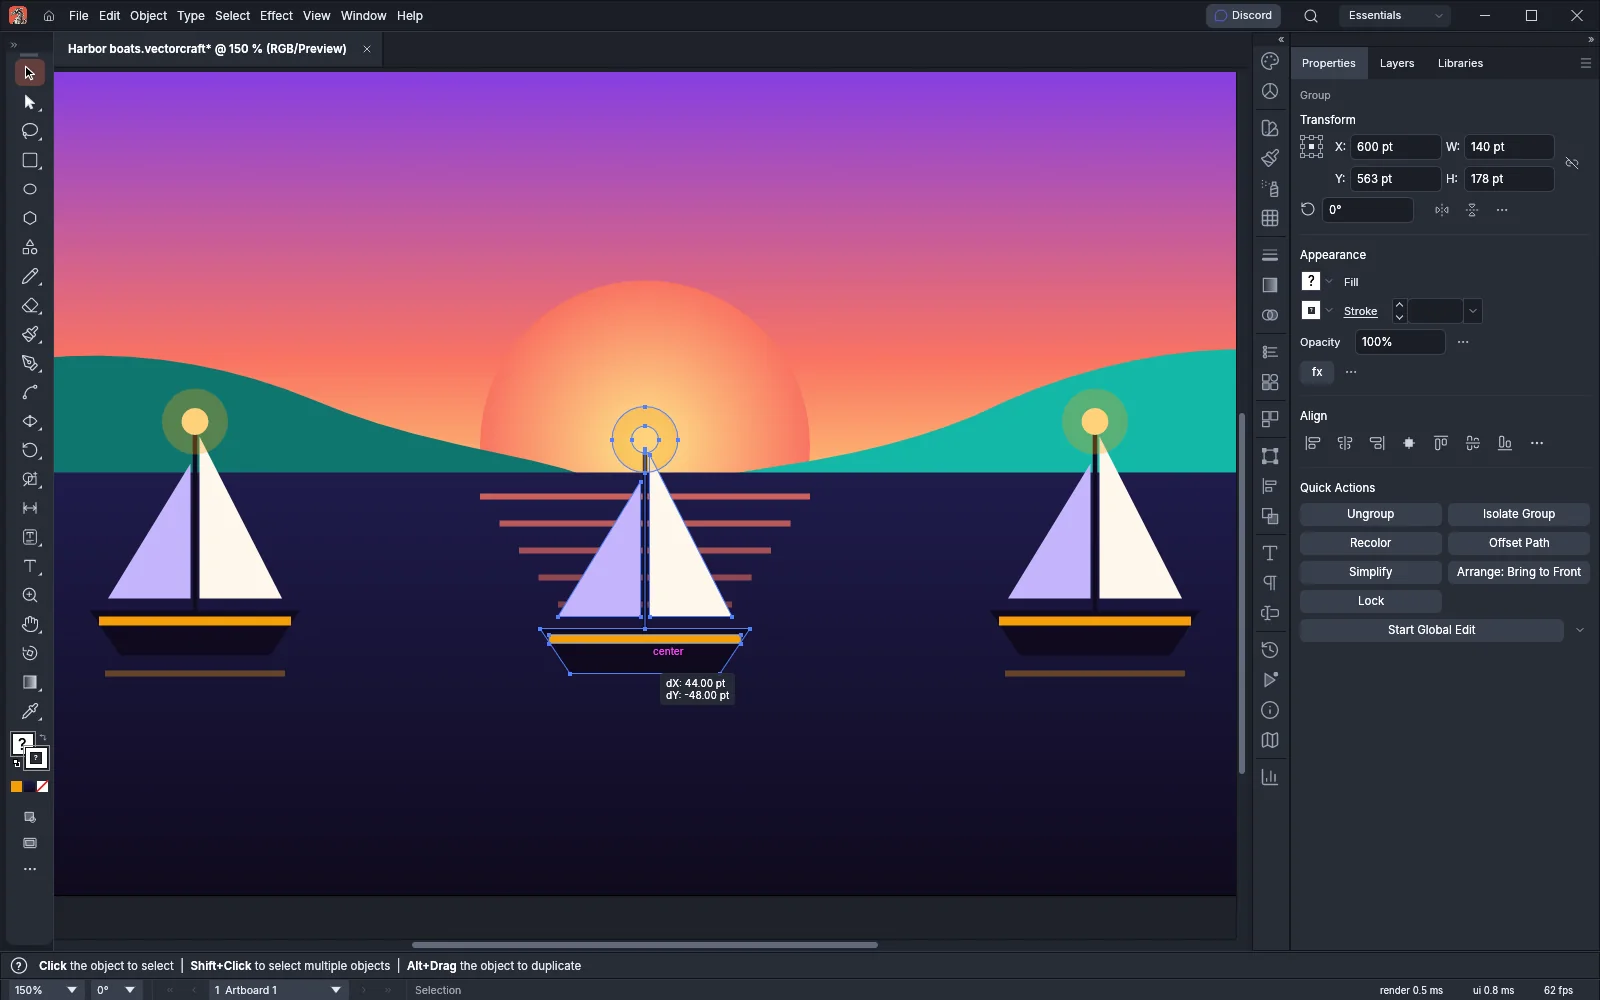
The guides use the Smart Guides color, magenta (#ff3dfc) by default. When Alignment Guides is off, the object still snaps into line, but the guide lines do not show.
Highlight the object under the pointer
Section titled “Highlight the object under the pointer”While Object Highlighting is on, the Selection, Direct Selection and Group Selection tools outline the object under the pointer in its layer color. The outline does not show on an object that is already selected or while you are dragging.
Return to where you started
Section titled “Return to where you started”Turn on Snap to Last Location in Preferences → Smart Guides to make a dragged selection go back to where the move began whenever you bring it within the snapping tolerance of that spot. A last location label marks the spot. This does not apply when you Alt-drag a copy. The option is off by default.
Space objects evenly
Section titled “Space objects evenly”- Place two or more objects in a row or a column.
- With the Selection tool, drag another object along the same row or column.
- Move it until its gap to its neighbor matches the gap between two other objects in the row, or until it sits halfway between its two neighbors. The object snaps to that spacing.
- Check the spacing guides: a line with end marks spans each of the equal gaps.
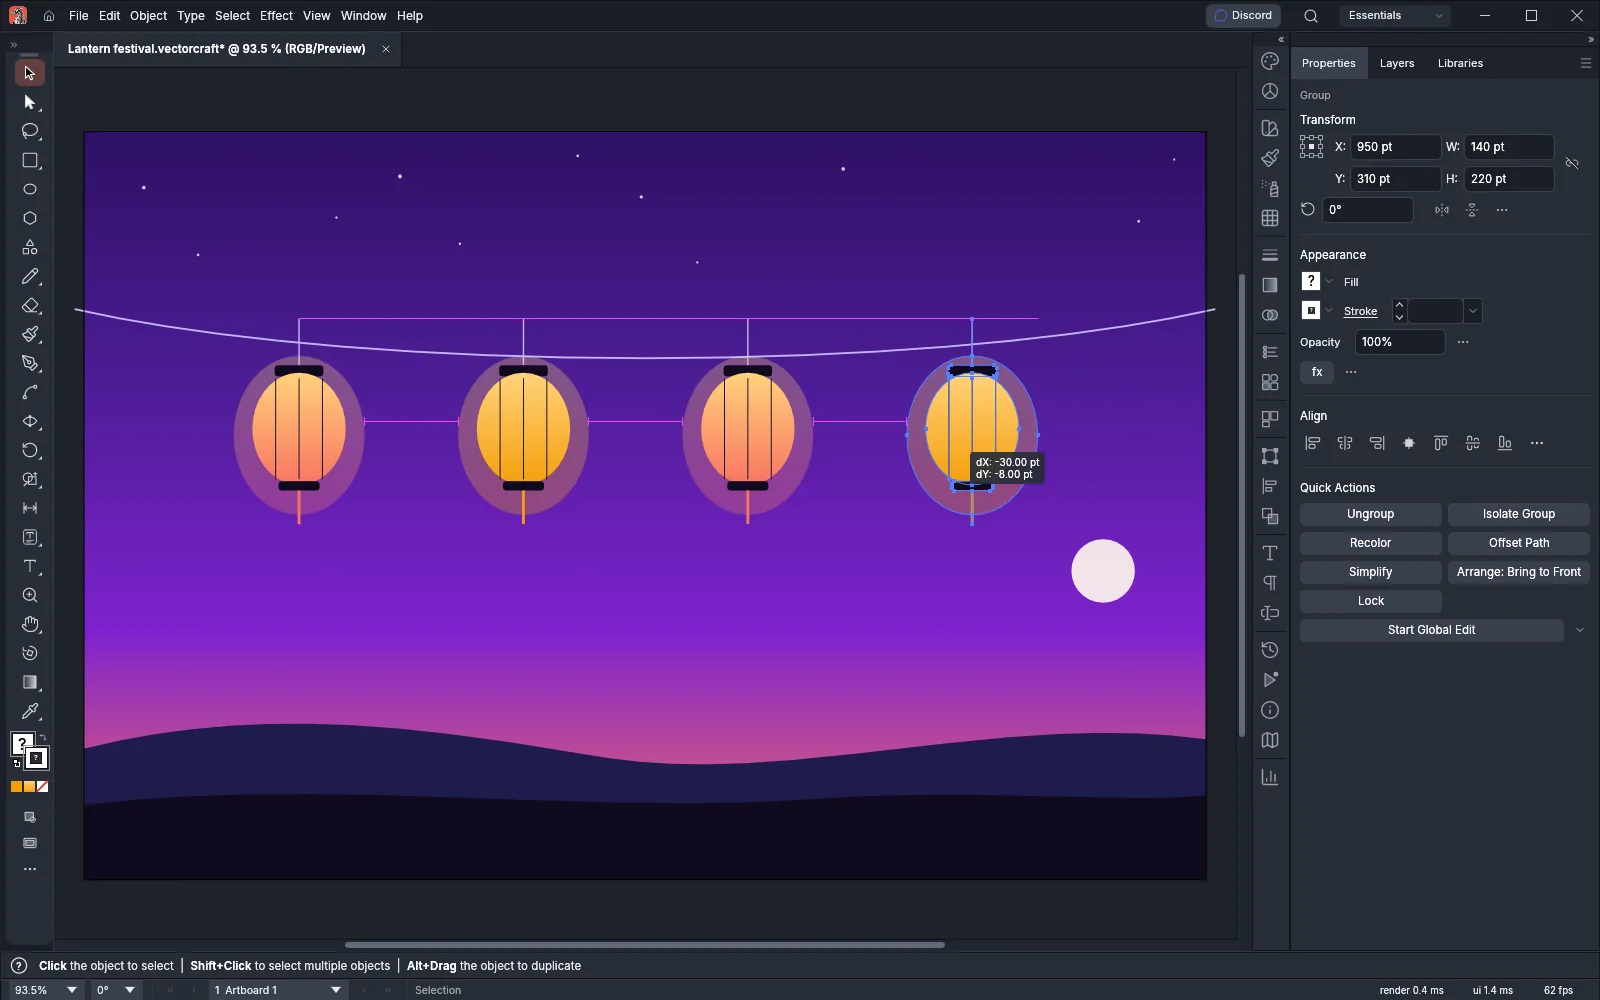
Spacing guides need Spacing Guides on in Preferences → Smart Guides. It is on by default.
Check distances
Section titled “Check distances”- With the Selection tool, select an object.
- Hold Alt (Option on macOS) and move the pointer over another object. Distance guides show how far the selection is from that object along each axis, labeled in the document’s units.
- To measure the selection against the artboard, hold Alt (Option on macOS) over an empty part of the artboard. The guides show the distance from the selection to the artboard’s left, right, top and bottom edges.
Distance guides need Invoke Distance Guides on in Preferences → Smart Guides. It is on by default.
Draw along construction guides
Section titled “Draw along construction guides”- Choose the Pen tool (P) and click to place the first anchor point.
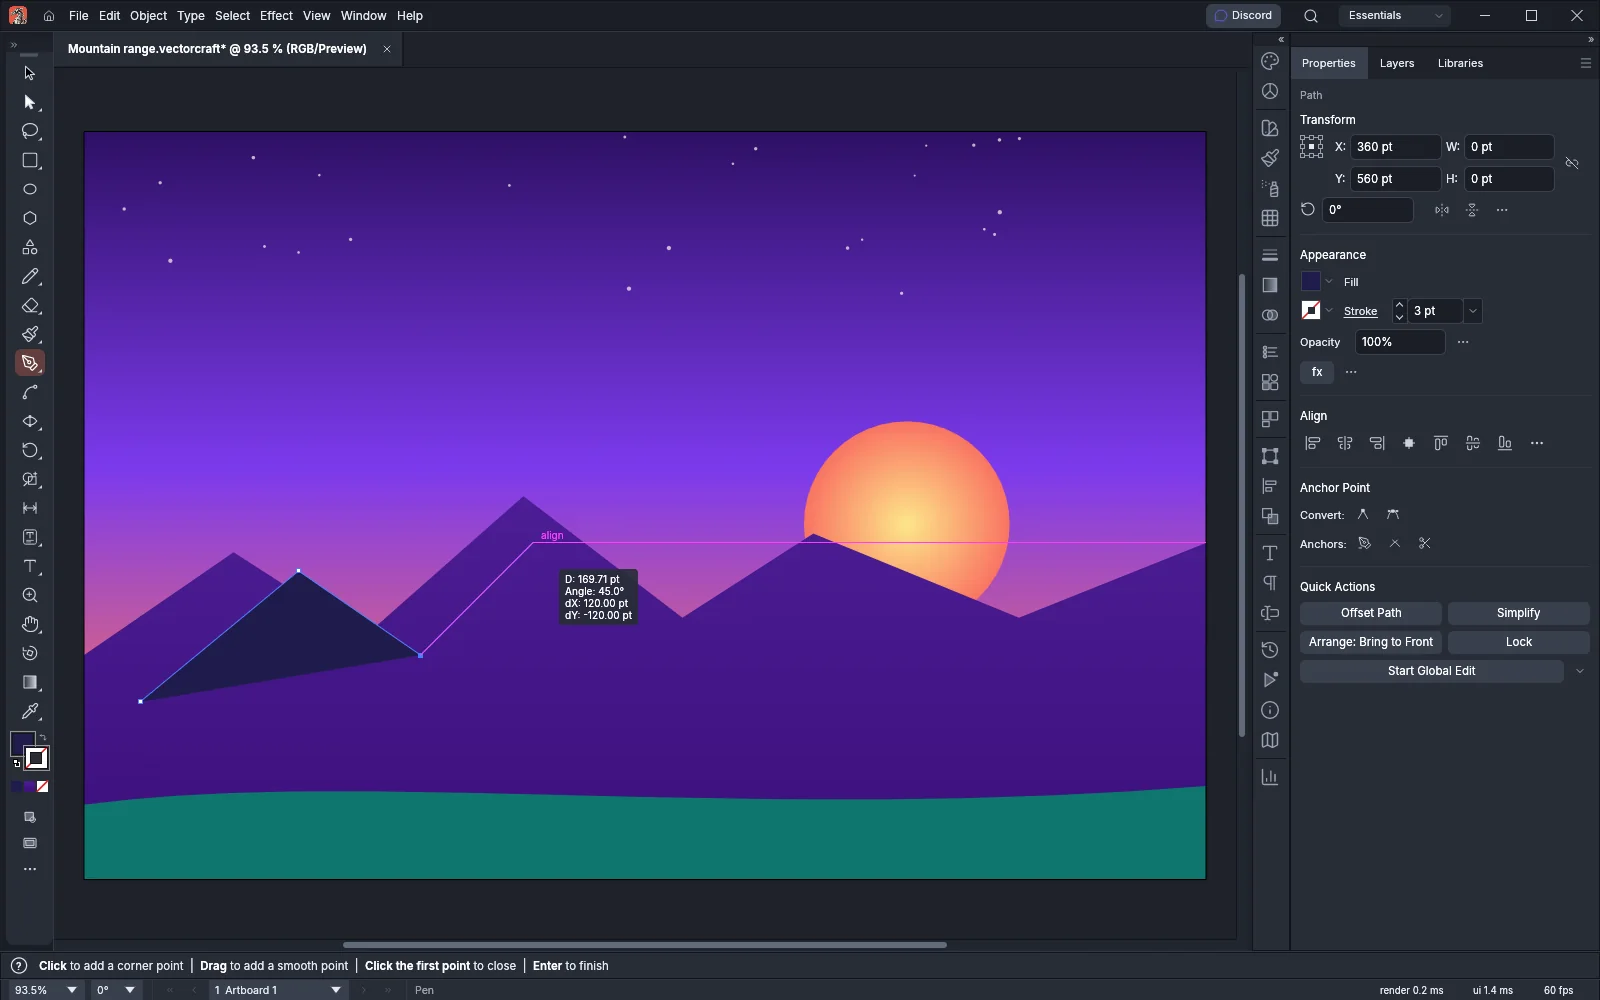
- Move the pointer away from the last anchor point, in the direction of one of the angles that Preferences → Smart Guides → Angles sets. By default those are 0°, 45°, 90° and 135°.
- When the pointer comes within the snapping tolerance of one of those angles, the next anchor point snaps onto it, and a construction guide runs from the last anchor point to the pointer. The readout shows the distance D, the Angle, dX and dY from the last anchor point. If the point also lines up with an anchor point, edge or center of other art, it slides into line with it, an alignment guide runs to that art, and an align label appears.
- Click to place the anchor point. Press Enter to finish the path, or click the first anchor point to close it.
Snap to tangent and perpendicular points
Section titled “Snap to tangent and perpendicular points”When you draw a line from an anchor point toward a curve or a segment:
- Snap to Tangent snaps the end of the line to the point where the line touches a nearby curve, with a tangent label.
- Snap to Perpendicular snaps the end of the line to the point where it meets a nearby segment at a right angle, with a perpendicular label.
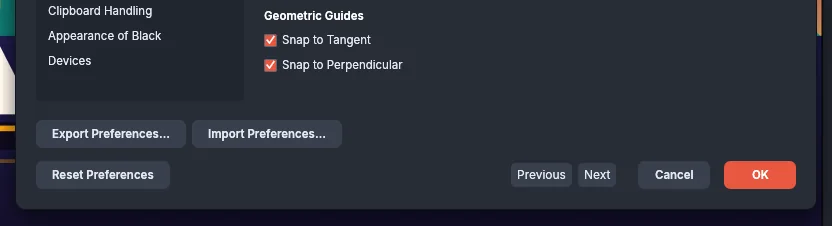
Both work only while Smart Guides are on. Turn them on or off in the Control bar’s Snapping menu or in Preferences → Smart Guides → Geometric Guides. Both are on by default.
Read transform values
Section titled “Read transform values”While Transform Tools is on, the Selection tool shows readouts beside the pointer as you transform with the bounding box:
- When you drag a side or corner handle to scale, the readout shows the new width W and height H.
- When you drag just outside a corner to rotate, the readout shows the angle in degrees.
The rotate widget of a live shape shows the same angle readout. Transform Tools is on by default.
Set what shows and how near it snaps
Section titled “Set what shows and how near it snaps”- On Windows and Linux, choose Edit → Preferences… (Ctrl+K) and click Smart Guides in the list of pages. On macOS, choose VectorCraft → Settings → Smart Guides…, or press Cmd+K and click Smart Guides.
- Change the options, then click OK.
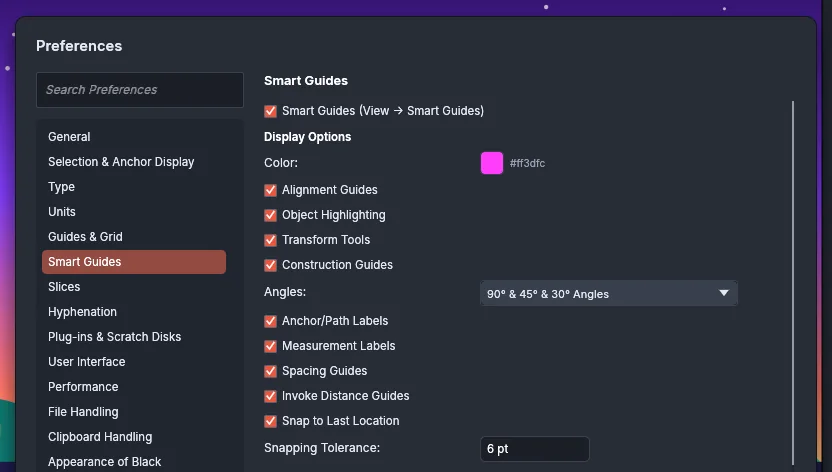
| Option | Default | What it does |
|---|---|---|
| Smart Guides (View → Smart Guides) | On | Turns Smart Guides on or off, as View → Smart Guides does |
| Color | #ff3dfc | Sets the color of the guide lines and labels |
| Alignment Guides | On | Shows the lines along the edges and centers that art lines up with |
| Object Highlighting | On | Outlines the object under the pointer with the selection tools |
| Transform Tools | On | Shows readouts while you scale and rotate |
| Construction Guides | On | Shows guide lines at set angles through the point you draw from |
| Angles | 90° & 45° Angles | Sets the construction guide angles: 90° & 45° Angles, 30° Angles, 45° Angles, 60° Angles, 90° Angles or 90° & 45° & 30° Angles |
| Anchor/Path Labels | On | Shows labels such as anchor, center and path |
| Measurement Labels | On | Shows size and offset readouts while you draw and move |
| Spacing Guides | On | Snaps a moved object to equal spacing and shows the equal gaps |
| Invoke Distance Guides | On | Shows distances while you hold Alt (Option on macOS) with the Selection tool |
| Snap to Last Location | Off | Sends a dragged selection back to where the move began when you bring it near that spot |
| Snapping Tolerance | 4 pt | Sets how near the pointer, a dragged edge or a drawn point must come before it snaps. From 0 to 40 pt |
| Snap to Tangent | On | Snaps a line drawn from an anchor to the point where it touches a nearby curve |
| Snap to Perpendicular | On | Snaps a line drawn from an anchor to the point where it meets a nearby segment at a right angle |
The Angles sets give these lines:
| Angles | Lines through the point |
|---|---|
| 90° & 45° Angles | 0°, 45°, 90°, 135° |
| 30° Angles | 30°, 60°, 120°, 150° |
| 45° Angles | 45°, 135° |
| 60° Angles | 60°, 120° |
| 90° Angles | 0°, 90° |
| 90° & 45° & 30° Angles | 0°, 30°, 45°, 60°, 90°, 120°, 135°, 150° |
The Smart Guides preferences list the same options with their ranges.
When Smart Guides do not snap
Section titled “When Smart Guides do not snap”- Smart Guides are off. Press Ctrl+U (Cmd+U on macOS), or check View → Smart Guides. With Smart Guides off, Snap to Point still snaps the pointer to anchor points and ruler guides.
- Snap to Grid is on. While View → Snap to Grid is on, art you move and draw snaps to the grid, and the Selection tool and the drawing tools use no Smart Guides. Snap to Glyph and Object Highlighting also turn off. See Draw on the grid.
- Pixel Preview is on. While View → Pixel Preview is on, the tools use no Smart Guides and Object Highlighting does not show.
- Snap to Pixel is on. While View → Snap to Pixel is on, the points you draw go to whole pixels instead of to Smart Guides.
- The tolerance is too small. Raise Snapping Tolerance in Preferences → Smart Guides.