
Trap colors where inks meet
This page shows how to add traps where two solid colors meet, set the trap options, keep traps live as an effect and check them before the job goes to a print shop.
On a printing press, each ink prints from its own plate. When the plates land slightly out of line, a thin strip of paper can show where two colors meet. A trap is a thin extra shape along that edge. It lies over the darker color, is painted with the lighter color and is set to overprint, so the two inks overlap a little and no paper shows.
Add a trap with the Pathfinder panel
Section titled “Add a trap with the Pathfinder panel”- Select two or more objects filled with solid colors where they meet. A selected group counts as the objects inside it.
- Choose Window → Pathfinder (Ctrl+Shift+F9, or Cmd+Shift+F9 on macOS).
- Click the menu button at the top right of the Pathfinder panel and choose Trap…. The command stays dimmed until two or more objects are selected.
- Set the options in the Trap dialog. See Trap options.
- Press OK.
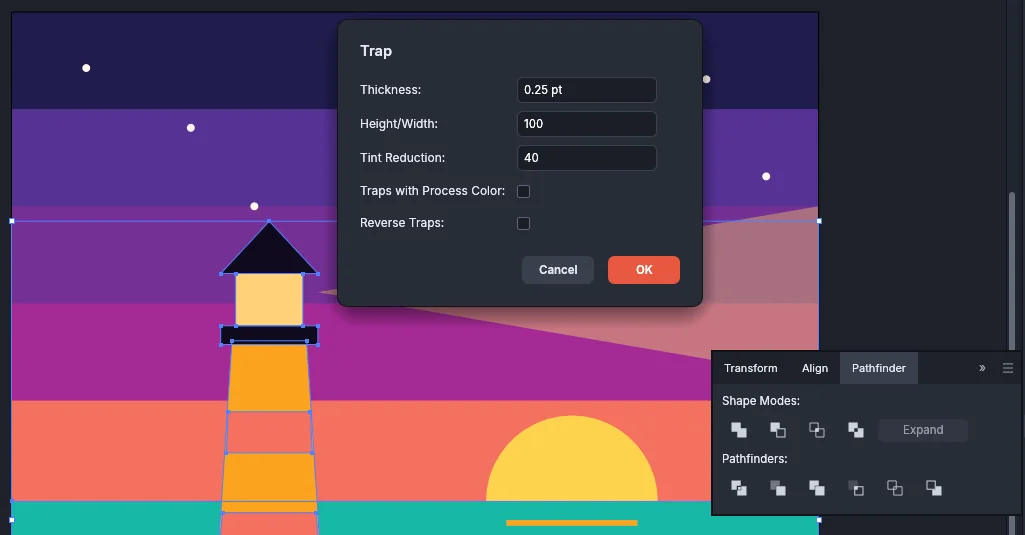
VectorCraft adds the traps as one new group directly above the topmost selected object and selects the group. The objects you selected do not change. Edit → Undo removes the whole group in one step, named Trap.
The traps follow only the edges that show. Where an object is partly covered by another selected object, the trap follows the visible part. Two objects filled with the same color get no trap between them. Objects without a solid fill, such as gradient fills or unfilled paths, do not take part.
To decide which color spreads, VectorCraft compares the lightness of the two colors. The lighter color spreads into the darker one. When both colors are equally light, the color with less ink spreads.
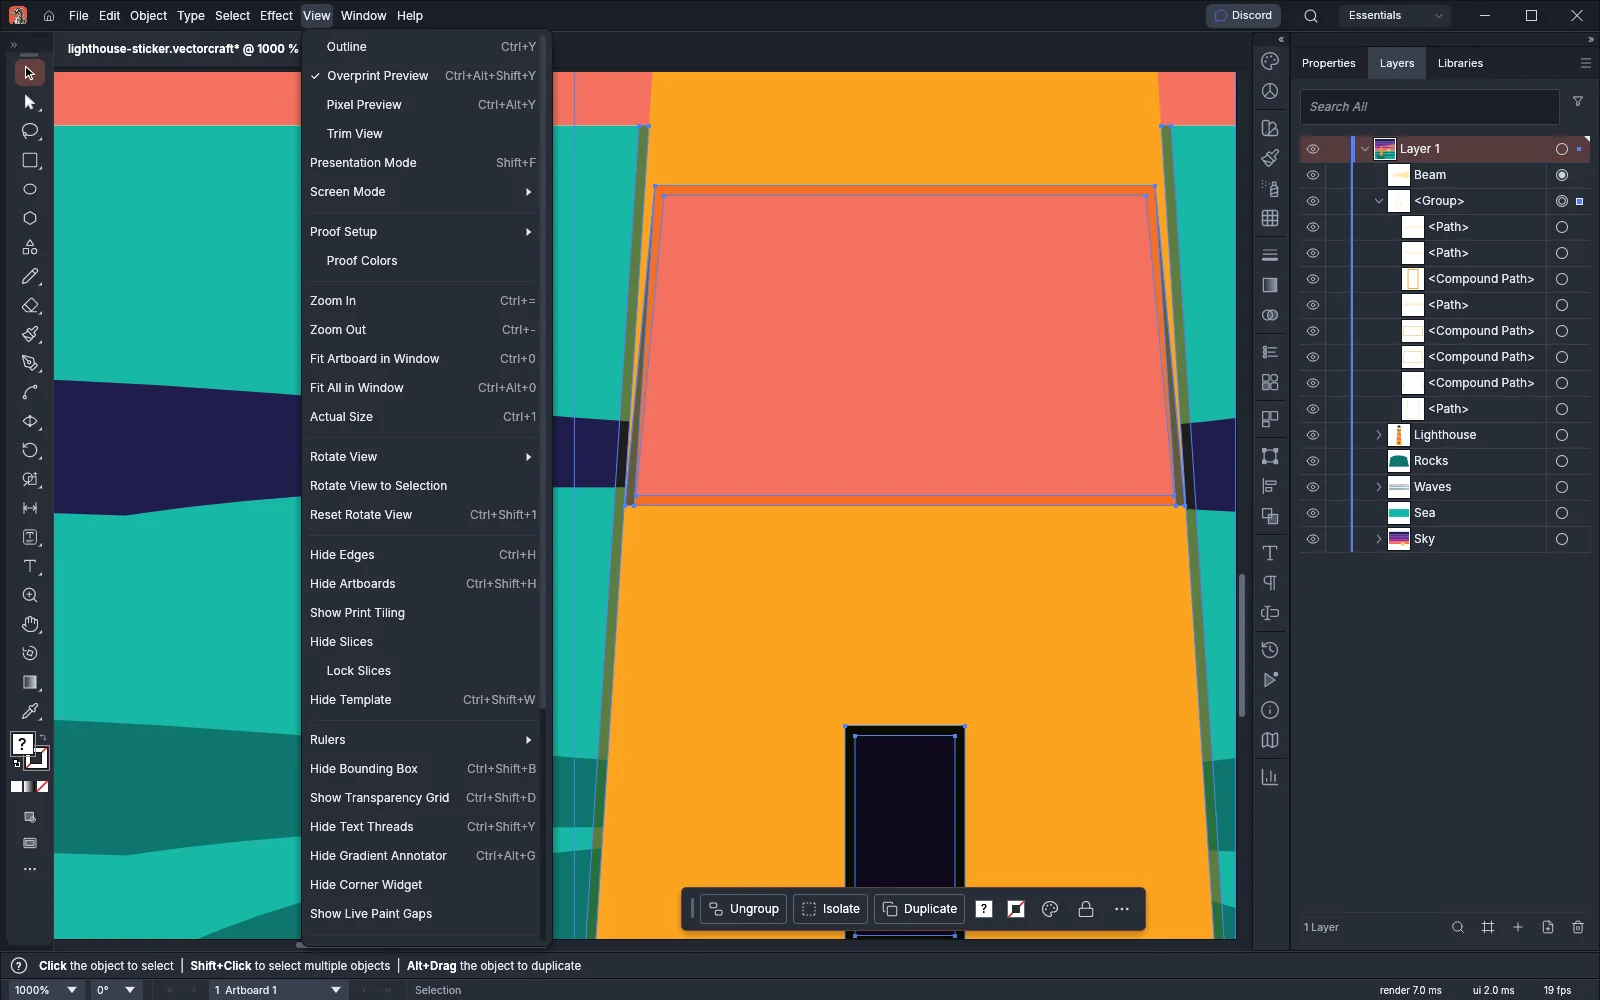
In the picture below, the traps were made with Thickness 1 pt and Tint Reduction 100 so that they are easy to see at 1000%.
Trap options
Section titled “Trap options”The Trap dialog opens with the defaults in this table each time.
| Option | What it does | Range | Default |
|---|---|---|---|
| Thickness | How far the lighter color reaches into the darker one across vertical edges. | 0.01 to 5000 pt | 0.25 pt |
| Height/Width | The reach across horizontal edges, as a percentage of Thickness. At 100 the trap is the same width on every edge. Use another value for paper that stretches more in one direction on press. | 1 to 1000% | 100% |
| Tint Reduction | The trap paints the lighter color at this percentage of its tint. At 100 the trap uses the full color. A lower value keeps two light colors from printing a dark line where they overlap. | 0 to 100% | 40% |
| Traps with Process Color | A trap of a spot color is painted with the matching CMYK process color instead of the spot swatch. | On or off | Off |
| Reverse Traps | The darker color spreads into the lighter one instead. A rich black (100% black with other inks) does not spread. | On or off | Off |
The Height/Width and Tint Reduction fields take a number without the % sign.
When Trap does not run
Section titled “When Trap does not run”When VectorCraft cannot add traps, it adds nothing and shows one of these messages in the status bar:
| Status bar message | Cause and fix |
|---|---|
Trap: select two or more objects filled with solid colours |
Fewer than two of the selected objects have a solid fill. Select more objects, or give them solid fills. |
Trap: no edges of different colours meet among the selected objects |
The selected objects do not touch or overlap, or every edge that shows is between objects of the same color. Select objects whose colors meet. |
Trap: more than 1048576 pairs of objects lie close enough to trap, or too many objects share a horizontal range; trap fewer objects at a time |
The selection is too large to trap at once. Trap smaller parts of the art one after another. |
Keep traps live with the Trap effect
Section titled “Keep traps live with the Trap effect”The Trap effect builds the traps among the members of a group or a layer each time they change. Use it when the art may still move or change color.
- Select a group, or target a layer in the Layers panel.
- Choose Effect → Pathfinder → Trap….
- Set the options. The effect dialog has the five options of the Trap dialog and two more:
- Precision: how closely the trap’s outline follows the edges, from 0.001 to 10 pt. The default is 0.01 pt.
- Remove Redundant Points: removes anchor points that do not change the trap’s shape. It is on by default.
- Leave Preview on to see the traps on the canvas while you change the values, then press OK.
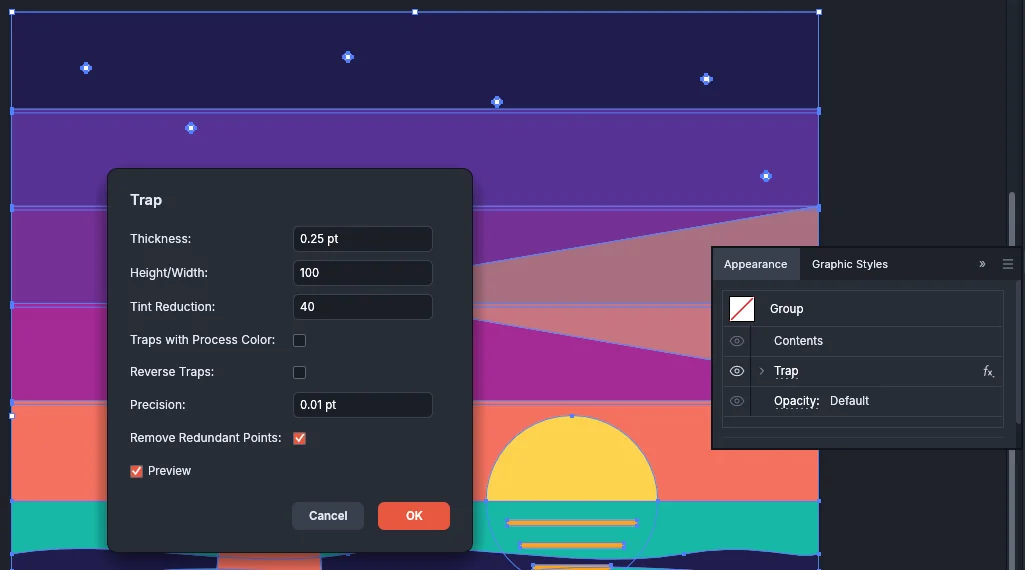
The effect appears as a Trap row in the Appearance panel. To change its options, double-click the row.
To turn the traps into paths, select the group and choose Object → Expand Appearance. See Make the appearance permanent.
Check traps before printing
Section titled “Check traps before printing”Traps are set to overprint, so they show their real color only while overprinting is shown.
- Choose View → Overprint Preview (Ctrl+Alt+Shift+Y, or Cmd+Option+Shift+Y on macOS). Each trap shows the mix of the two inks.
- Zoom in on an edge where two colors meet. A trap reaches only as far as its Thickness value, so a thin trap needs a high zoom to show.
- Choose Window → Separations Preview and turn on Overprint Preview (separations). Alt-click (Option-click on macOS) the eye of one plate to show only that plate. Each trap is painted with the lighter of the two colors, or with the darker one when Reverse Traps is on, so look for it on the plates of that color. With Traps with Process Color on, a trap of a spot color is painted with process inks instead of the spot color.
For more on overprinting and the ink plates, see Check how inks overprint and Preview each ink with Separations Preview.
When you save the trapped art as a PDF for a print shop, the Output section of File → Save as PDF… has a Mark as trapped option under Output Intent. It is not available for PDF/A files. See Save a PDF.